Sunday Morning

This morning I awoke to the sounds of birds and the rustle of leaves in the breeze.  The sunlight was dim through the windows, with hints of blue, presaging an incredible day.  Now the sun is up, and all that seemed promised is true.  New leaves are appearing on the tulip tree and the redbud; the birds are still singing.  Robert Browning wrote, “all’s right with the world.”  On mornings such as this, it is best to believe it, and so I shall.

So, what to do?  We are having family over for Sunday dinner, so there are things to be done around the house, a bit of shopping, a bit of cooking.  It is a simple thing to do – marinated lamb roast, salad, bread or rice or potatoes, tzatziki.  The company is to be enjoyed, and hopefully all invited will be able to join.

Life – and time to finally live it – is grand.  No more “return to work” dates; I choose what to do and when.  The Puritan side of me espouses “pain before pleasure,” meaning, get the unpleasant stuff out of the way ASAP!  That means chores, like cleaning.  I like clean things, but the cleaning process is not exciting – I’d rather be outside digging in the dirt or drawing or reading.  The satisfaction of a chore, to me, is when it is done.  Putting it off dulls the joy in other activities, but as I like an orderly and relatively clean house and studio, it makes sense.  Doing the unpleasant first makes the rest of the day move into infinity.

Yesterday I bought some plants -peppers, alyssum, dianthus.  Bulbs were on sale half price since it is past their season.  Potting soil, too.  Before I start the dinner shopping, but after housework, I shall begin work on my little front yard flower bed.  My gardener worked in some soil for me, and now I have some ideas as to what I am going to do with it.  Its a sunny – shady area as it faces west, with the house to the east.  Afternoons find it quite shady, and as summer comes along, I think it gets shady earlier.  Alyssum and dianthus will be along the outer borders of the plot – see below – bulbs sporadically distributed depending on their sun requirements – and the peppers will be placed in their own pots out on the sunny southern patio (aka “the dog-free zone” or the “DFZ”!)

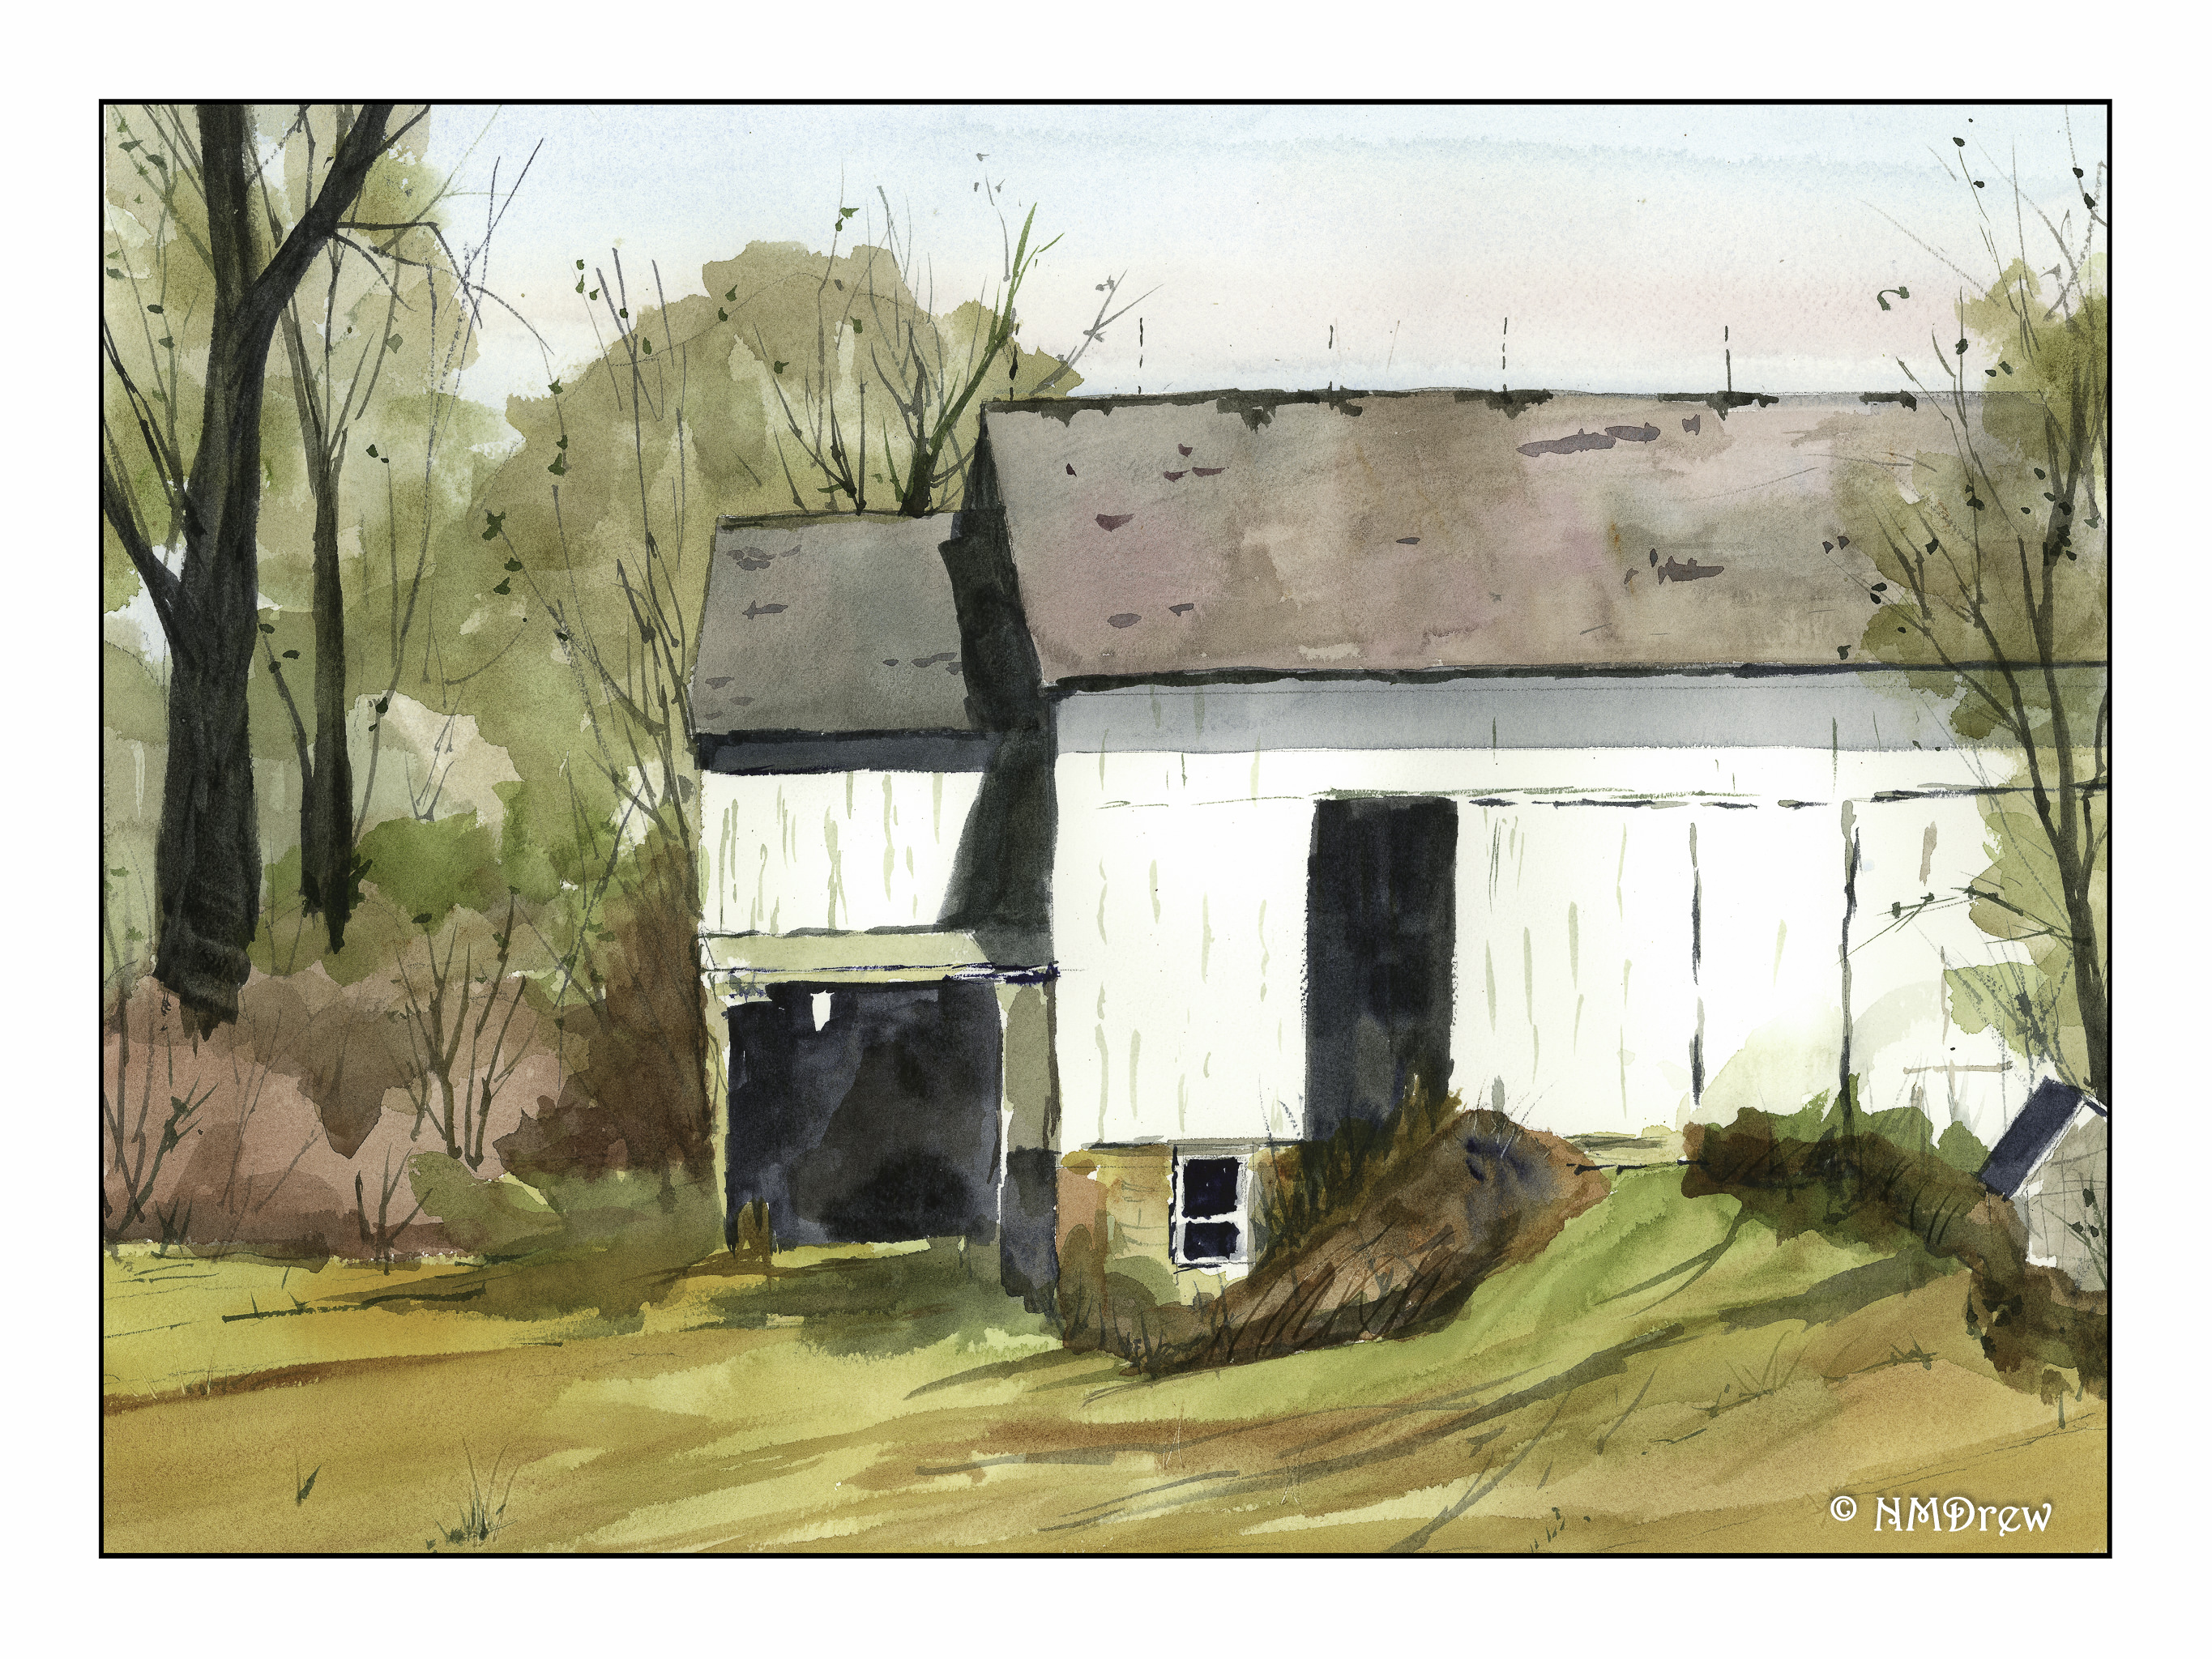
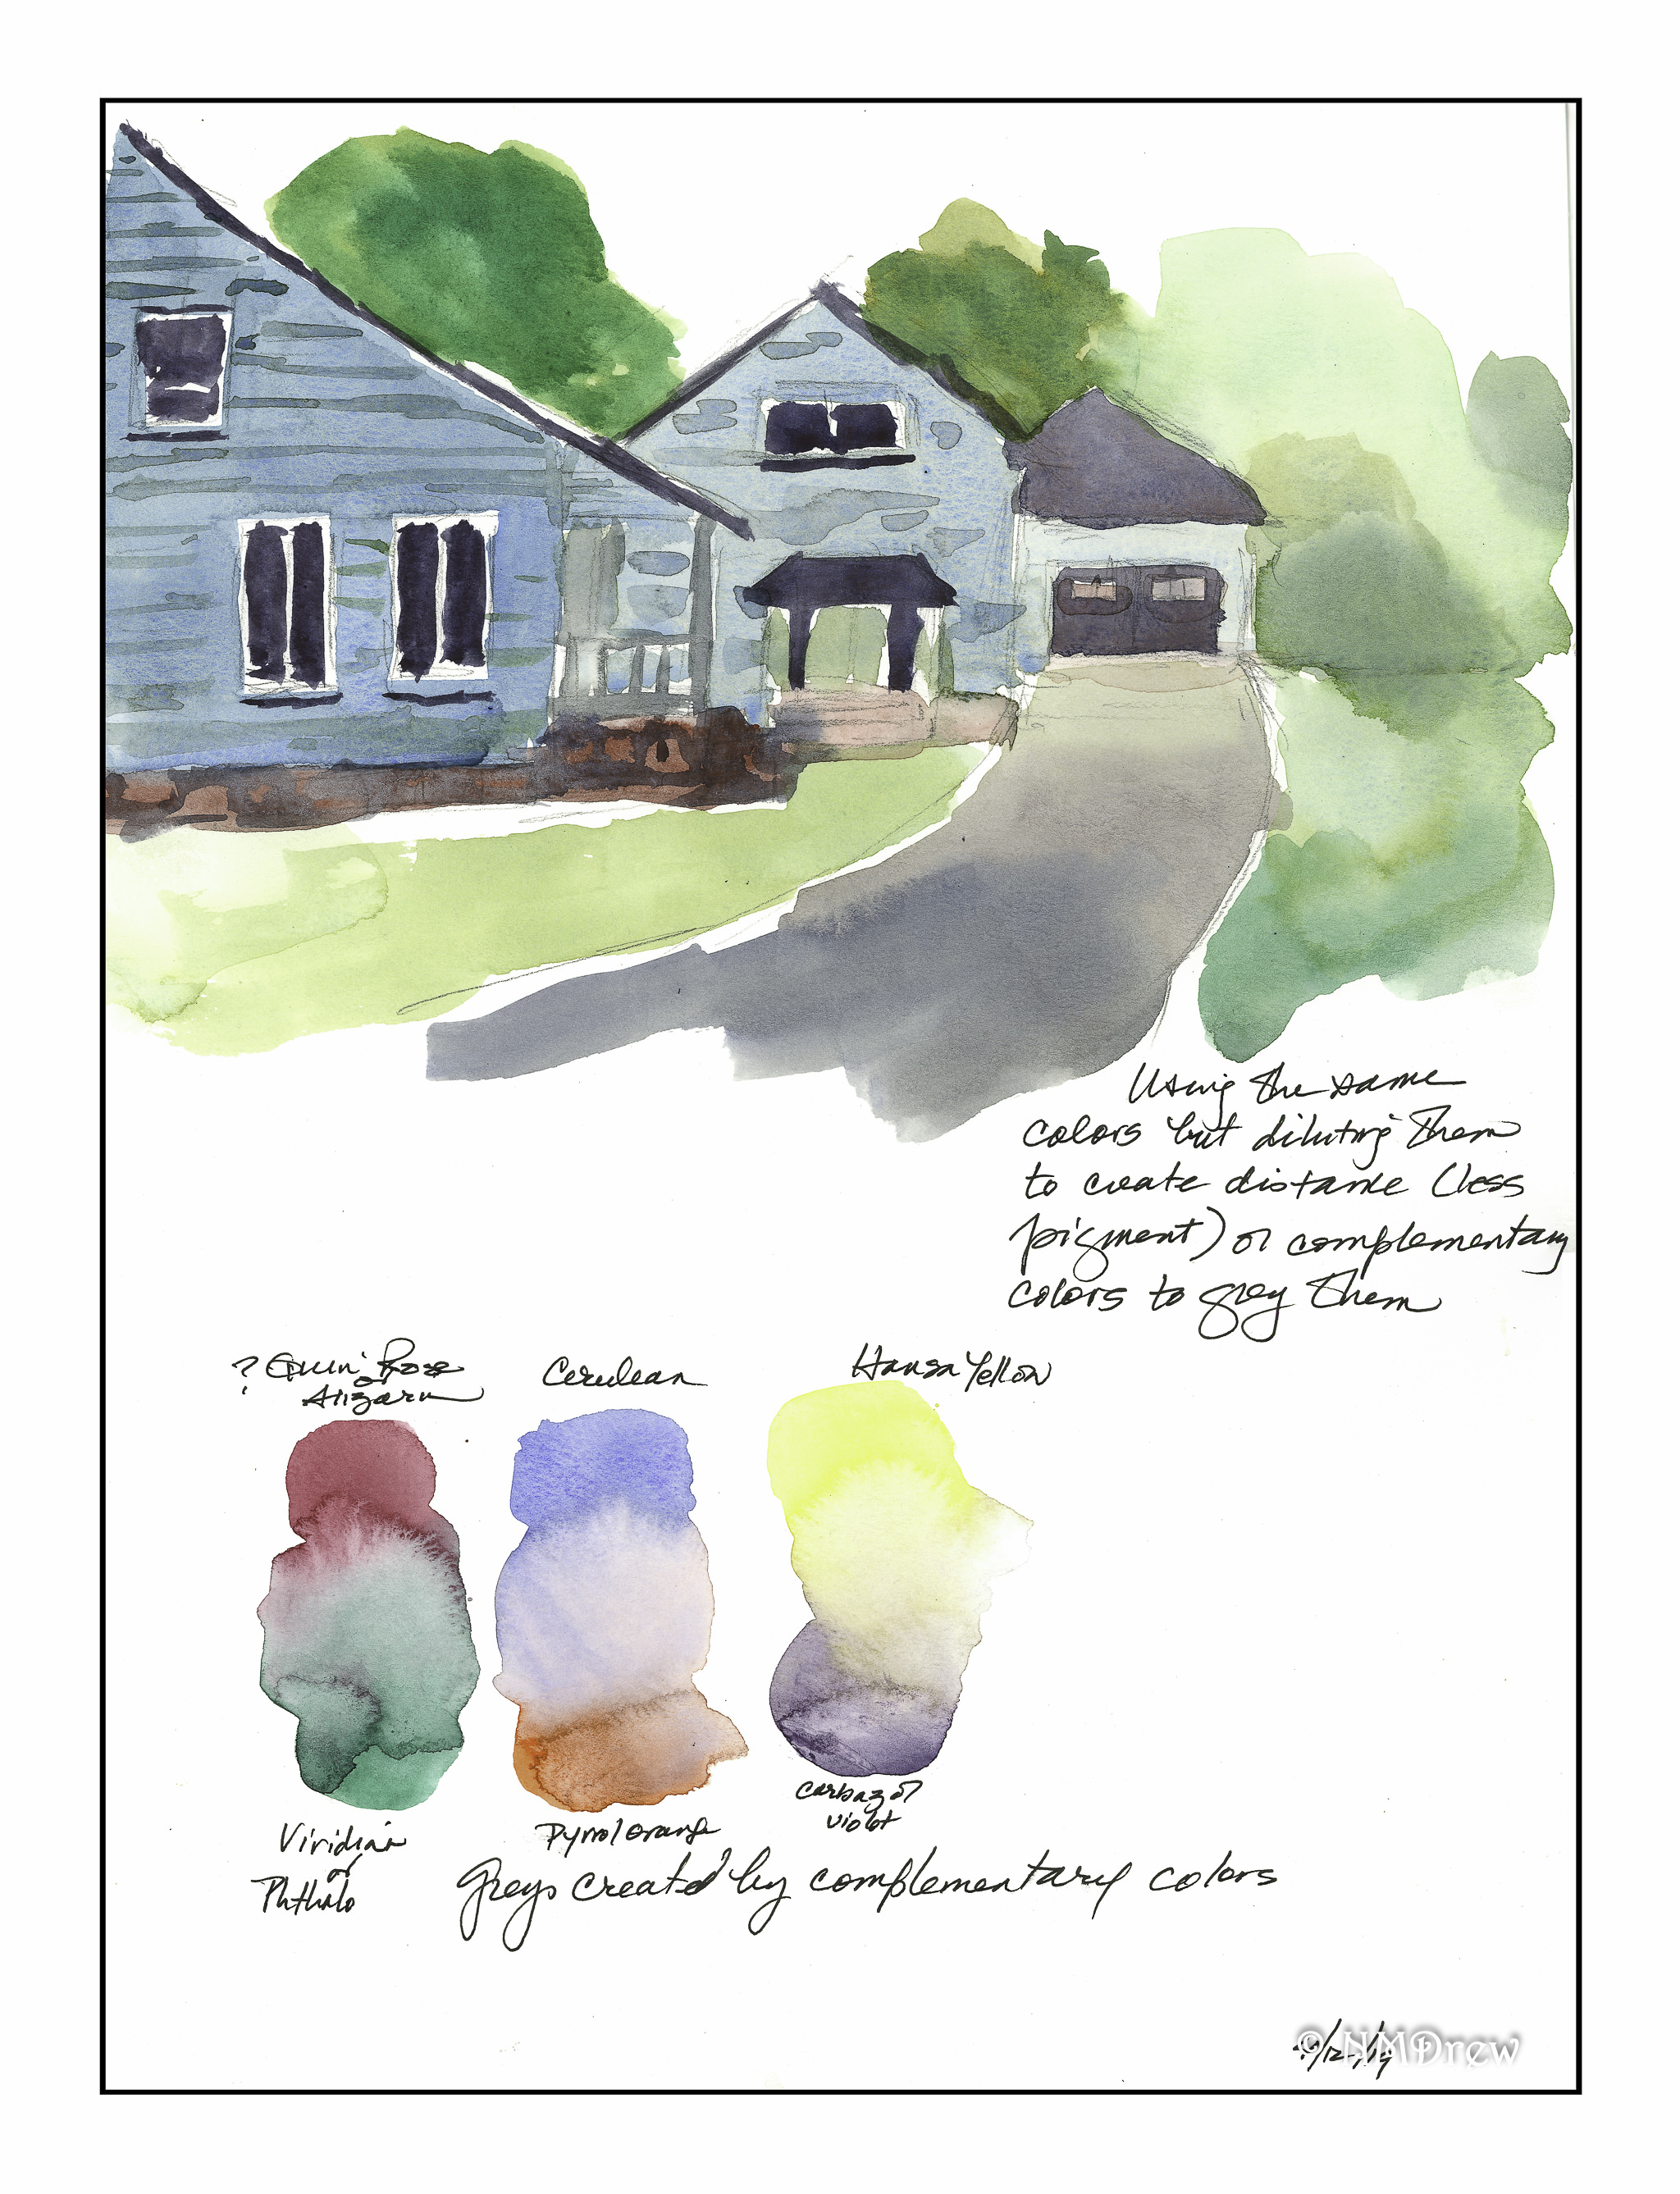
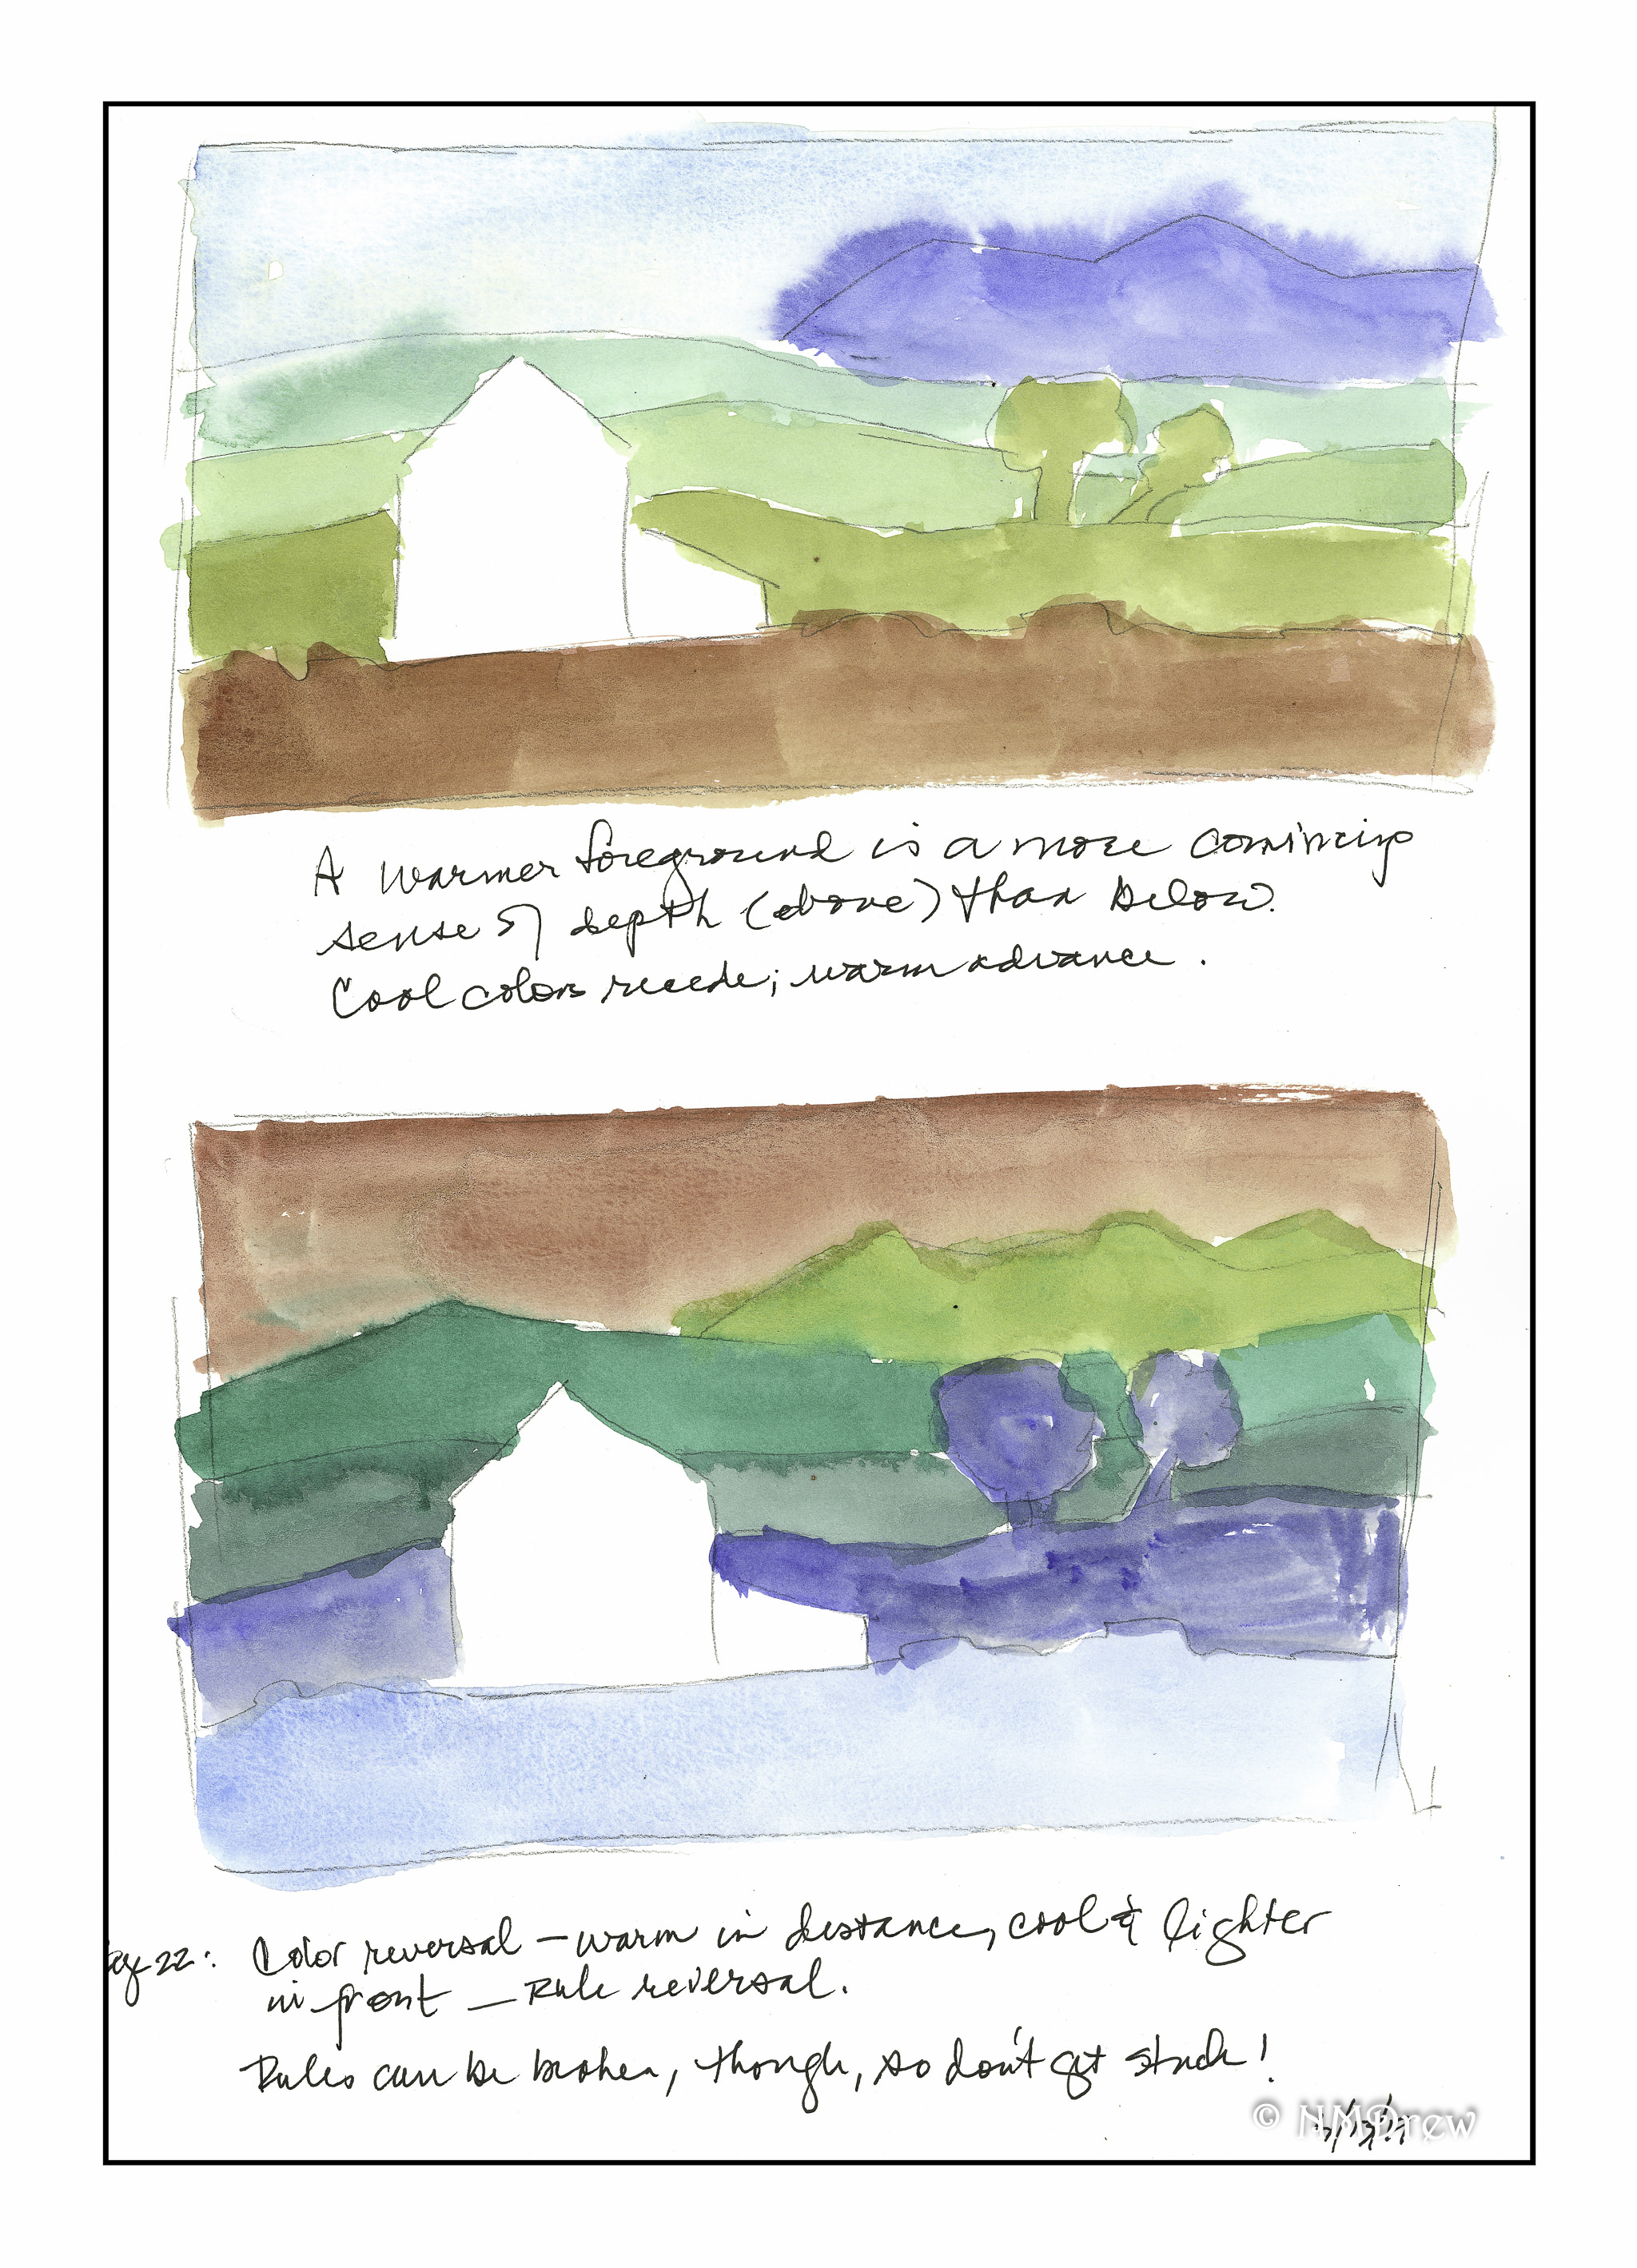
Along with gardening, planning for my next painting is on the way.  I have been following various YouTube painters – as you have seen in earlier posts – but I have also been working my way through a book on perspective and contemplating spartan photography.  (Huh?  Wuzzat?)

And, Josh and I spent 3 days in San Diego, which was something wonderful to do – get away from it all to enjoy coming back to it all!


“Waiting for Spring” – from a Rick Surowicz Study

This morning I went out and bought plants for the flower beds, had lunch and a nap, and then decided what I wanted to paint.  Rick Surowicz just posted a new video on his YouTube channel called “Waiting for Spring.”  On his personal website, he posted a sketch of the study as well as a photograph of the actual barn, and his final watercolor.  If you haven’t checked out his channel, you should.  He has so much valuable information.  When I am feeling more focused, I want to try out his two classes as they are more detailed than his YouTube presentations, although they are detailed enough for anyone who wants to learn.

This video appealed to me for a number of reasons.  One, perspective.  This is a frontal view, so the roof line is pretty much a straight line across the top, parallel to the top edge of the paper.  I got out my ruler and made both straight horizontal and vertical lines.  From there, I roughed in the trees and shadows and bushes.

The palette was pretty simple – Rick posts the colors he used at the beginning, as well as mentioned that his Cerulean Blue is PB36 as opposed to PB35 – PB35 apparently is more greenish than PB36.  This would be either DaVinci Cerulean or Daniel Smith Cerulean Blue Chromium.  Of course, if you don’t clean up your paints, you could have just about anything.

What I learned from this video were a few things.  One, mix colors on the paper as you move along.  Specifically, on the roof, I moved from one color to the next, picking up paint and working it into the paint on the paper.  This gave a nice effect.  Another important thing was to realize that while I have flat brushes, most of mine, if not all, are rather stiff.  Painting with them at times created problems as a softer flat brush would be a better choice in some areas.

I also realized I need to sort out my brushes better – put rounds in one area, flats in another, and riggers and other specialized brushes in another.  I have a stand, and perhaps I shall use that next, or else I may just get individual holders – like jars or tins – to hold specific brushes in specific areas.  I continue to learn!

As I look at this painting, I can see my confidence in handling color has come a long, long way.  I plan to do a few more barns in the coming week, using photos from Pixabay.  This way, I can practice perspective, use my ruler, and try to paint more confidently than I seem to do when I don’t have a video to follow.

FYI, below is Rick’s excellent video:

Atmospheric Perspective, ii

So, we continue with Phil Metzger’s studies on perspective; specifically, atmospheric perspective.  As a refresher, atmospheric perspective relies on the use of color for its depiction of depth, near and far.  The usual rule is warmer, more intense colors are closer, and the cooler and bluer or greyer colors show distance because of the intervening air – damp or smoggy or both.  Weather and climate impact both, as well as altitude.  At the beach, there is more moisture in the air, as opposed to the dry air of the high desert.

As Metzger points out, the further buildings become, the lighter their colors become, or greyer (if white), and edges less defined.  I attempted this below.

Here, I used the same shade of blue for all three buildings, but to indicate distance, I diluted the watercolor and added a bit of orange to it to create a grey.  The same concept was applied to the driveway and to the trees.  The greys made by complimentary colors is at the bottom of the sheet.

The next lesson was to consider what happens when you do not follow the rules of “warm in front, cool in back” – he gave a sample line drawing and showed what it would look like.  I did this – doing something makes it more real than just looking.  So, I did it.  The upper drawing is more traditional – cool in back, warm in front.  It works.

However, look at how strange the same image looks with cool in front and warm in back.  I used the same colors, but reversed their positions.  The bottom one is rather eerie and makes me think of that strange light you get in some storms.

Moving on, this idea is brought home on page 23.  A photograph at the top shows the classic atmospheric perspective – warm front, cool back.  However, the opposite is done in the painting “Charlie’s Place” – warm sky in the distance, warm trees.  It’s dawn or sunset – who knows?  The warmth becomes cooler toward the bottom edge of the paper.  Here, the “rule” is broken, but the painting works.

To practice the cool top / warm bottom, as in the photo at the top, I painted a similar image based upon Metzger’s photo.  I threw in some birds and added a few verticals, but overall stuck to the idea of the cool sky, bluish mountains, distant greens, and increasingly warm tones to indicate the foreground.

Next is my rendition of “Charlie’s Place” – below, my sketch and notes.

This is an excellent study to show you how to break the rules!  The cropped image is below, which shows the concept more clearly as there are not any distractions.

While the correct sense of depth is not really there – rather flat around the buildings in some ways – the lesson is there.  It really does seem to be a rather believable scene.  The sky is yellow – we’ve all seen such skies, at sunrise or in the evening.  The light is glowing.  As we move into the foreground, the colors of oranges give way to blues and greys.  To do this, I used Pyrrol Orange and Hansa Yellow for the sky.  The more distant trees have Burnt Sienna added; the nearer ones have both Ultramarine and Indathrene blues.  These same blues are used to create snow shadows and to make the shadows of the buildings – same orange, yellow, and brown as the background.  Greys were made from the blues and orange and used to tone down the buildings in areas, as well as to create the shadows on the snowy rooftops.  Perspective in the layout of the road and fence posts add to the illusion of depth.

Some Thoughts

You know, you can read a book and get the idea.  I usually do that.  However, now that I have time, I am enjoying following the exercises and samples in this book.  While these are elementary in many ways at this point, they are very significant.  Rules are there and usually work, but doing the reverse also illustrates that rules are to be broken without any ill effect.  Practicing painting along with drawing is getting easier, too, and I hope that each exercise adds to my knowledge so that painting becomes more personal and professional at the same time.