My interest in panoramas was sparked by the wedding photography of Ryan Brenizer and what has become called the Brenizer Method. Essentially, Ryan Brenizer became famous for creating a very narrow DOF in panorama portraits of couples. I think they’re great! I have used it in landscapes and still lifes with some success. It’s where digital cameras are so good to have in your camera collection.
Taking panoramas is fun with a DSLR or whatever D style camera you use. I think smaller numbers of pixels help if you tend to shoot a lot of images. I know I do. My Df is a 16 megapixel camera, and sometimes i just take a scattergun approach to shooting – lots of images covering more area than I think I want. I try to take a picture of my hand to show where my pano pictures begin and start.
To get consistent image exposure, it’s necessary to use manual exposure and turn off auto focus. Consequently, I like to take an image using my preferred f/stop and do everything else on auto. Test images are important and worth the few minutes required to do. This will give me my shutter speed and iso. If the image is too light, I might drop the EV and so on. Once I like what I see, I set up the manual techniques, take a picture of my hand – often out of focus – and begin to take pictures. On a conservative day, I take maybe 20 images; on others I have taken as many as 130 or so. Fewer images taken works out better – easier on you (that camera gets heavy) – and easier on your software and computer when stitching the images together.
I have also done panoramas using digitalized film images.
Once done, I import my images into LR. Looking for my hands, I export the images into subdirectories labeled, conveniently, Pano 1, Pano 2, etc. Use whatever you like. During the export, I change everything in size, using, for instance, 1024 as the length of the long side of the image. When you have a 100 images, reducing in size is important. You can also apply filters globally across these smaller images. These details I assume you know how to do, or learn.
After reducing all the images in size, I do a Cntl-A in the subdirectory to get all the images, and do, in LR, Edit, Merge to Pano in PS (down at the bottom of the pop-up menu). Off to PS and after clicking OK, the magic begins. It can take awhile. The nice thing about using PS as opposed to LR for a photomerge is that any ones which cannot be used in the pano are kicked to their own spots in the final image.
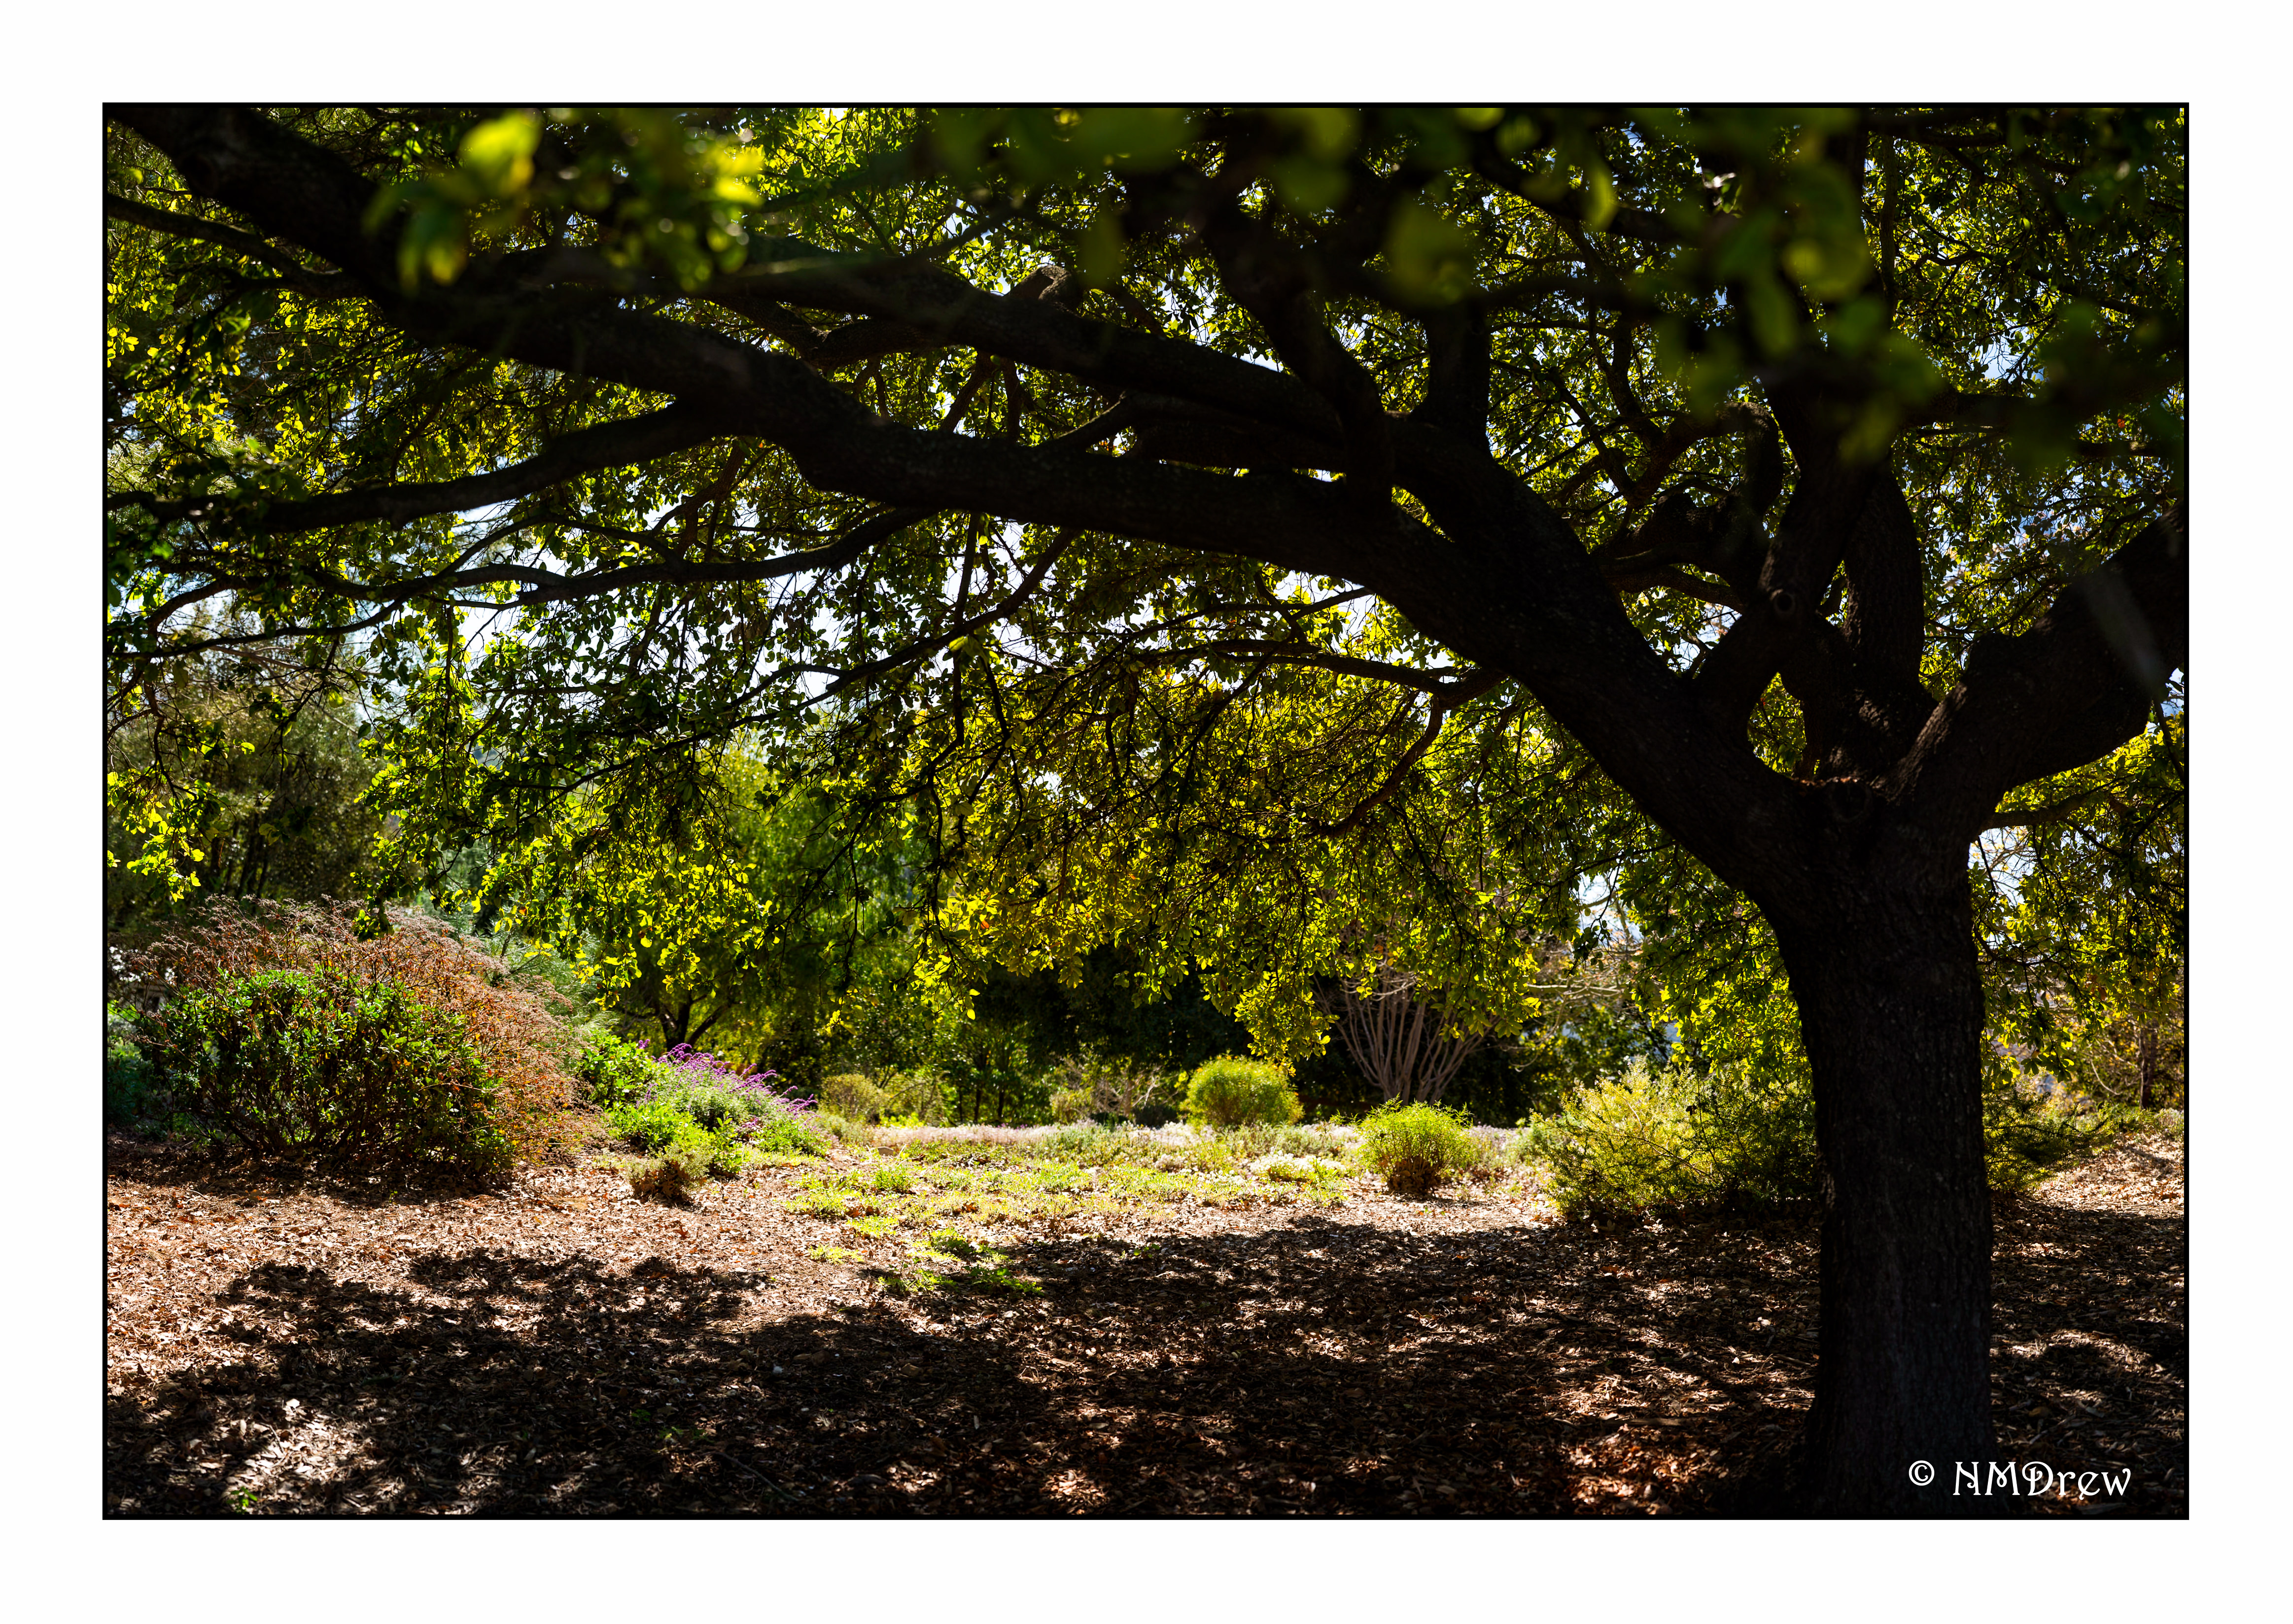
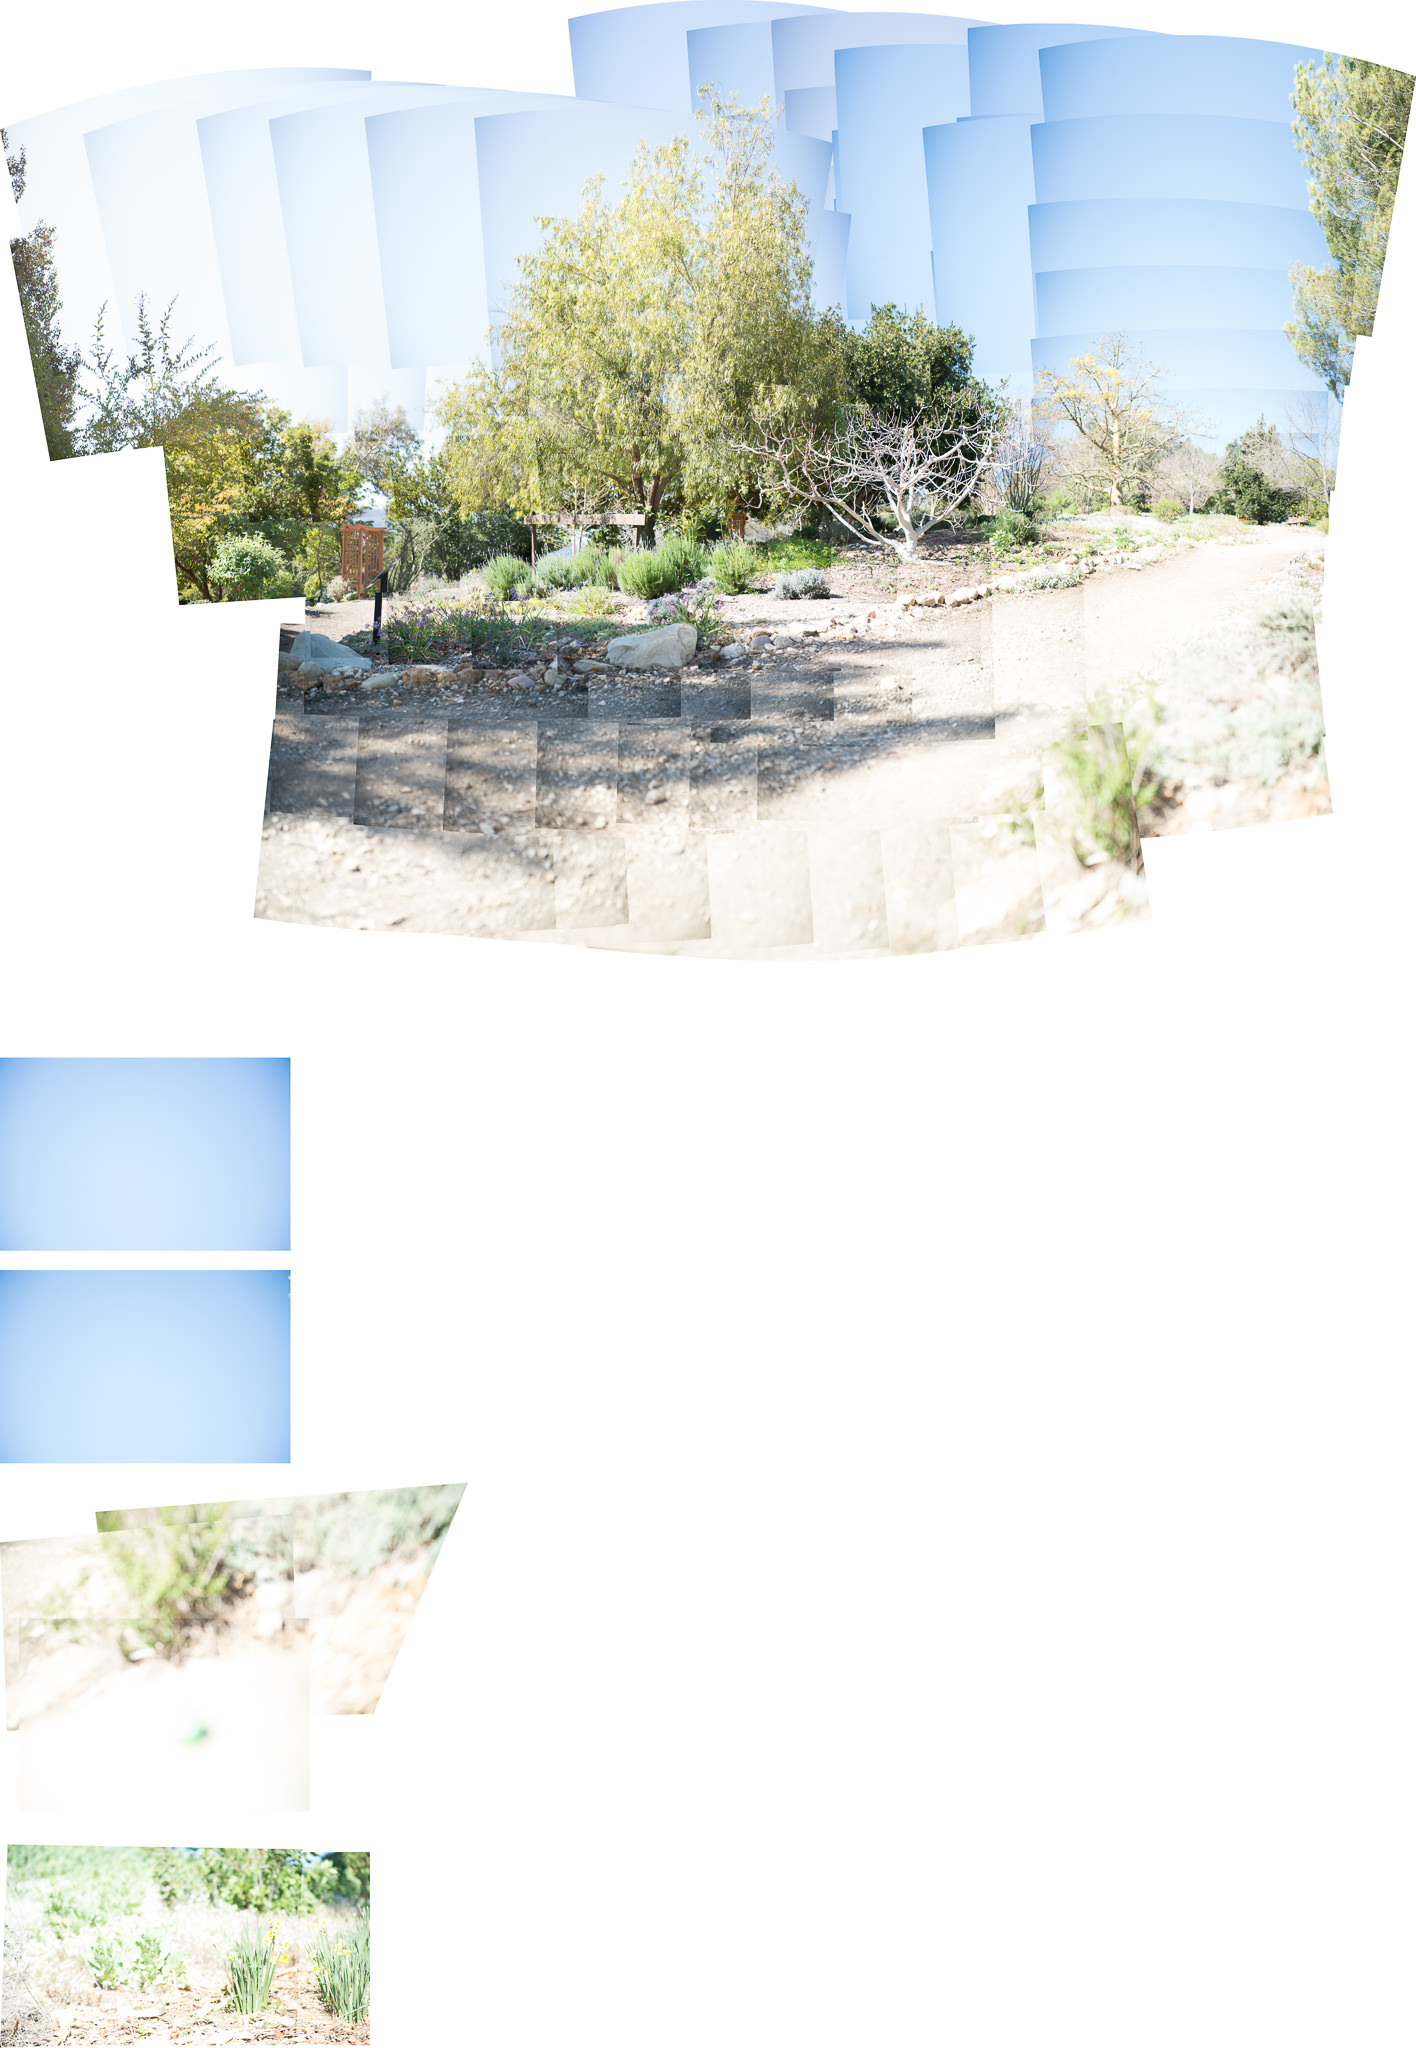
Here is an example of a panorama I took the other day. All told, 137 images. You can see that PS decided some did not belong in the final merge.

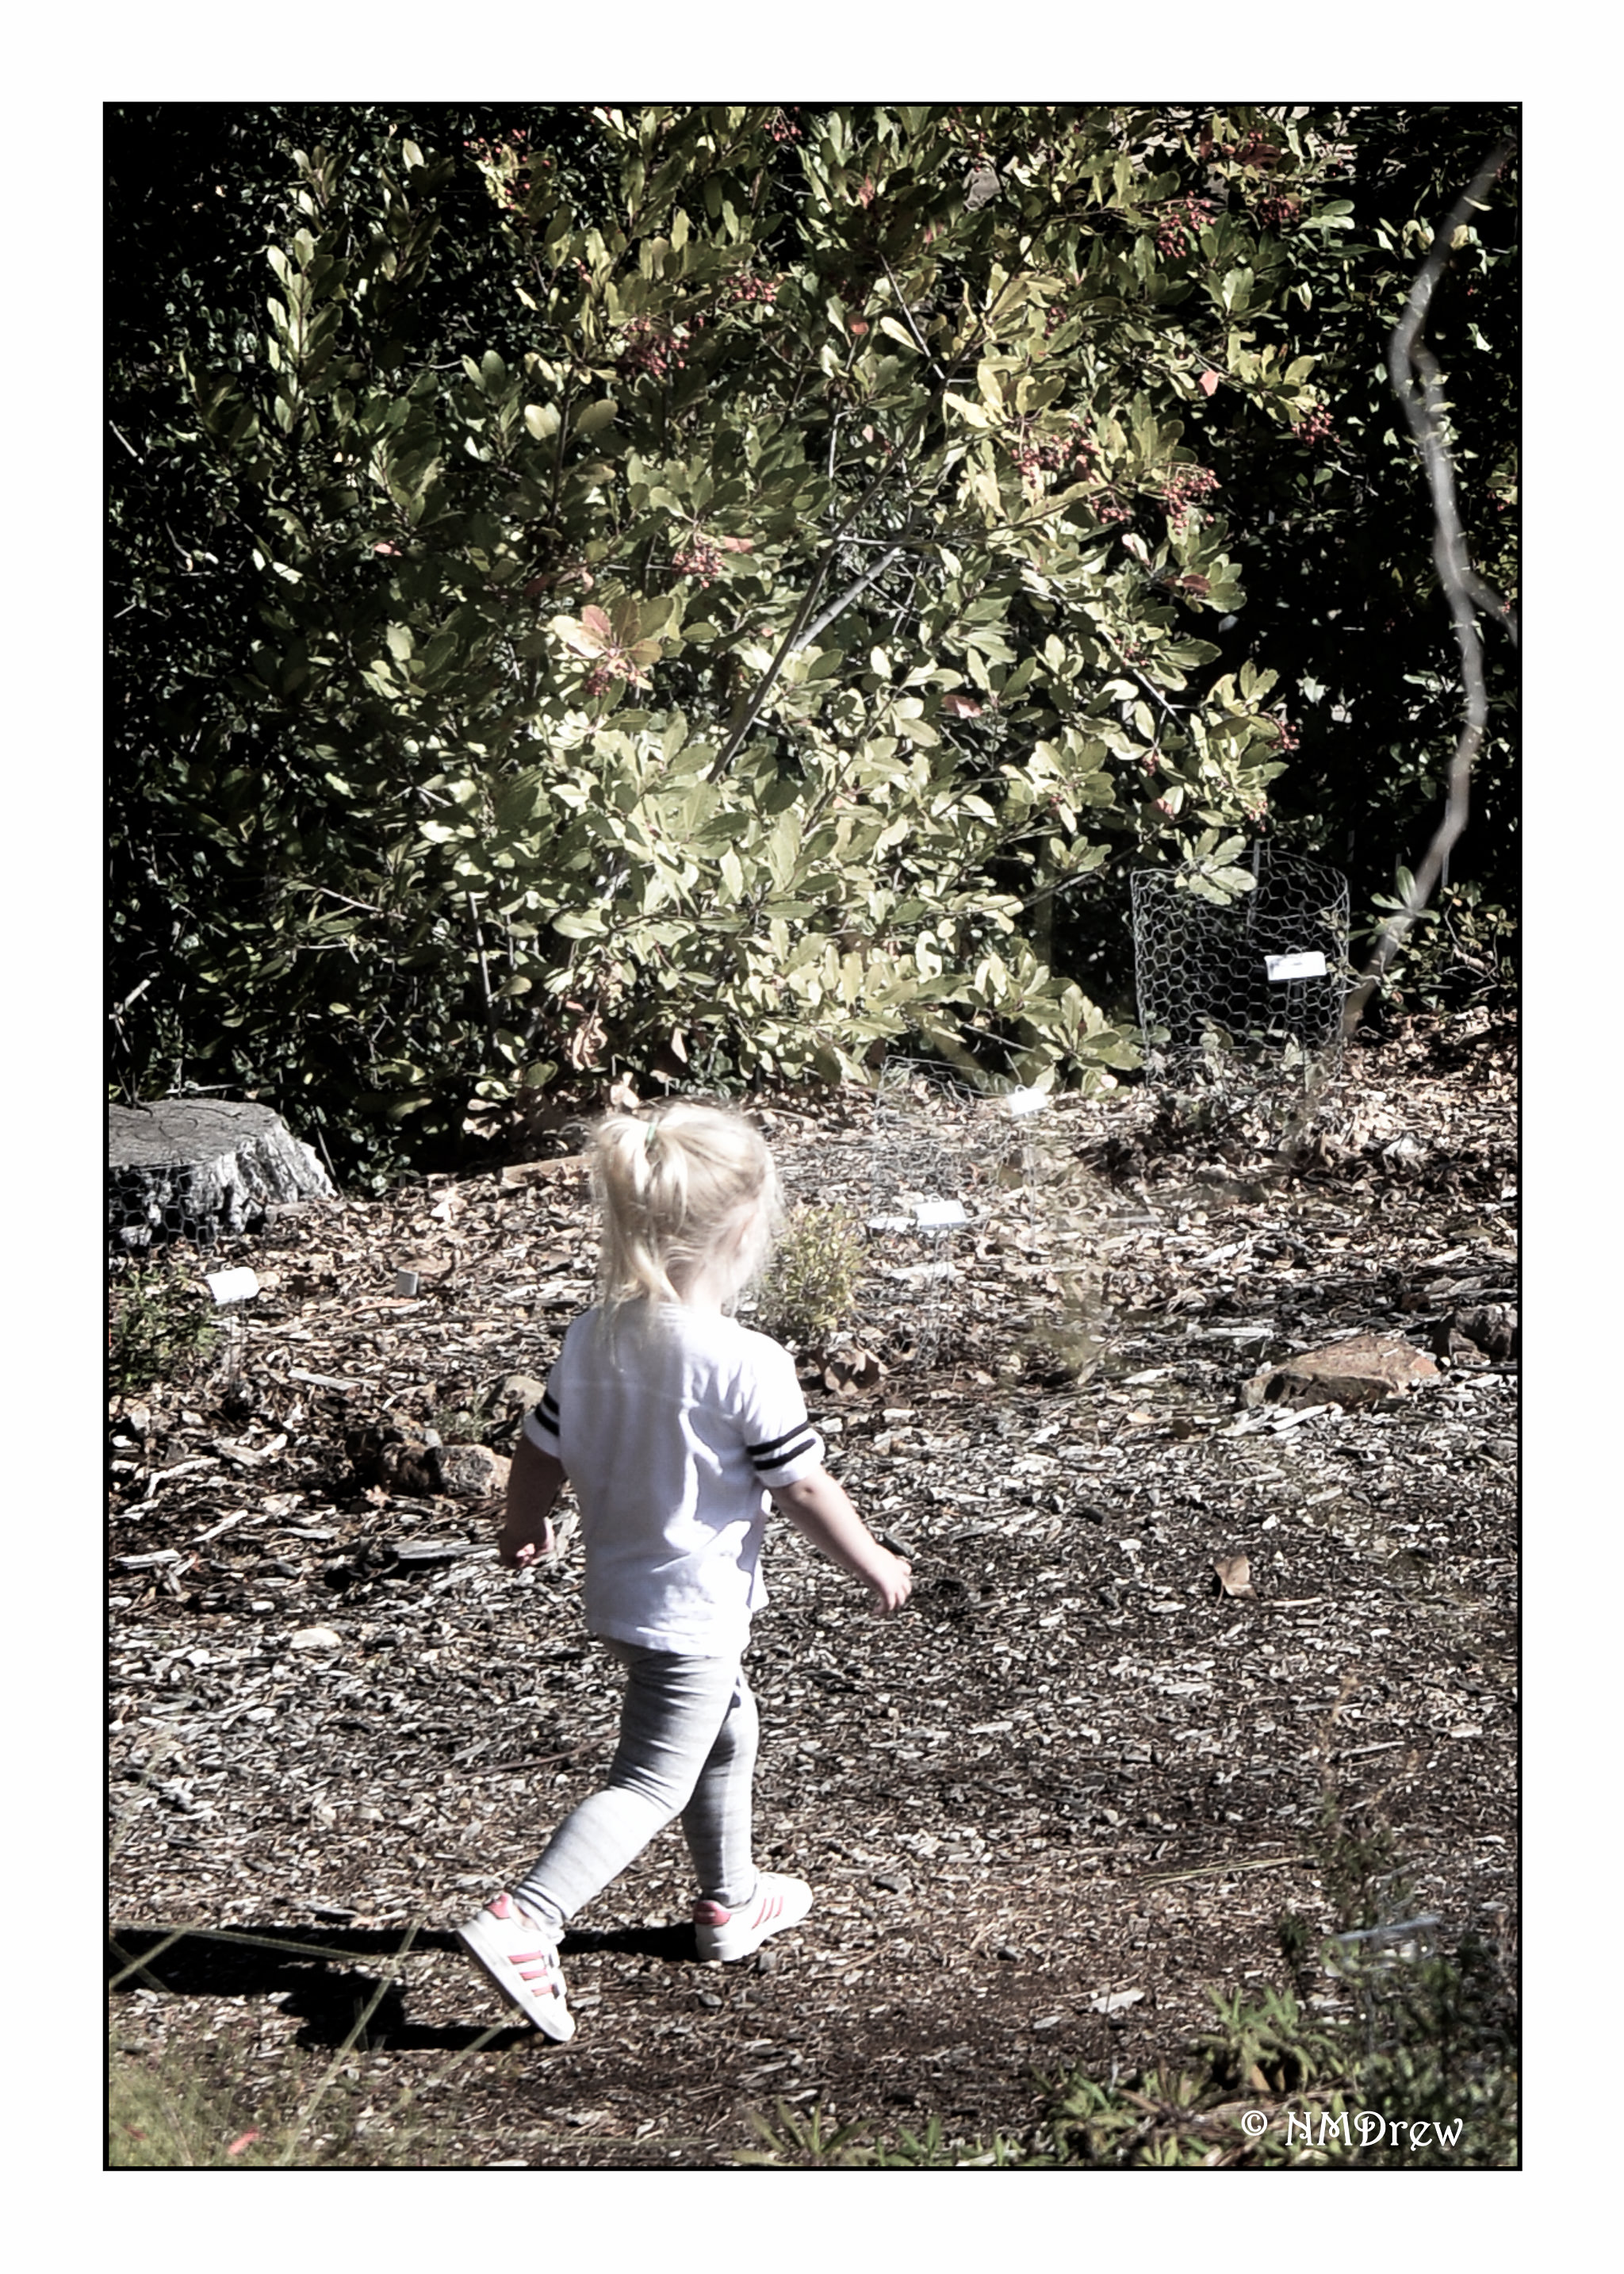
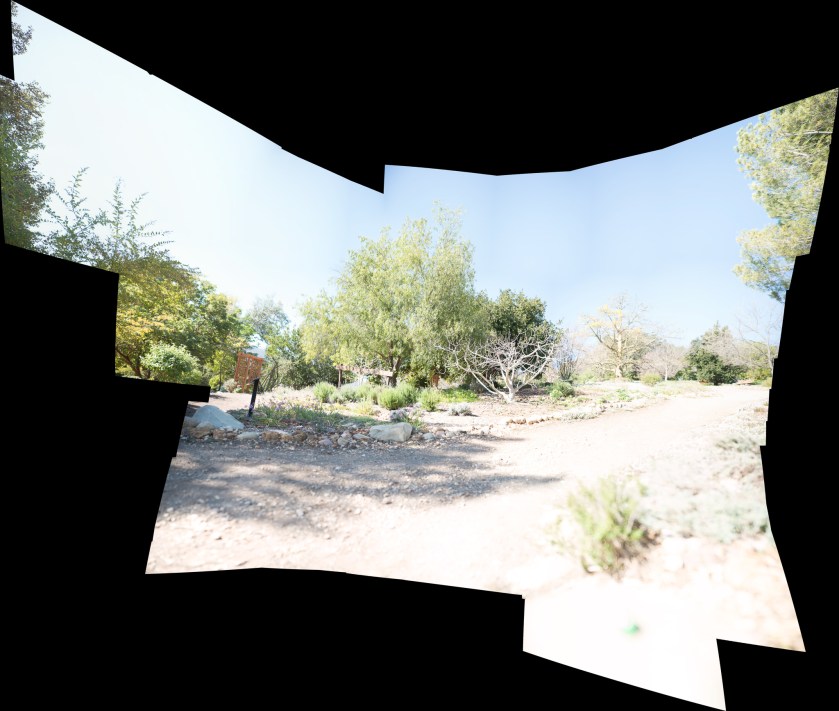
This pano was also just plain bad. I redid it and this was the result:
The panorama in PS can be more than huge! Make sure you go to Layers and choose Flatten Image. If you try to save it without doing this, PS will bug you to remind you. Do it. Then save it and it will go back to whatever directory you have the original images in LR.
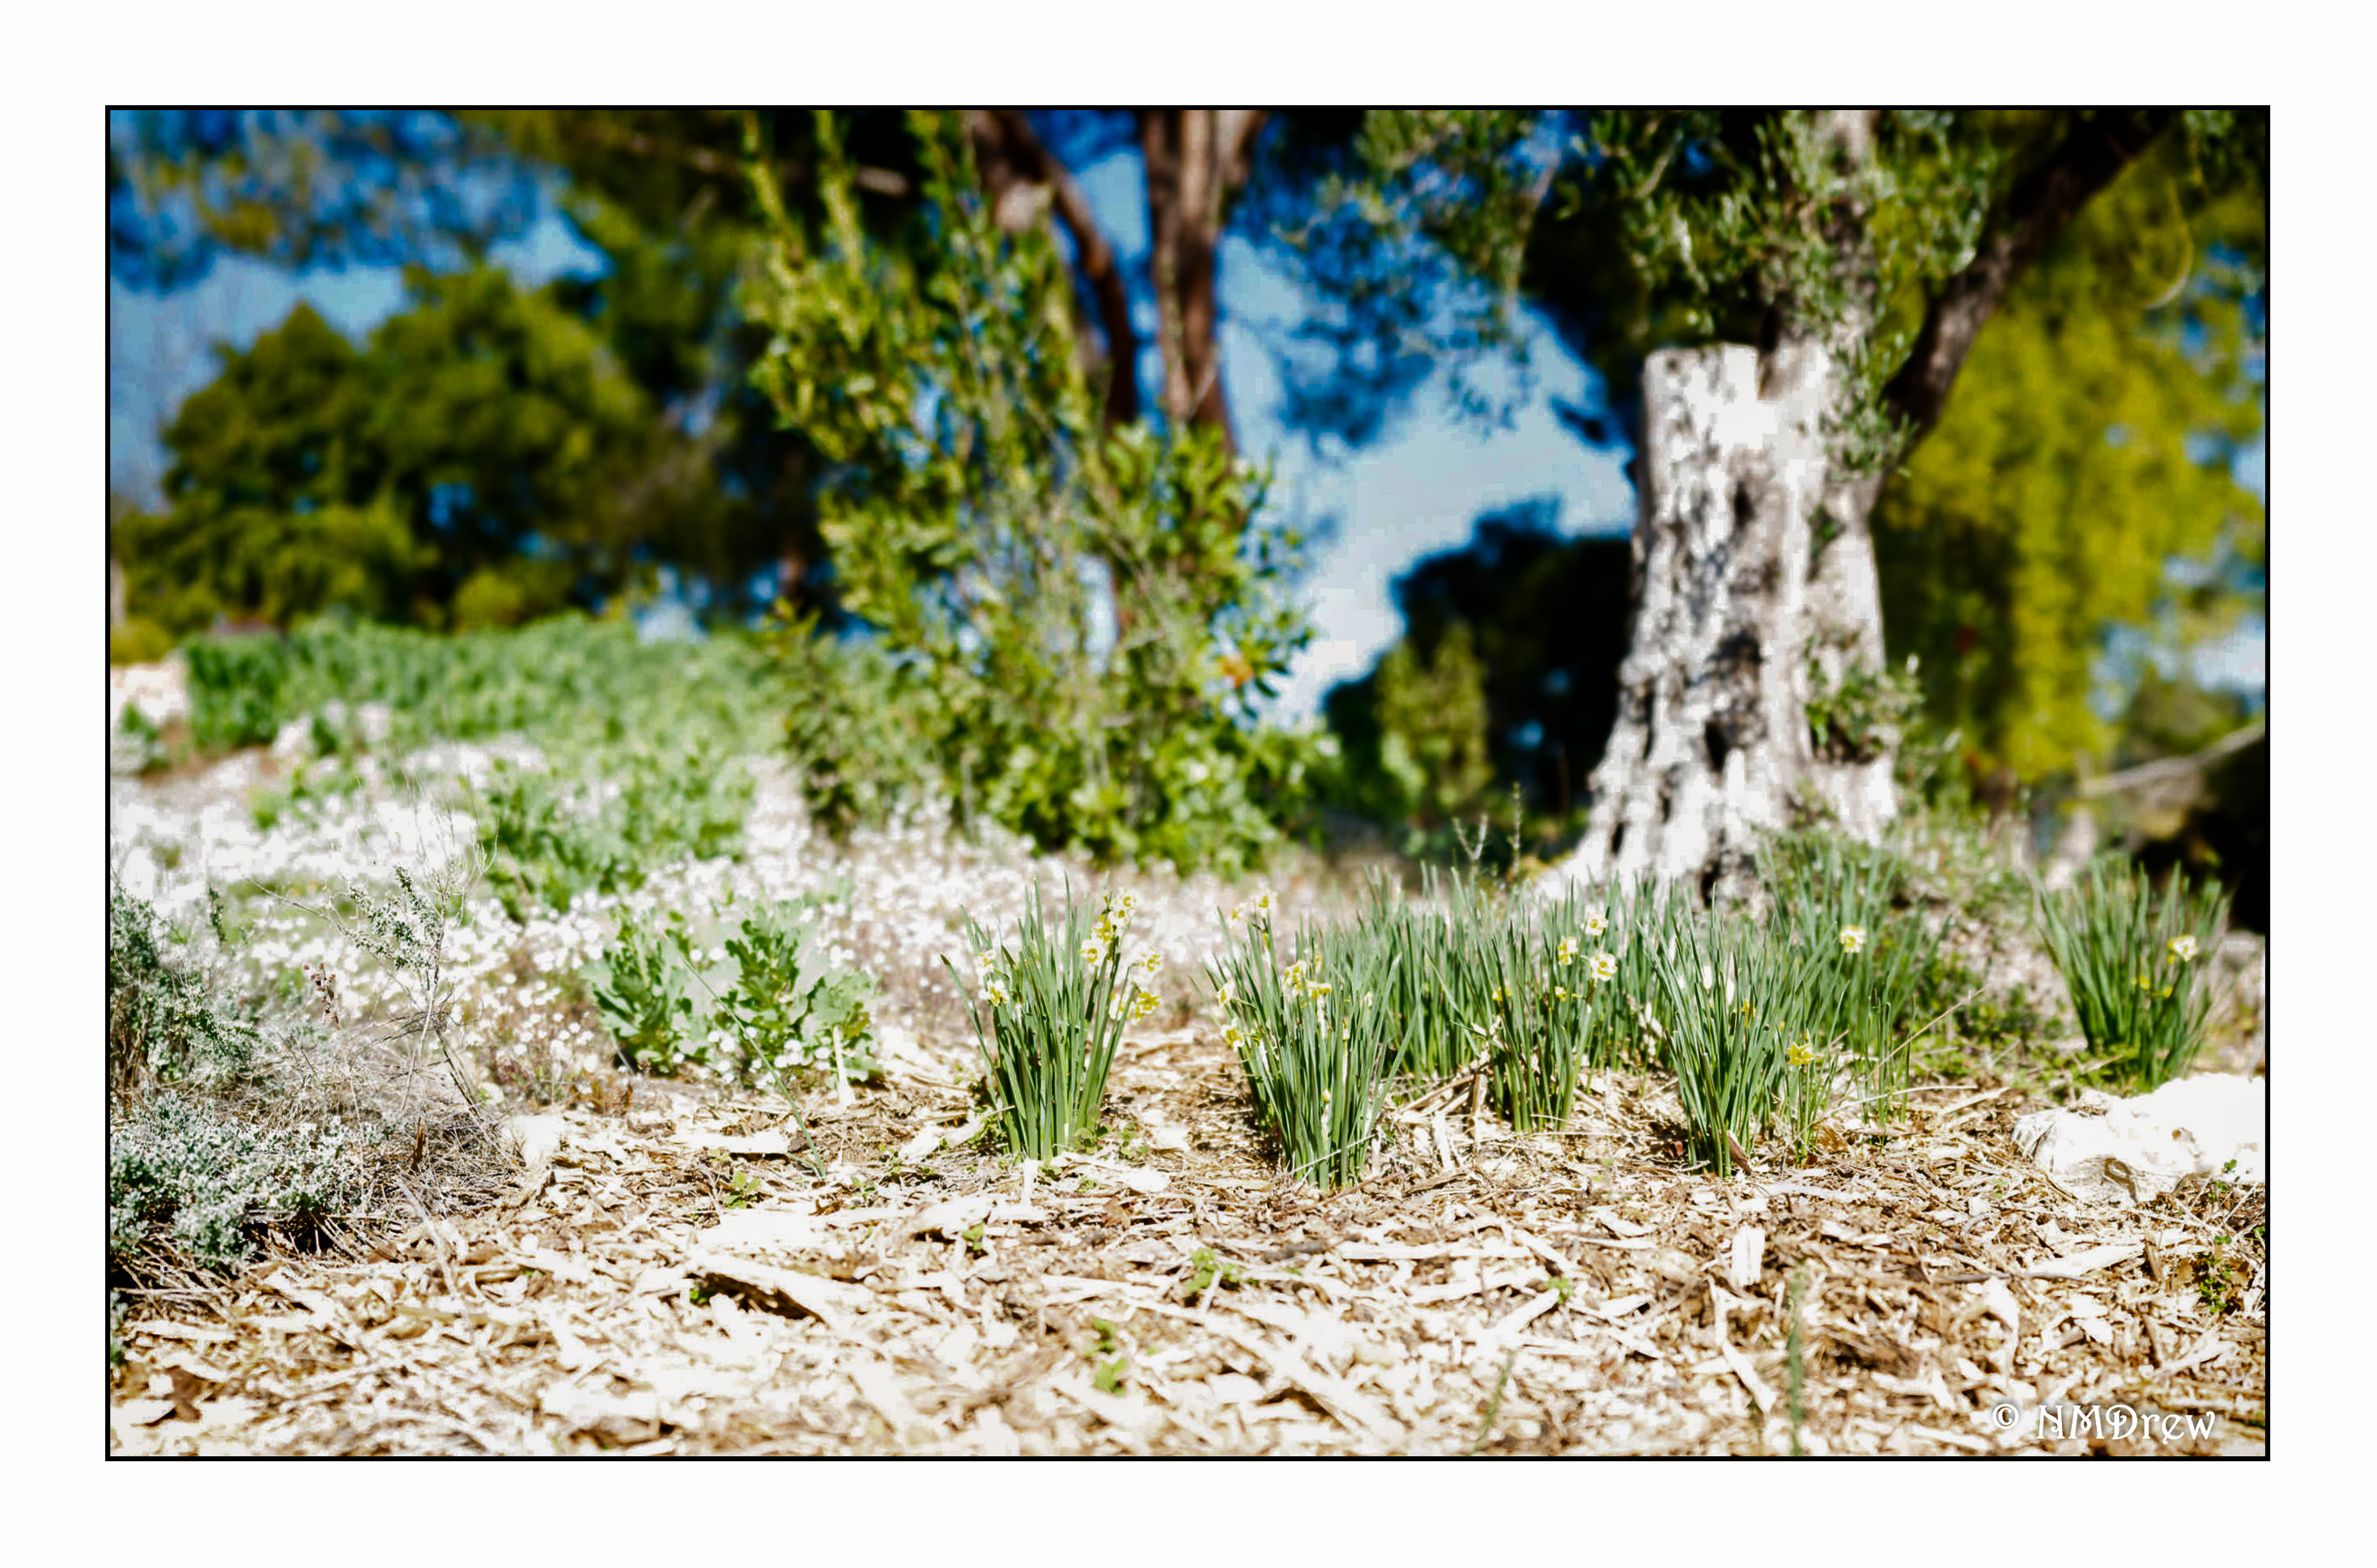
After cropping and editing, the final result was this one you see at the top of this post.