Isolette II / Apotar 85mm f4.5

Image of an Isolette I, Agnar Lens, from Wikipedia

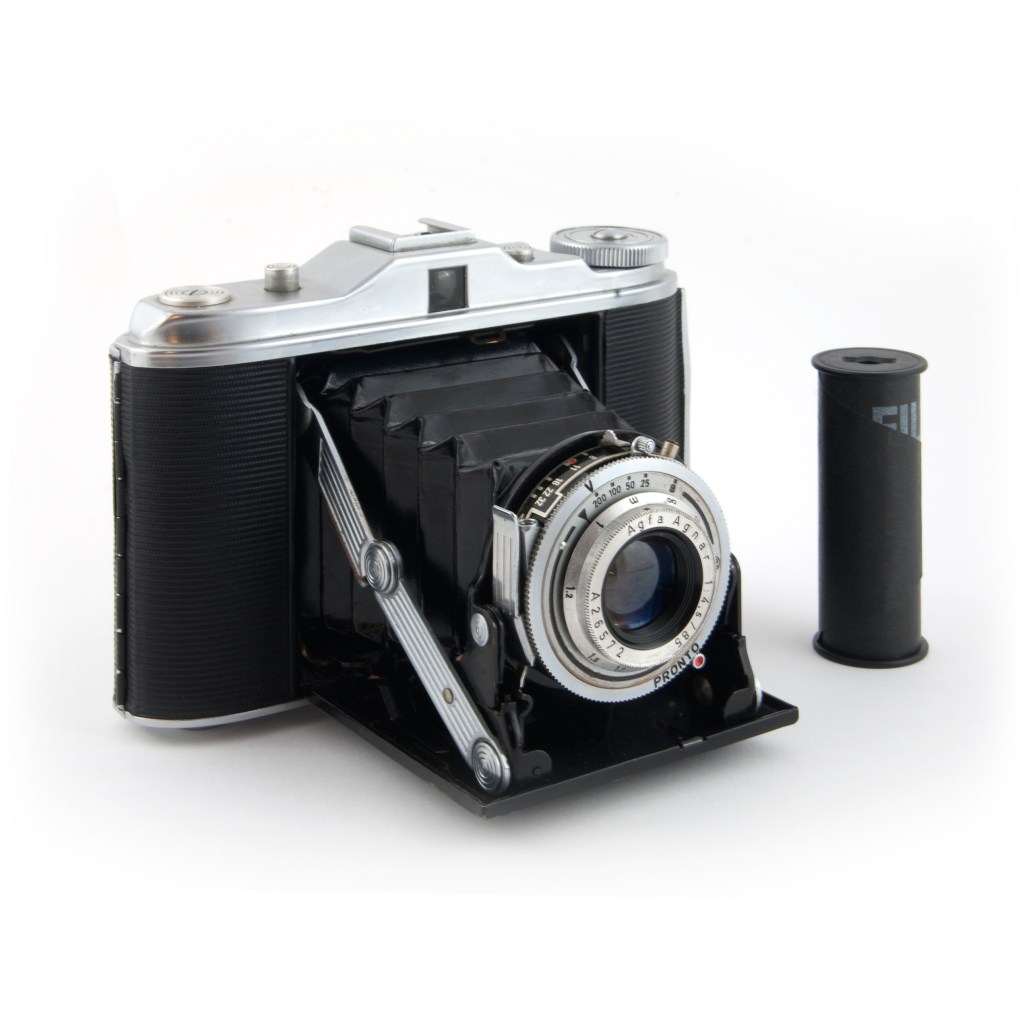
The Agfa Isolette was made over a number of years, sold in the US under the Ansco brand, and is a rather nice camera overall. The issue many of the later ones have is the fact the bellows have deteriorated. Apparently the later models had plastic bellows which developed pinholes and creating, of course, light leaks. I bought my Isolette II from Certo6, from whom I have purchased a number of vintage folding cameras and accessories. I have never been disappointed with the quality of cameras I have from Certo6, so here is a plug for Jurgen Kreckel!

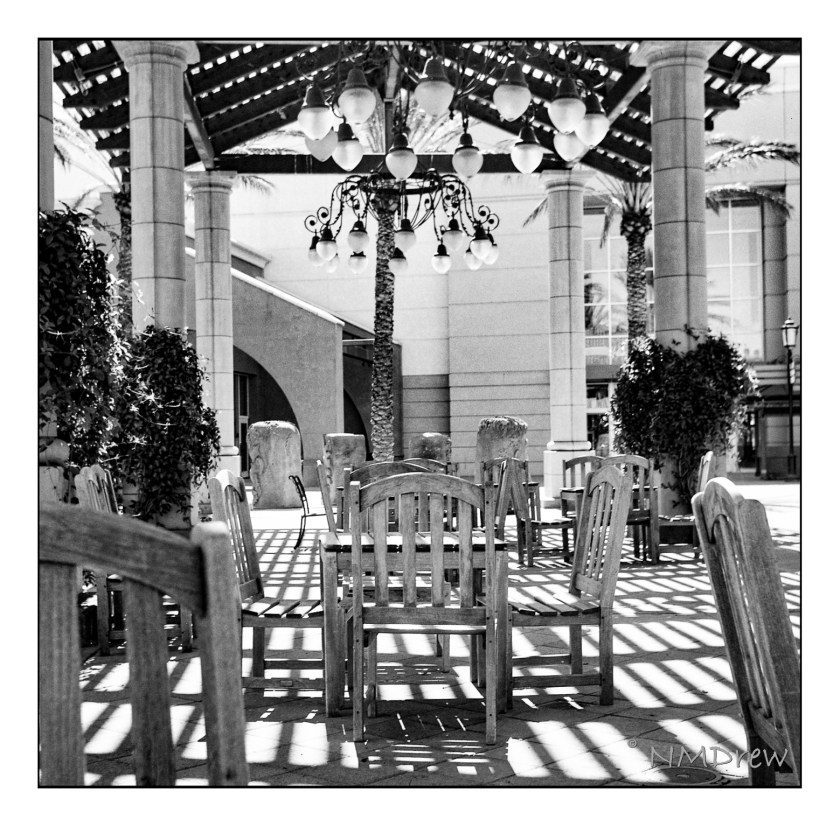
I don’t know about you, but I wander around with my interests – sometimes sewing or knitting, painting, spinning, then on to photography or drawing. It varies, in part with the weather, in part with my mood. Photography has taken a long time out of late, but with summer coming in and a pleasant spring ending, I decided it was time to re-evaluate and re-explore photography. So, with a new-to-me red skinned, black bellowed Agfa Isolette II, a roll of 120 Ilford XP2 Super 400 film, I spent a day wandering around the house and neighborhood, guestimating exposures as well as using a light meter. I got the images back a couple of days ago. All were usable, but below are the best of the lot (I think).

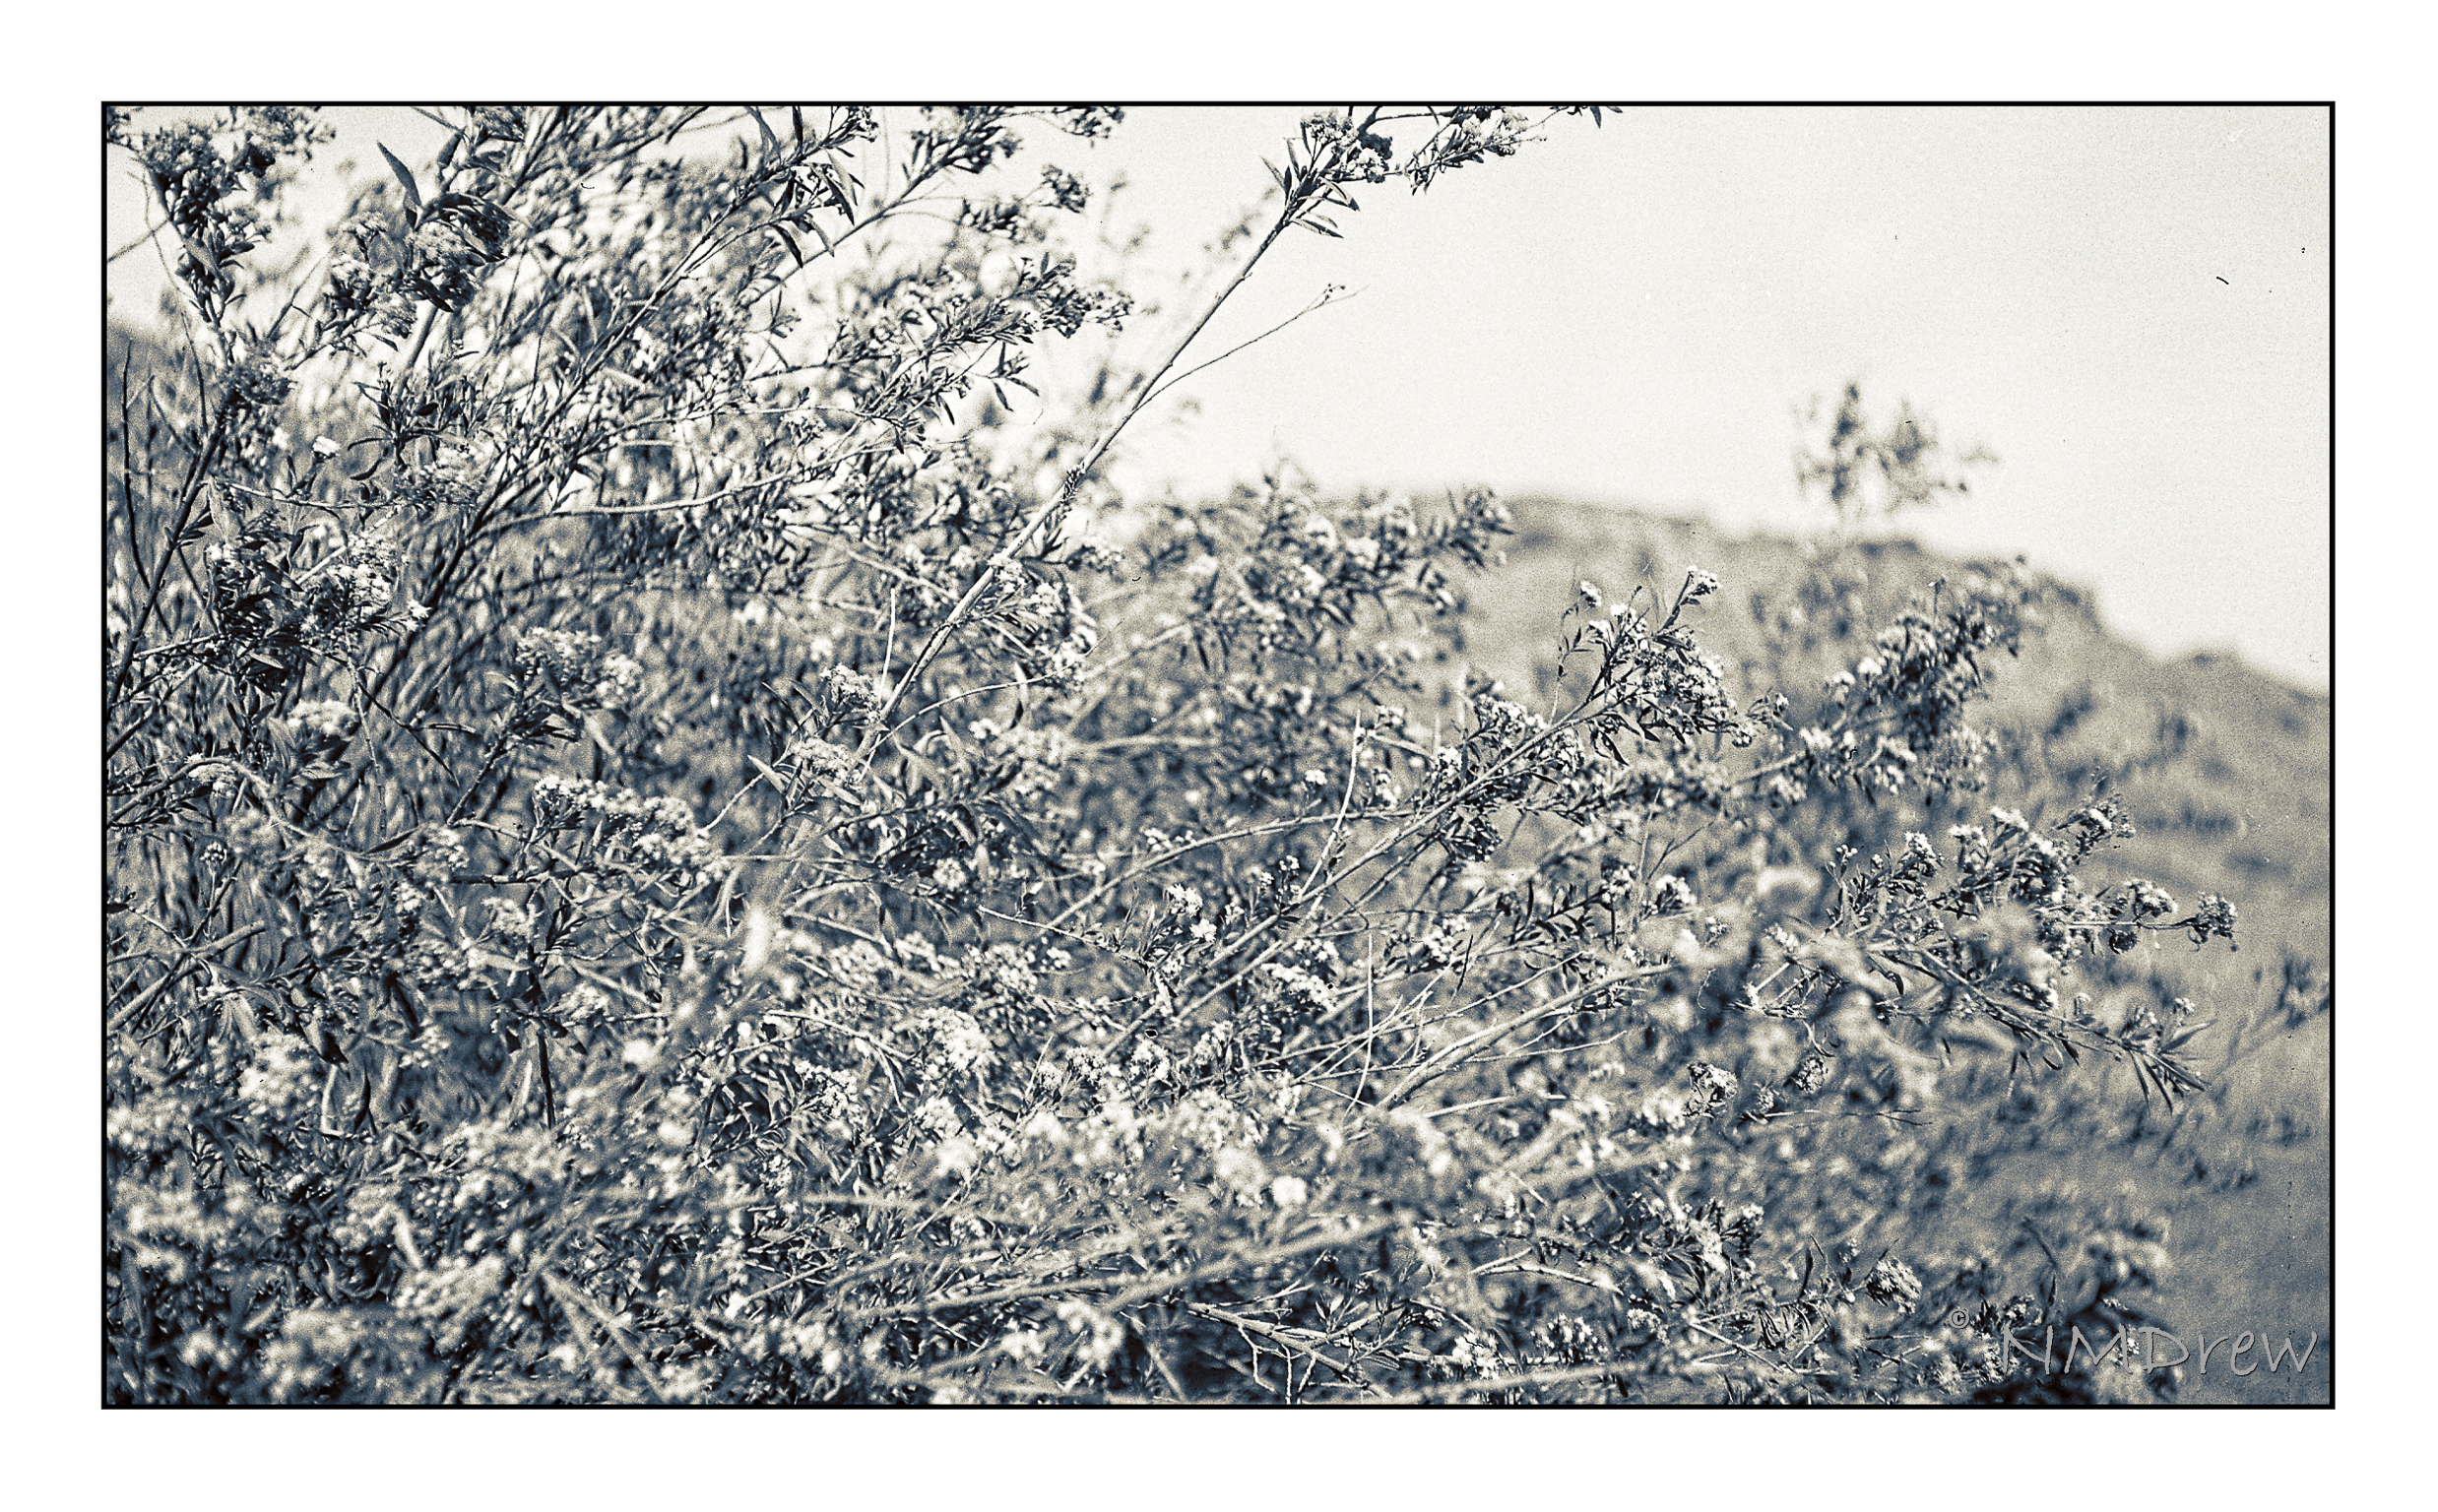
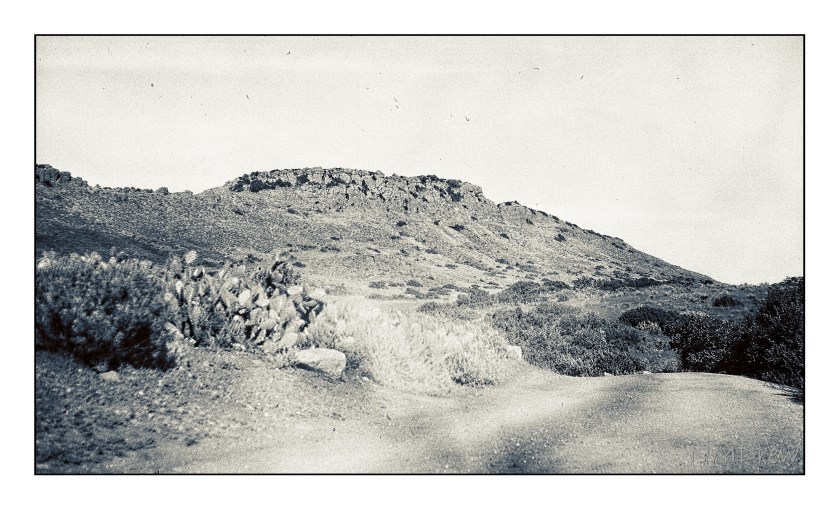
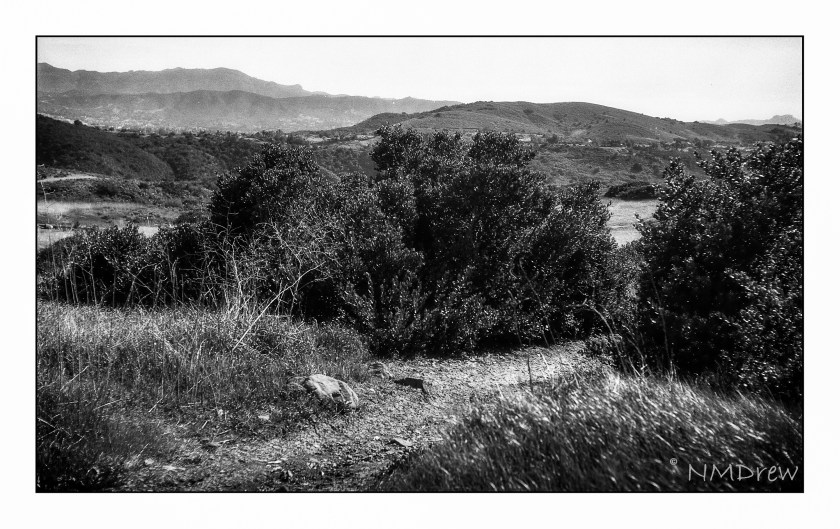
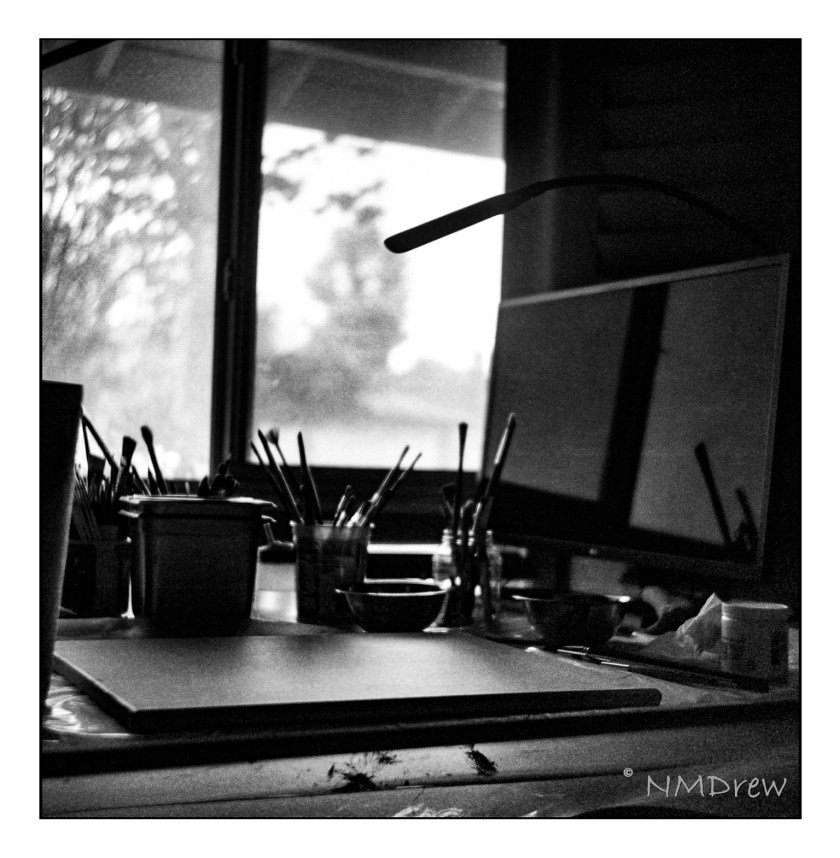
Up front, these photos are not SOOC – I did work on them in post. The Apotar lens is not in the same league as a Tessar, but it is a rather sweet lens. I think the issue more than anything could have been my fault in exposure. The details visible are the result of editing with LR and such, working to bring out detail, increasing contrast, and changing the image to meet my desired goals. Altogether, I like being able to take a folding camera with me – I had it in my pocket while I was oot-and-aboot.

Sunflowers
Empty Field
Church School
Patio Seating
Sunflowers and Sun Flare
Ready to Work
Tree Textures
Dill Flowers

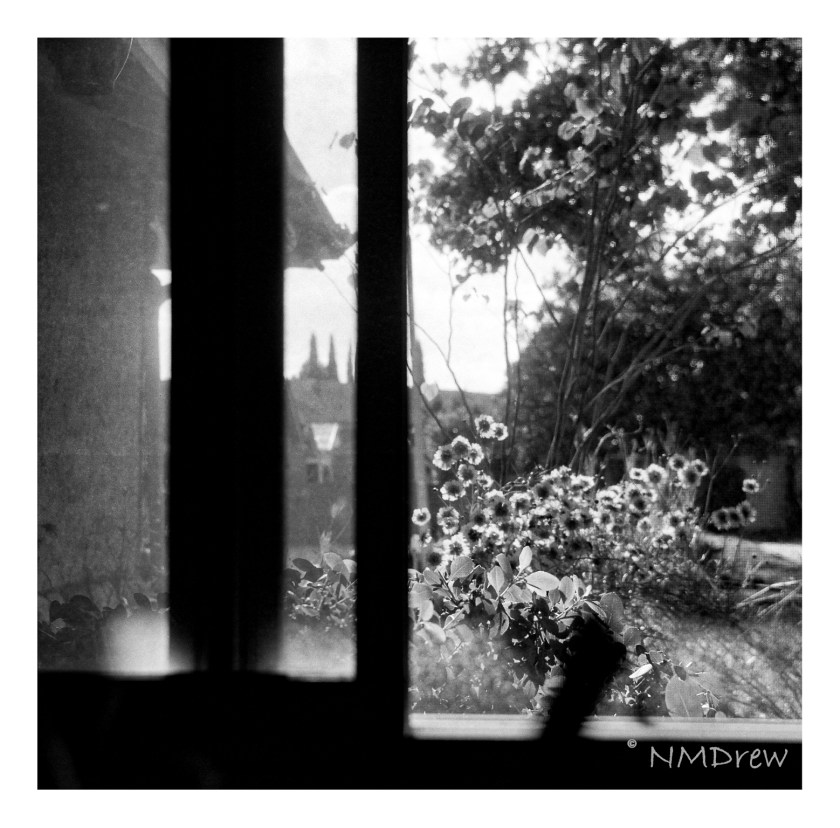
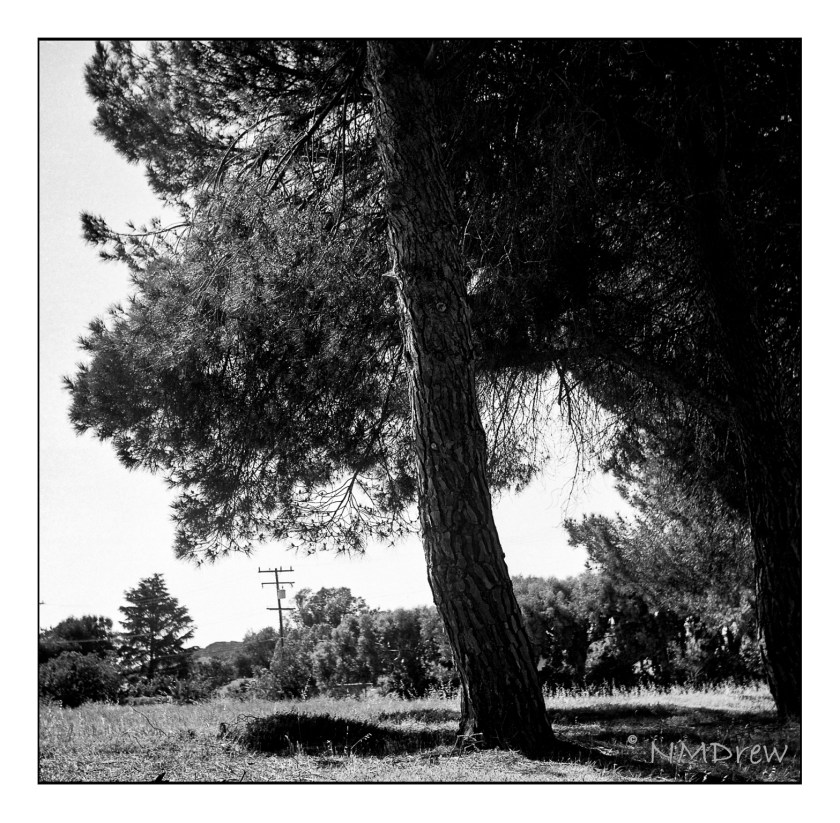
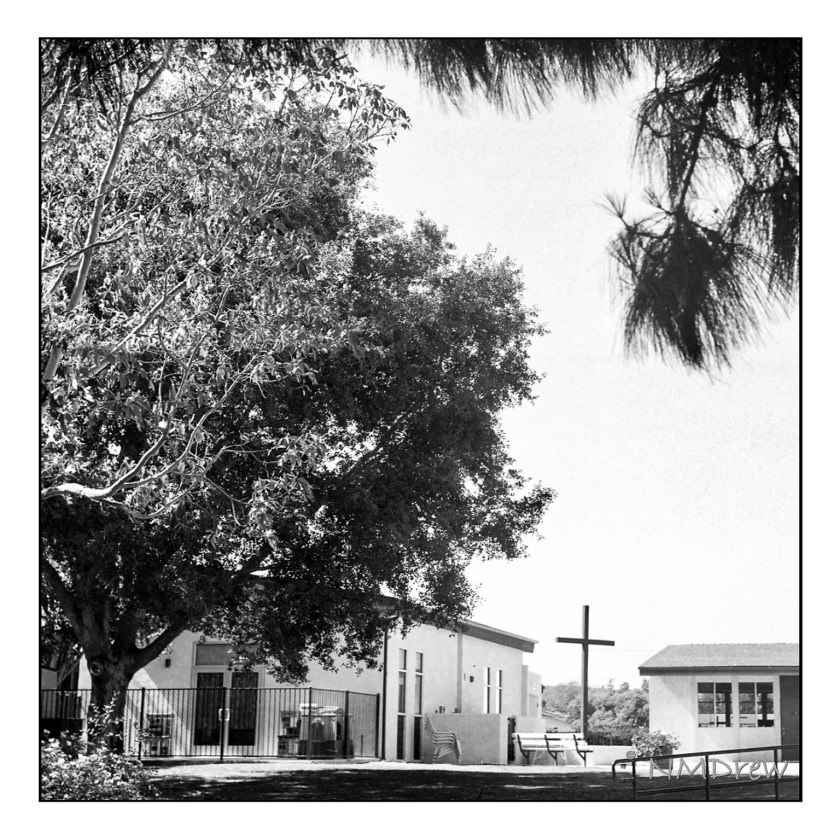
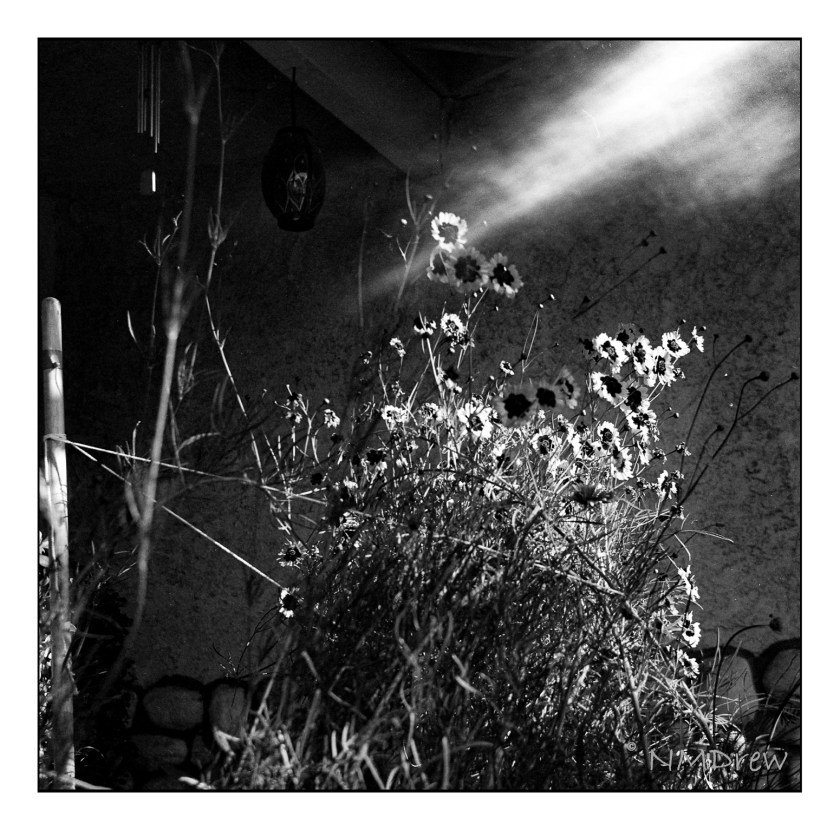
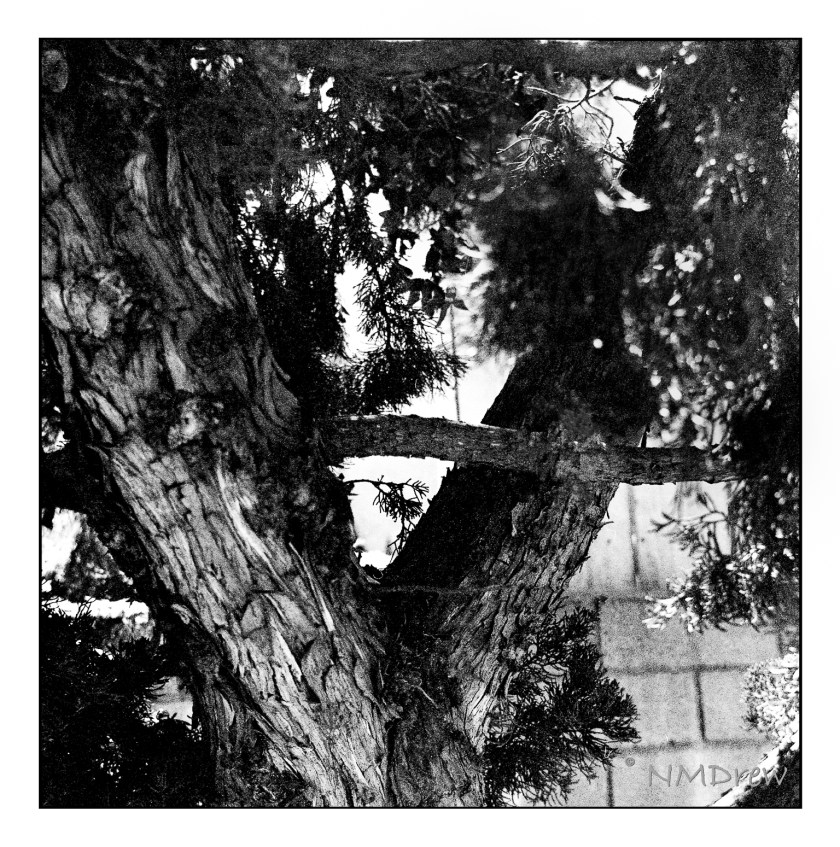
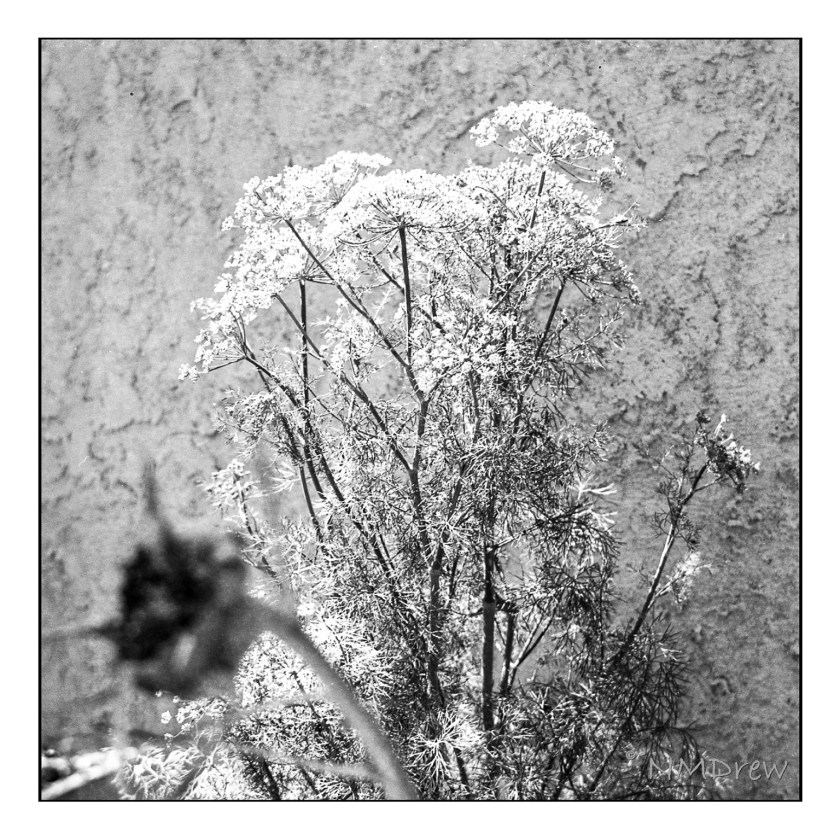
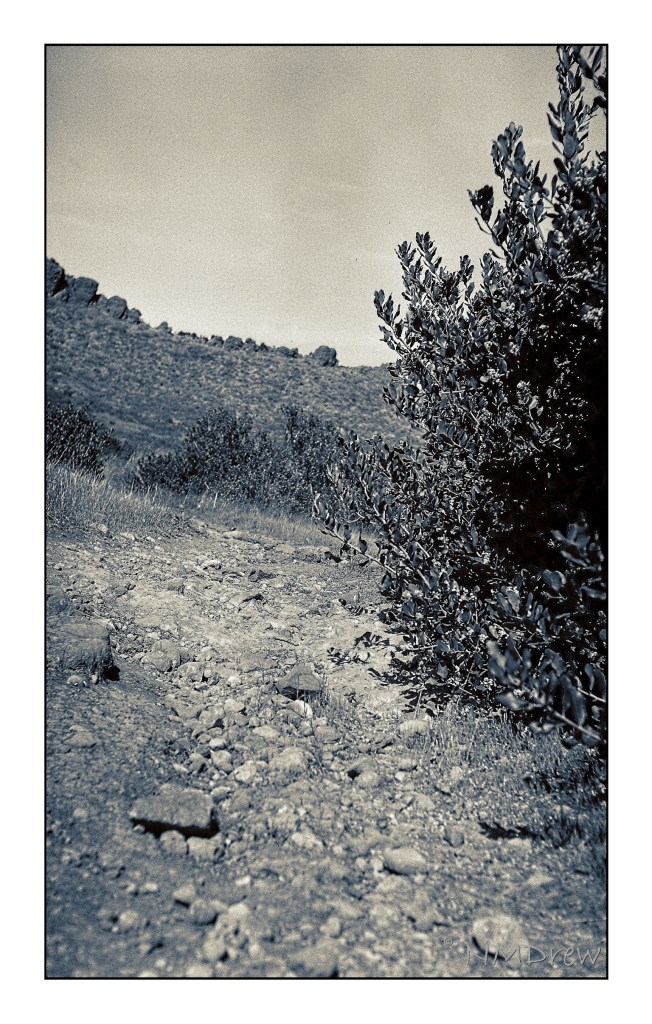
The Apotar lens is uncoated (I believe) and as a result is prone to flare. You can see it in one of the sunflower pictures. I did not use a filter at all. In particular, I think the last one of the Dill Flowers would have benefited from a yellow, orange, or red filter; the dill flowers are yellow and similar to the foliage of the plant. When I looked for pictures to make, my goals were to look for small details, such as the dill leave, strong contrast, as with the trees, and texture, as in the bark.

Altogether, the camera worked beautifully, was simple and direct. Aperture, time, and distance all need to be determined by the user. I used the Sunny 16 rule for the most part and guestimated the distances. Outdoors the usual exposure was f/11, 1/100, and about 6-20 feet (2-6 meters). Inside, most likely f5.6, varying distance, and about 1/50.

Tanglewood – Done or Not?

I think I am done with this painting. A few areas stand out in the current scan that I will attend to tomorrow most likely, but by and large, I think it is finished.

A few things, though, I am thinking about that may need more work. First, the two lowest arching trees look like a bridge because of the highlights on their upper surfaces. The second is, should the tree that is in the right crossing over the lowest arching tree correctly placed?

I find scanning a painting gives me a different viewpoint and what I don’t see when it is right in front of me become more apparent when seen on a monitor as a digital image.

Ccoments?

The Olde West

Living in California meant traveling across country to move. We did this when I was 12, and I did it as an adult in my 30s.

Driving through the vast reaches of this country always amazes me. First, it is just BIG. Open miles of open land, a house or ranch or roadside attraction.. Huge mountains seen across miles. Winding roads where dust behind you flies in a cloud as you bump along, looking for rocks and holes. Freeways, local highways, dusty country lanes – this is what I enjoy when I travel. This fall we plan a trip across northern Nevada and into Utah, when the weather is cooler, and perhaps we will even enjoy colored leaves at the higher altitudes.

Awhile back I loaded up one of my old cameras – a Voigtlander Bessa RF 6×9 with a Heliar lens, ca. 1935 – with Ilford Ortho 80 Plus film. I forgot about it until I opened the back of the camera and slapped it shut as quickly as possible. As the camera only gets 8 pictures per roll, I lost a few – like 3. One image was too dark for use. But, the remaining 4, while not great, were fun to manipulate in post.

The Ilford film had just been released, so I bought a few rolls to test out. In my 35mm film camera, it worked beautifully, but my exposures were marginal in the 6×9 at best. I worked on them a lot to bring in discernible contrast – most were over-exposed. The lens on the camera is a beautiful Heliar, but my guestimates with 80 speed film were too high. As well, I used no filter since I don’t own one to use with the lens. So, above, a test shot to look at contrast – white flowers on dark green foliage. I created a preset in On1 Camera Raw that I liked; it brings out the details but doesn’t create too much contrast.

This photo makes me think of old dirt roads and stagecoaches jouncing along – like you see in 50s movies! The image got a light leak, but the details of the distant mountain – Mount Clef – and cacti are worth a look

Again, more detail and a bit of LR dodge-and -burn. This is the dried landscape nearby. When the winters are wet – which ours was not this year – the grasses and mustard can grow up to 8 feet. Easy to get lost in, but don’t – stick to the paths or ticks and other critters will get you.

Backcountry is beautiful and dangerous. I remember turning back here – a rattler was basking in the sun. That’s another good reason to walk where you can see ahead of you!

So, a bit of my West with my old camera and newer film and technology. The Voigtlander did not let me down, nor did the film. I am looking forward to taking this camera with me up to Morro Bay next week – along with more modern cameras – and out to Nevada and Utah. More Olde West to come!

Tanglewood Underpinnings (III) and Tree Removal

Above is where I currently stand with my acrylic version of Tanglewood. I changed the foreground and began adding colors to the leaves, hoping to indicate dappled light. The foreground was similar in texture and appearance to the leaves, so I applied paint and mushed things around.

In looking at it, I thought this was looking okay, but so boring. Teacher and I both agreed the trees were too symmetrical and their pattern to repetitive. Time to fell some trees!

Home, the painting was scanned, and then sent to LR or some other program to remove the center tree. I didn’t even need to get out my saw! This definitely makes the painting better already.

More tree removal, but not as well done as the first one. The hint of the upright remains, but in that glimmer of a tree comes some new ideas.

First, the removal of just one tree is my preferred one of the two. The second one shows that suggestion of an upright, perhaps more subtle (i.e. obscured by foliage) works, too. More upright trees in the background, hidden by foliage, will add to the visual interest of the painting without creating a yawn-worthy one.

So, this is where I am right now. Not finished, but getting close. If you have an opinion, let me know!