Hotter Than Hell, So I’m Gonna Sew!

I think it must be about 100F (38C) where I live, so the air conditioning is on and not going out until it is dark.  My dogs aren’t mad, nor am I a Brit, so I am staying indoors, drinking water, and prepping the Maggie Shirt . . . and I am sewing it on my vintage Singer 403a,

I think these machines (the Singer 400 series) date from the mid to late 1950s and into the early 60s.  Mine is like it was never used.  When I bought her, she needed some TLC, heat and oiling, as well as a bit of gear grease, before she was off and sewing.  Unused machines freeze up, but once they have been given the right attention, I think they are the best!  I’ve had my 403a for awhile, and as I cycle through my machines, she hasn’t been out for a spin in quite some time.  Time to put her to work!

There is something to be said for the old Singer sewing machines.  They are well made and pretty straightforward.  The ingenious attachments are fun to play with and many collectors are nutso for them.  I have some, but usually rely on my more modern machines for things like fancy stitches and buttonholes.  Nonetheless, this machine is a blast.  It has cams for stitch patterns – the #0 cam is required to do a zig zag stitch – as well as straight stitch.

The 403a is a member of the “slant-o-matic” series of machines Singer made.  I like the slanted needle – it pushes the needle more into your line of sight.  Many newer computerized machines have the needle tucked back under rather fat upper portions, so they are harder to see.  Still, that doesn’t act as a deterrent.  For the 403a, as it is a slant needle machine, it is important to have the slant-o-matic attachments.  The one I have is the professional buttonholer, but I also have numerous feet that came when I got the machine.

Click on one of the images to open up the slide show . . .

The first two images are of the buttonholer – just a quick picture, really. The first shows you the box with directions, the second is the feed dog cover plate. The 403a has a rather interesting system to remove the throat plate – it is lifted up by a lever and slid out. The buttonholer cover slides in to its place – kind of complicated until you get the feel for it. The last picture shows you the box of feet and cams that came with the machine. The manual shows you just how unused the whole machine was when I got it.

When I buy an old machine, I want one that I know will work.  I like them to look good and to run well.  Some people get off on restoring machines, and while I can work on most of my machines for general maintenance, I really don’t find it a lot of fun to try to fix an ugly, rusted, beat up machine that is covered with rust and has electricals of suspect quality.  Prima donna, yes!

Finally, here is how I spent a few hours this afternoon.  The gauze for the Maggie Shirt is soft and stretchy, as is the characteristic of the critter.  It is also very ravelly.  Perhaps it is a bit of overkill, but I decided to stay stitch (the straight stitch) all around each piece, and zigzag to finish the edges.  I may need to cut out another collar stand as it seems to have gotten a bit warped by all this attention, but I have an extra yard.  Never having sewn with gauze, I bought a bit more to play with and to be sure that I didn’t lose so much to shrinkage that I would not be happy.

To be continued!

Maggie Shirt and Magyar Sleeves

The current project is a baggy shirt, with a front placket, back yoke and pleat, and “Magyar sleeves.”  Never heard of Magyar sleeves, but a trip to Wikipedia gave lots of info.  The pattern is from StyleArc, and is called The Maggie Shirt.  Clicking on the StyleArc link will bring you to the pattern itself.

In addition to making a placket with a slash for the first time (see the front of the shirt), I will be sewing with gauze.  I may be nuts to do it but it will be an adventure in and of itself.  The placket may need a fusible interfacing for it, as you do with the collar, but I will cover that territory as I move along.

Here is a picture of the gauze.  I wonder if it is the “double gauze” I kept reading about as I searched for information on sewing gauze and cutting out patterns with gauze fabric.  Suggestions include not ironing the gauze, but washing it on hot to let it shrink, and letting it dry flat or on a line.  I put mine in the dryer, but didn’t iron it as it will stretch a lot.

When I laid out the pattern, I flattened the material, not trying to smooth it out too much, but getting rid of any folds and letting the material lie as it wanted.  Of course, the pattern has a grainline line in it, but I just eyeballed it because how could I find the grain other than measuring it from the selvedge (which I did the best I could).

You can see how sheer the fabric is as the blue lines of the cutting board show through a single layer, and for this hot weather, it will be a comfortable top to wear – and hopefully relatively modest, as I don’t like my underwear to be too apparent.

The pattern is pretty straightforward, but I am not too sure about the directions and markings.  They are not like the ones found in the 4 big pattern companies here in the US.  I need to read a bit, as well as rely on my own knowledge of sewing.

The picture above is of the back of the pattern before I cut it out.  The pattern was printed on 8×11 paper, and then taped together front and back.  Some layers of paper are 3 deep – and a real pain to pin down.  I think I will need to rethink the taping process – pulling out layers as I cut to create only one layer thickness of paper.  Didn’t think about this until the pinning and cutting of the pieces began!  It’s really tough to pin through 3 pieces of 20# bond!

And here are the pieces, ready to be sewn.  That begins tomorrow or Sunday.  I also plan to finish the edges of each piece before I sew, and probably stay stitch all the curves at a minimum.  The long narrow piece is the collar, so I will also fuse it to a lightweight interfacing.

Before any sewing begins, though, I plan to practice sewing and finishing the edges on the gauze to get a sense of how it handles.  I may end up hand basting a lot of it, too, because that may prove to be easier than pinning.  As well, I need to check out my presser foot pressure (lighter pressure for lighter fabrics) and stitch length – longer or shorter for loose weaves?

Now, time to go stretch as bending over a table is hard on the old lower back . . .

Time, Paper, and Tape

The sewing bug has bit me again!  Now that I have time to sit down and think, I also have time to sew.  I just finished a flannel robe in the past couple of weeks, as well as hemmed a couple of pairs of jeans for Josh.  Now the plan is for a new blouse out of some gauzy material with gold printing on it.  Yeah, sounds bizarre, or gaudy, but it really is rather pretty.

I have any number of patterns, but none seemed especially suited for my very first foray into sewing with gauze.  Looking around on the internet, I came across some patterns by StyleArc, an indie pattern company out of Australia.  They get good reviews, so I decided this blouse would be perfect.  A bit of a challenge, but simple enough . . . .

When you buy online patterns, often they are downloadable as a PDF file that you print out at 100% (to make sure you get the right size).  From there you tape everything together to create your pattern pieces, and then cut.  And then tape some more, front and back.  After that, you get to sewing!

Sewing with Flannel

Last Christmas I made my husband a flannel robe.  I had never sewn with flannel before, and having found a really soft, lofty, excellent flannel at the local fabric store, on sale no less for 50% off, I had to try it.  His current robe was a flimsy one made of cheap flannel, too short, and not very warm.  So, off to work I went, and you can read more about it here.  As with all washable fabrics, I washed it on the hottest setting and dried it on the hottest setting – cotton shrinks, flannel is linty, and the sizing and such makes a fabric deceptive.

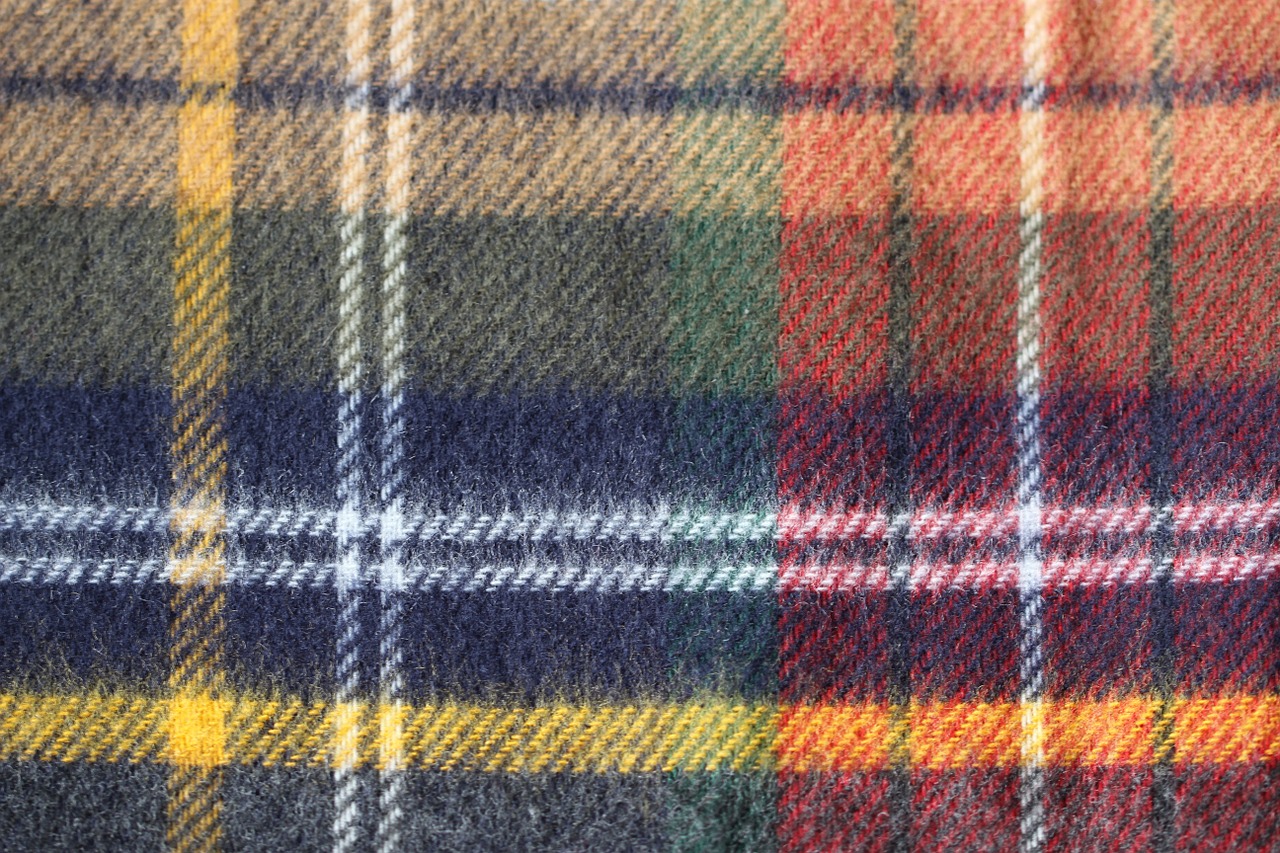
I figured I knew enough about sewing and fabric that I didn’t need much more than my accumulated knowledge.  However, as I proceeded to cut out the robe, I became aware of just how much flannel stretches!  The robe was really lopsided, even though I cut out each piece separately to match the plaid weave.  I was soooooo careful!  I attributed the mismatched plaid to my own casual approach to sewing – I do it for fun, enjoyment, and not to make myself nutso with idealized perfection – but soon realized the fabric itself had its own personality.

Fast forward to the past week.  I made myself a robe out of the same pattern for the same reasons I made my husband a new robe.  My summer robe was too short, had crappy flannel, the waist set too high.  I bought a lighter weight flannel than the plaid for my husband, figuring it would be more tightly woven and thus have fewer problems.  As usual, I pre-washed the flannel in super hot water and dried it on super hot.  Since this flannel is printed, I didn’t worry about it too much after that . . . but I still found that, even though was picky about my cutting, when I went to sew it, some pieces were warped, even with stay stitching.

Hmmmm.  What is going on here?

Research revealed some things I didn’t know, but had learned by experience.  Viewing YouTube videos on sewing with flannel came up with some suggestions, paralleling many of my own ideas after sewing two robes and having more flannel projects in the sewing wings.  Let’s begin . . .

Before Sewing

  • Determine the yardage for your garment based on the nap layout.  Flannel is a napster!
  • Buy 20% more fabric than you need as flannel shrinks a lot!
  • Buy at least 1 yard more if you need to match plaids, or even more if the plaid is a large one.
  • Pre-wash in super hot water and dry.  Repeat if necessary.
  • Use a starch or sizing spray on the reverse side of your fabric when you iron it prior to cutting out your pattern
  • Iron by the press-and-lift method – don’t iron back and forth or in a circular manner as this will cause the fabric to warp

Cutting Out Your Pattern

  • Flannel has nap.  Determine the direction in which you wish to lay out your pattern.
  • Lay out all pieces in one direction because of the nap.
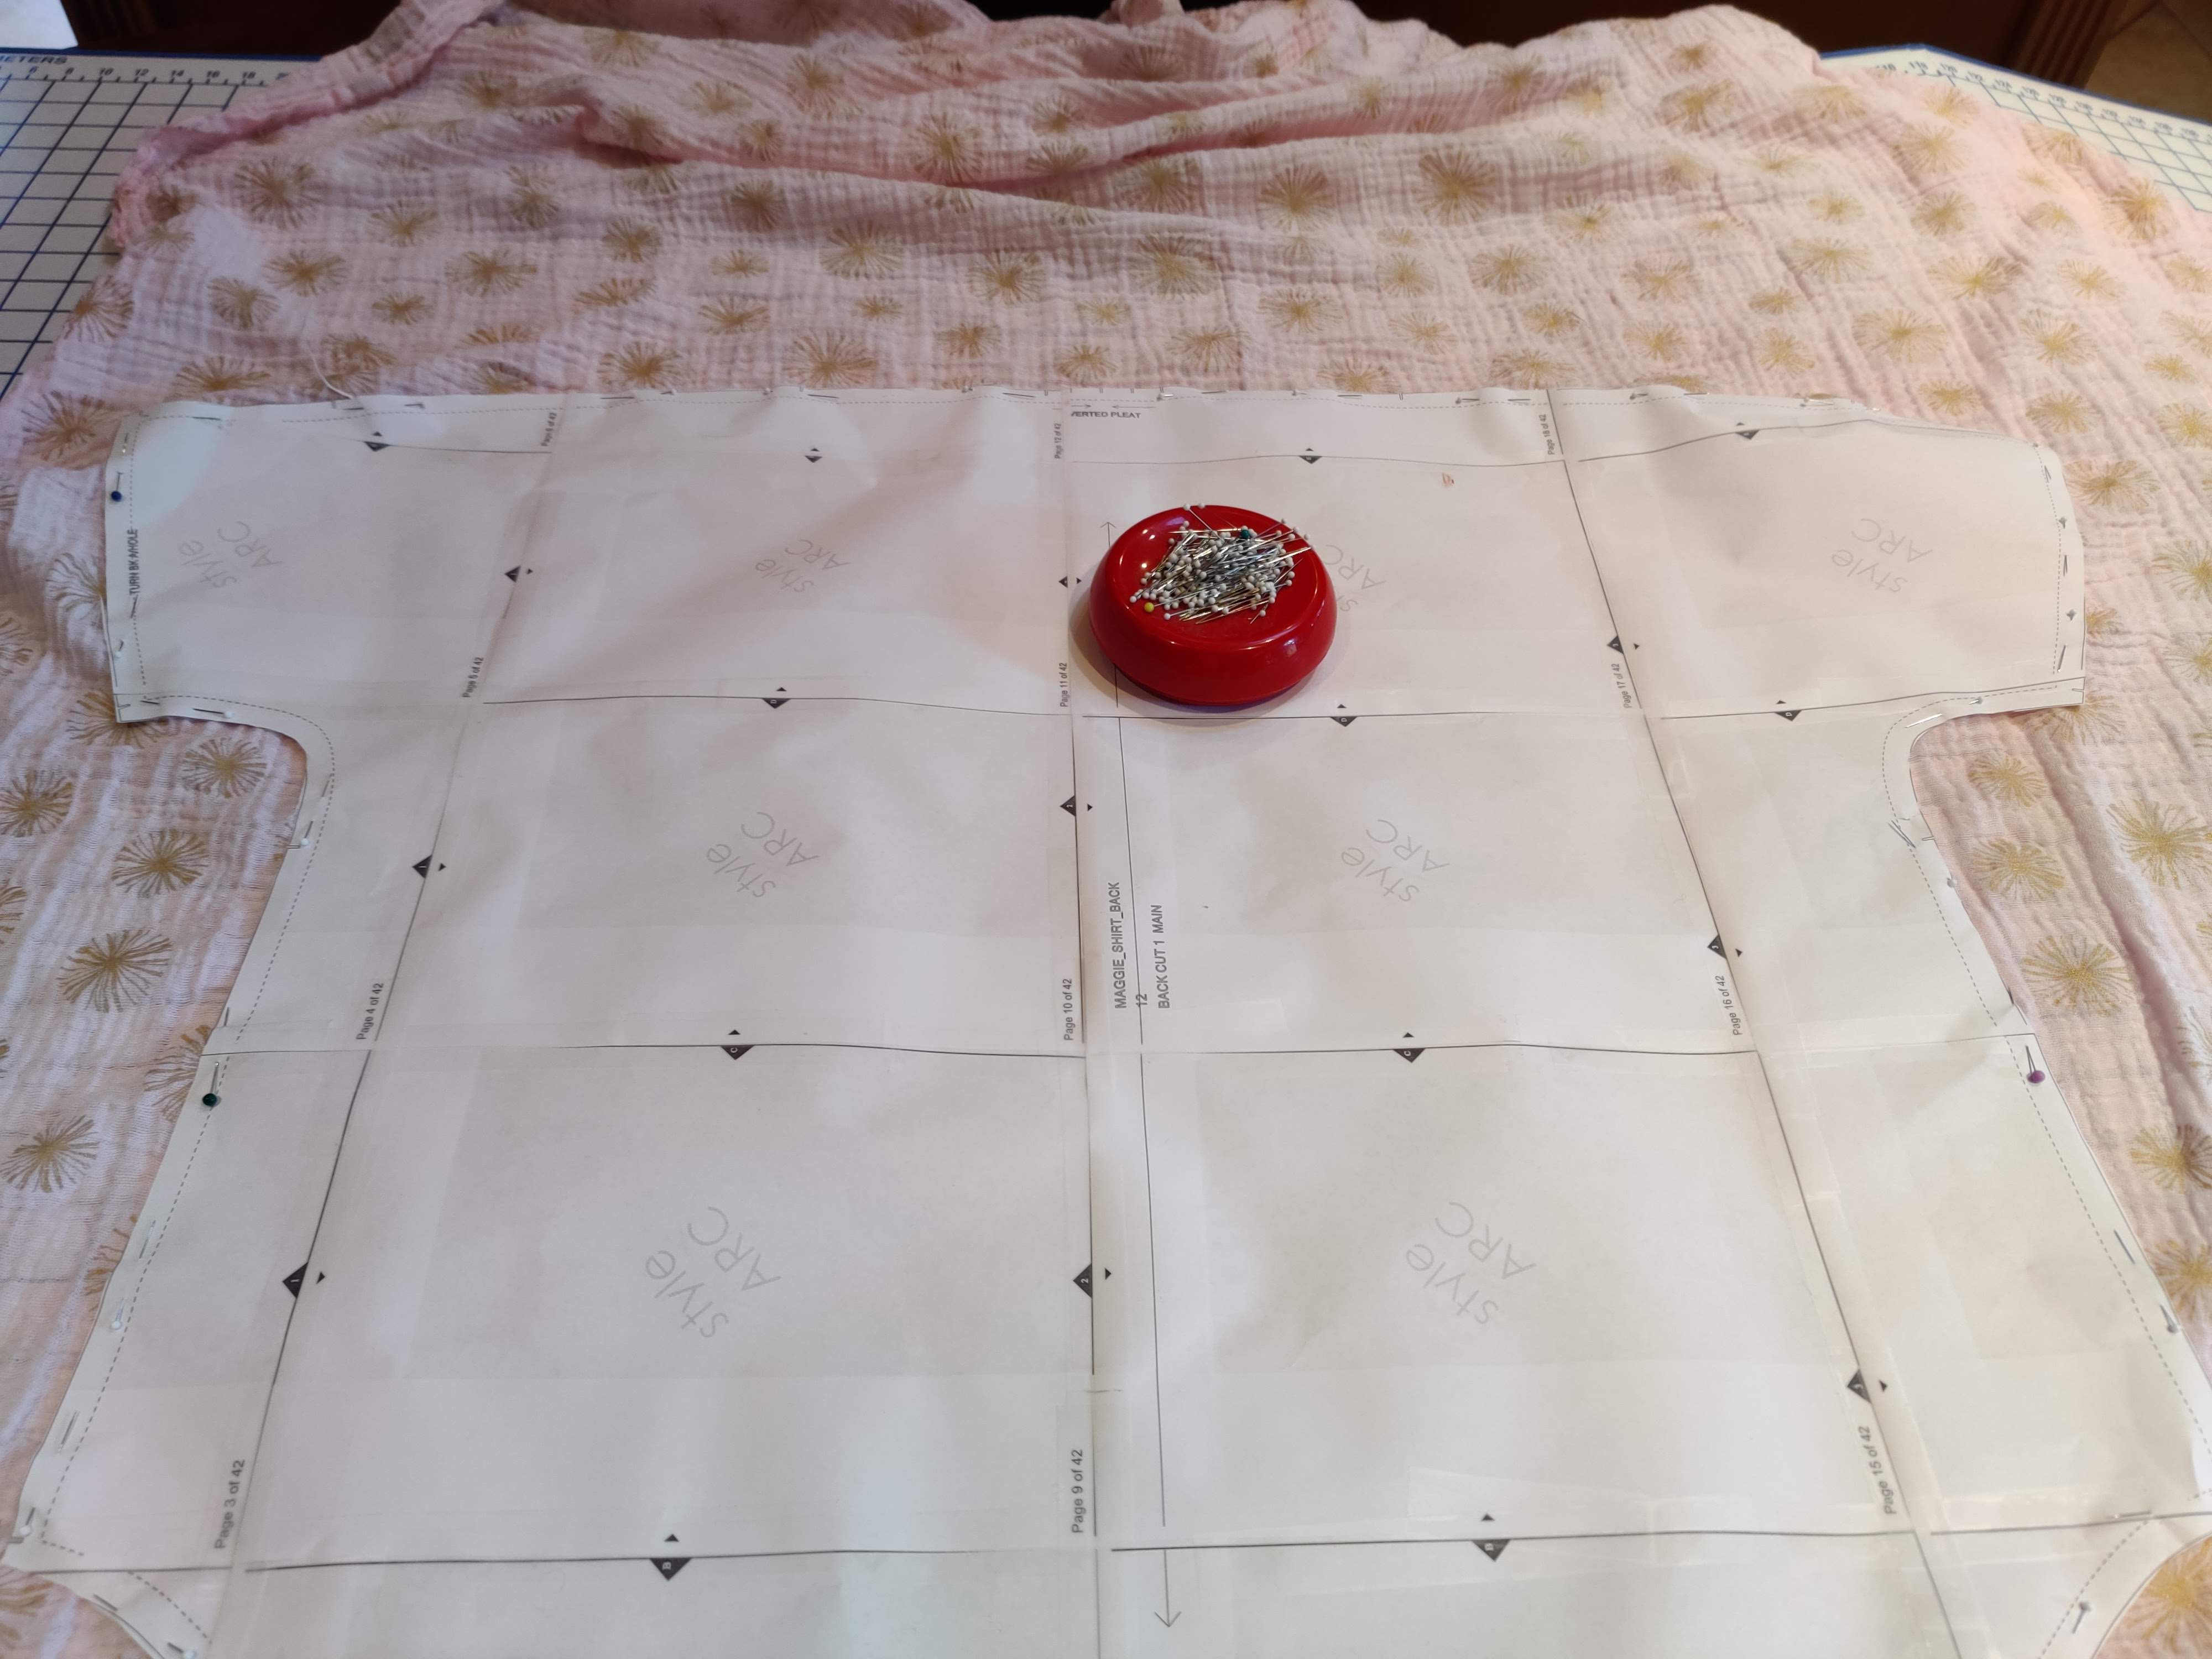
  • Cut out pieces individually if you have a plaid so that you can match up the weave if you wish.
  • Mark all notches and dots – this will help keep your pattern in line when you sew – remember it is gonna stretch!

Getting Ready to Sew

  • Stay stitch where directed by your pattern.
    • I plan to stay stitch around each piece before sewing – this might help with stretching issues, it may not, even though I zigzag all my pieces prior to sewing.
  • Finish all the edges of a piece before you sew – this will cut down on fraying (and flannel wants to fray) as you sew, even if you have to trim seams later on.
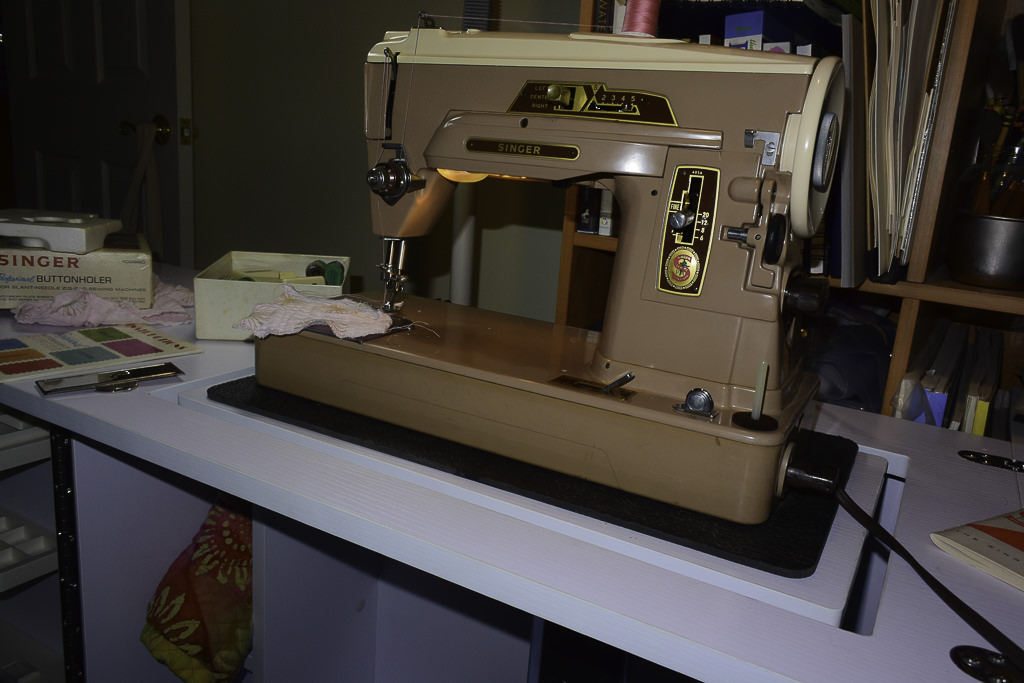
  • Use a walking foot / quilting foot if you have one.  The differential feed helps reduce the stretching of the flannel as you sew.  If you don’t have a walking foot or differential feed on your machine, roll the fabric up and support it so that the upper layer especially is not weighted down.  This helps a bit.
  • Use a new needle.  For heavier flannels, use a 16/90 sharp or universal; lighter weights use a 14/80.
  • Increase your stitch length.  Most modern machines default to 2.5mm – try 3.0 to 3.5 depending on the fabric.
  • Use polyester thread as it is a bit stretchy and can work with the natural tendency of the flannel to stretch.  Cotton thread is always my thread of choice, but it doesn’t stretch.
  • Decrease your upper thread tension if you can.  Less pressure on the fabric means less stretching as you sew.
  • Pin, pin, and pin some more!  This helps keep the fabric from slithering around as you sew.  Or, if you like, hand baste each piece.  This might actually help when matching up plaids more so than pins.
    • For my next robe, for my husband’s brother, which is made out of the same fabric as his, this is what I plan to do.

Sewing the Garment

  • Take your time.  I slow down my sewing considerably when I sew flannel.  This helps me keep the fabric under more control than if I am zipping along at maximum speed.
  • Remove pins just before they slide under the presser foot.  If you snap a pin, you might find it is difficult to locate later on.
  • Think about how you want to prevent the fraying so inherent in flannel.  How are you going to control it?  Consider
    • serging the seams
    • overcast stitching the seams if your machine has such
    • zigzagging the seams
    • flat felled seams
    • French seams

After the Garment is Sewn

  • Hang the item up for a couple of days if it has a hem to be put in.  The fabric will stretch out and relax a bit.  This will allow for a better hemming experience I think (just what I think).
  • Hand sew hems and facings into place.  As flannel is stretchy, you can then slightly gather in excess fabric as you stitch.  The nap in the flannel allows for slightly larger stitches – more than one thread of the warp or weft can be picked up.  The stitch will be buried in the nap.

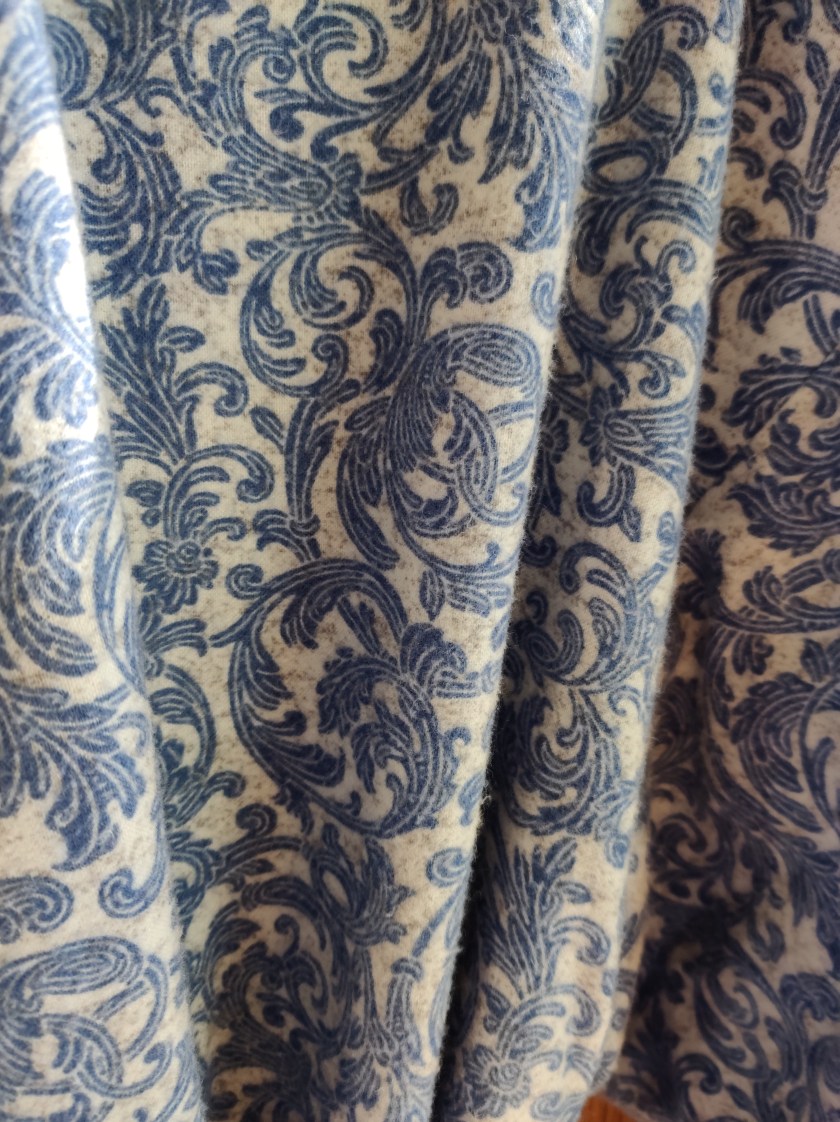
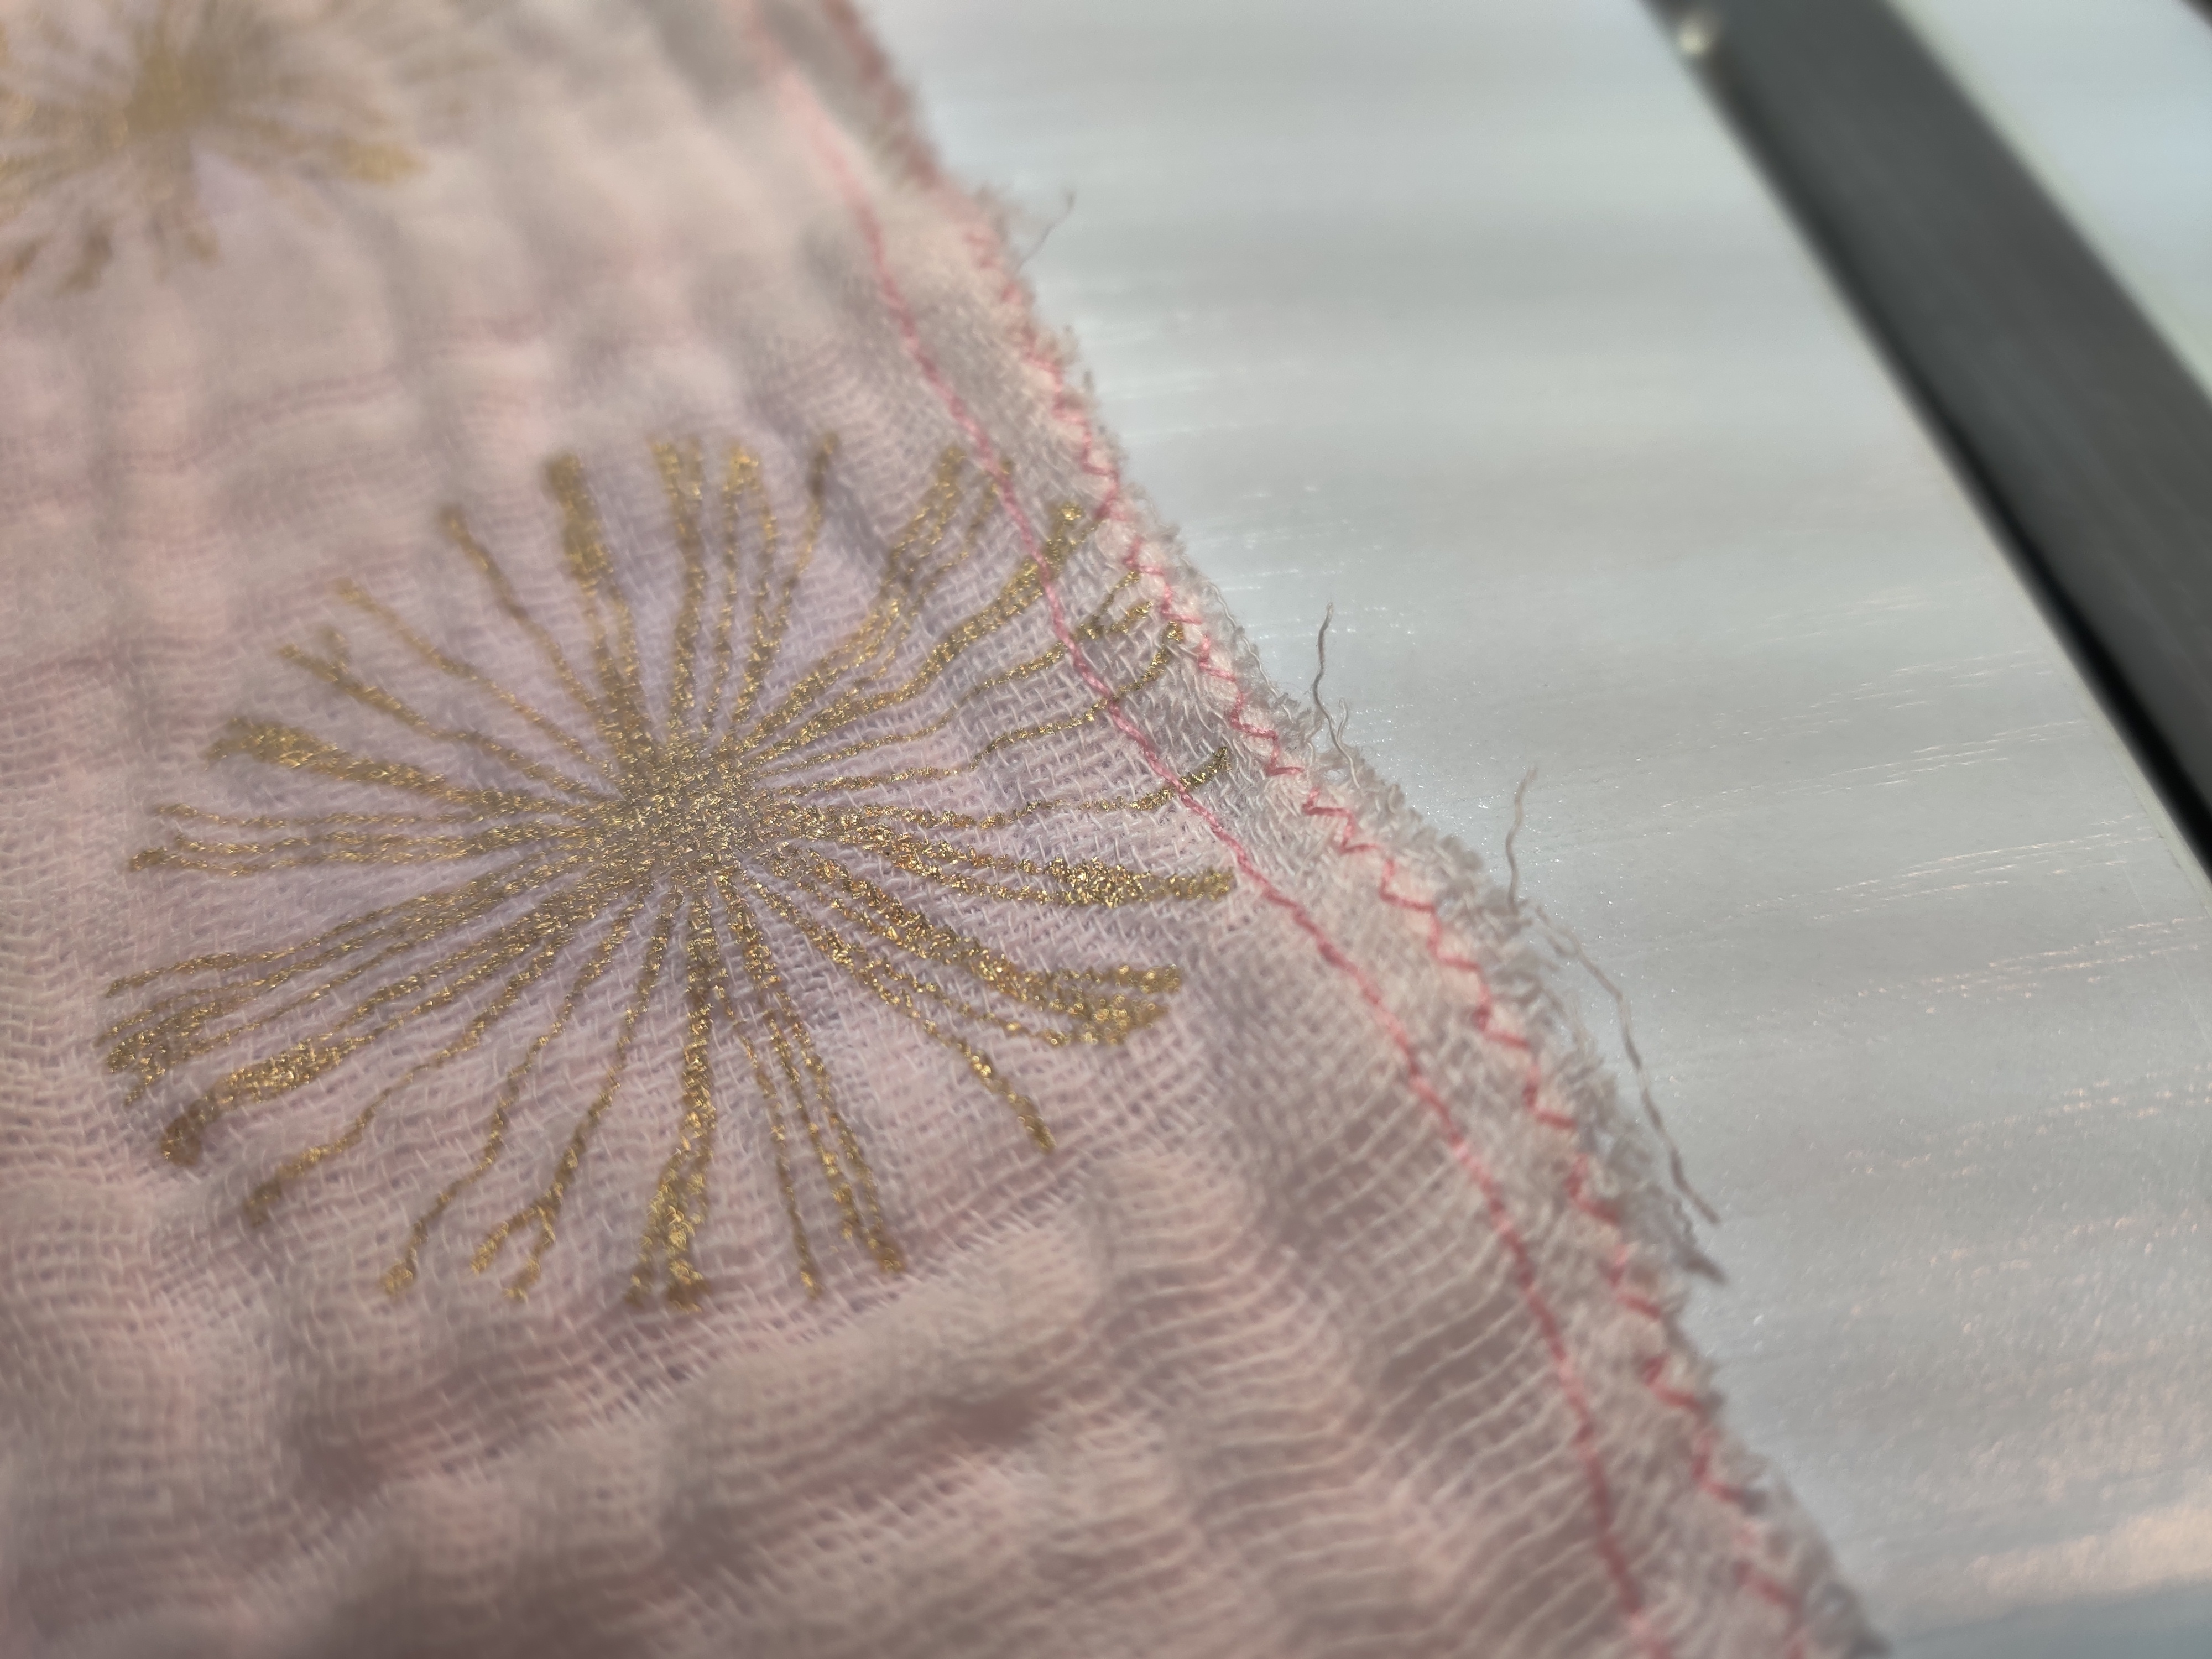
As you can see, this flannel is considerably less heavy than the one in Josh’s robe. It is very soft and fuzzy, which makes for a comfortable robe. Over time, we will see how good the quality of the fabric is through washing it. Now that it is shrunk, there is no need to wash it on super hot nor dry it the same way.

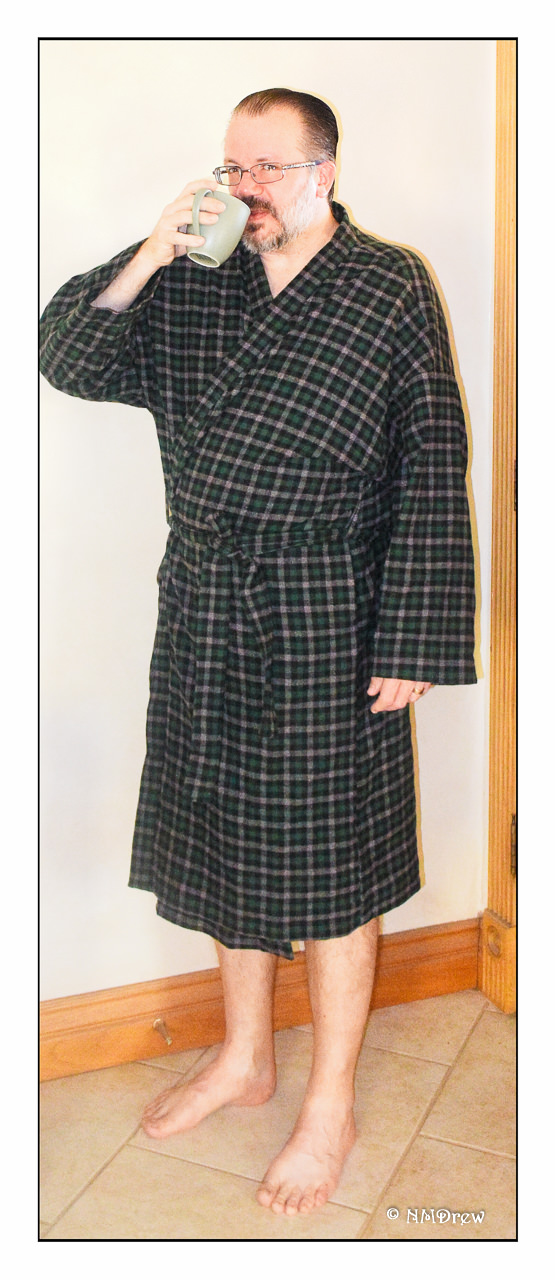
As you can see, this robe is baggy and loose. Wearing it is very comfortable. The off-the-shoulder sleeves, while perhaps not the most flattering, certainly are roomy. I made the small robe for myself and the large for Josh. The front overlap is good, covering more than enough in both sizes.

I had a few issues with the sewing sequence. I didn’t like the fact that the sleeves were sewn on and then the front bands. I personally would do front, back, front bands. From there I would add the pockets and loops to hold the belt. Afterward, shoulder seams. I also think that perhaps sewing the side seams and easing the top of the sleeve might make for a better match of the hems at the bottom of the sleeve. I also cut two belt loop pieces instead of one, using the other for a loop at the inner neckline to hang on the hook behind the bathroom door.

I didn’t spend 2 hours sewing this robe either! My time was about 10-12 hours. I really took my time, and spent a couple of hours for about a week sewing, ironing, finishing seams, hand sewing hems and front bands. The final product is pretty nice and looks professionally made. I am not sure if the fabric caused some of the pieces to stretch in weird ways, but it was not something that caused issues in the end. On the front of the robe, even though I matched notches and dots, one band was shorter than the robe front and the other was a bit longer. Hemming took care of such discrepancies.

In the end, I like this robe pattern, but for a woman, perhaps one sized for a female build would be a better choice. Unisex patterns are, in my experience, sized for men. Big shoulders, narrower hips. I look a bit different than that!

Chaos Contained

Christmas and New Year are busy times of of the year, particularly if you tend to make things for the holidays.  That’s me.  After all the sewing and knitting and baking and such, I sort of collapsed and just didn’t do much of anything except blob along.  As a result, nothing was really like I wanted it to be – this here, that there.  What was getting me – and is still, to a point – are sewing supplies, material, machines.  Today I made a dent in the mess and put all my patterns into under-the-bed shoe storage containers that I got here on Amazon These storage containers got good reviews, but best of all, you can move the dividers around as you need, to fit your stuff, whether shoes or patterns!  I am actually really pleased with these and recommend them – for shoes or patterns or…?

Well, one part of my sewing life is a bit neater.  I also worked on the closet where the machines reside.  I rearranged the machines, put a plastic tray system in the closet to hold things such as manuals, and other trivia.  Tomorrow, since I freed up a whole drawer in the sewing bureau, I am going to go through it to rearrange fabric and interfacing, along with other little things.  If I get really organized, I’ll even sort out the material by yardage and future usage.   The studio shelves have projects in containers to work on.  On a digital level, I want to make sure I have a back-up of my pdf patterns.  Once this little bit of reorganization is done, my head space will be clear for upcoming projects!