First Shots

Yesterday I went out with two film cameras – the Canonet QL17 G-III rangefinder, and a new-to-me Nikon FM2N.  The former I have used in the past, and know it is in overall good condition.  The Nikon, though, came from eBay, and is a well-used camera.  There is dust in the prism and mirror set up, but I didn’t know if there were any light leaks, so I needed to test it out before anything else. As a note, none of these pictures have any post-processing; they are as they came from the local pharmacy.

QL17

My past complaints with this little camera was my inability to really “get” the focusing.  This time around, it was better.  As with anything, practice helps.  These pictures were for practice on focusing, and getting a feel of the exposures.  The needle for the exposures no longer works except when the camera is on “A” – thus, out comes the light meter.  The light meter did a great job.  Subject content aside, here are some results of my practicing with this camera, indoors and out.

80470002

80470006

80470025

80470026

80470029

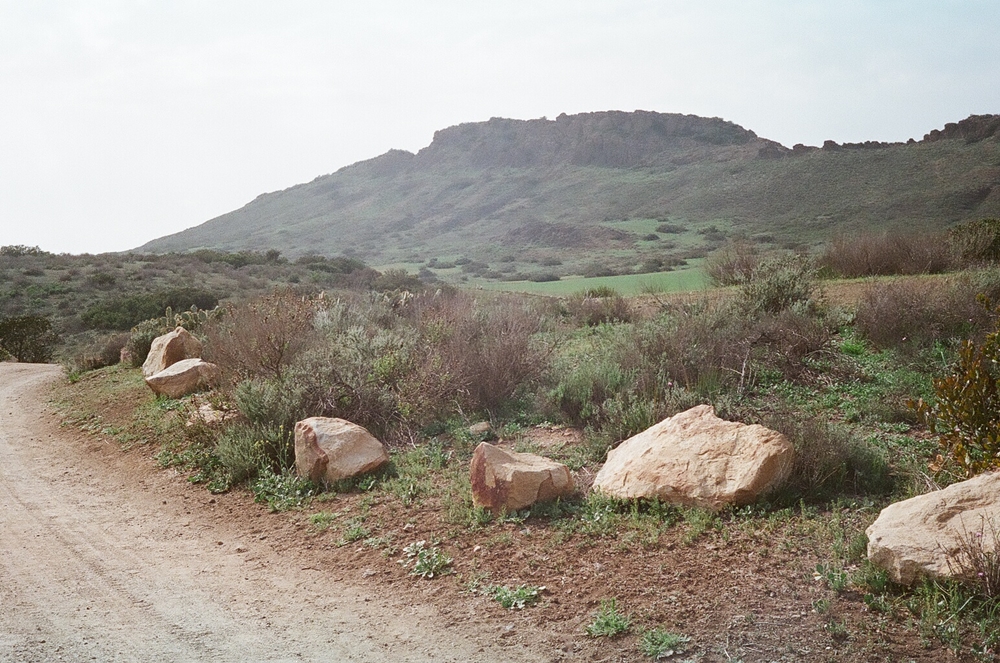
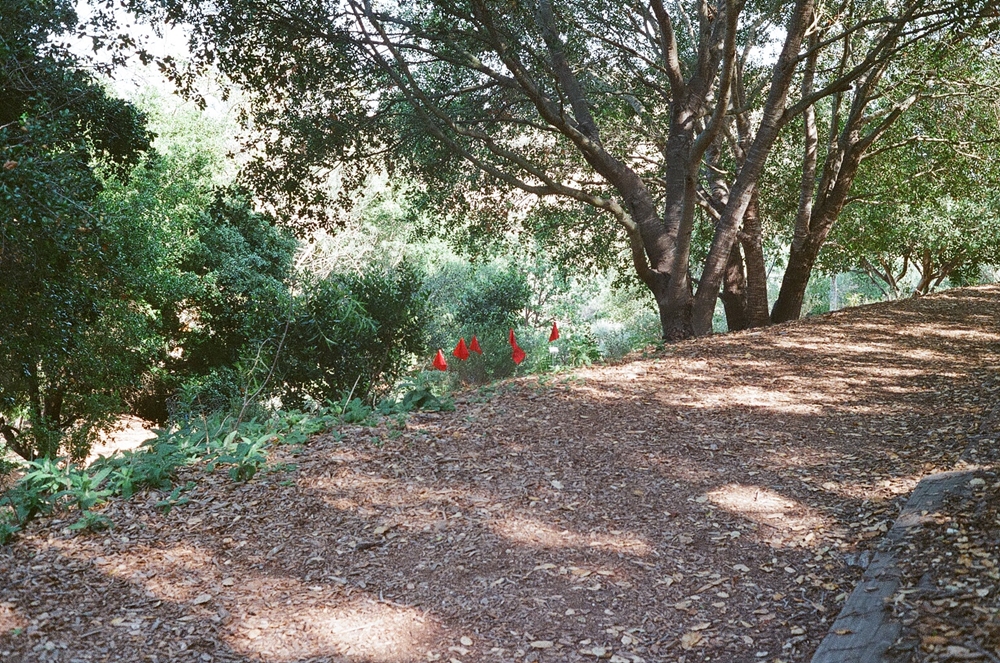
This had a Kodak film in it – and I forget which one! I do know that it has been in the camera for a few years. I like the colors. I also see I will need a polarizing filter on it to do justice to the skies, or else use an ND filter for brighter situations.

This little camera has a permanent lens, a 40mm 1.7 that has a good reputation. In general, I am pleased with the camera; now I have to work with it in different situations.

Nikon FM2N

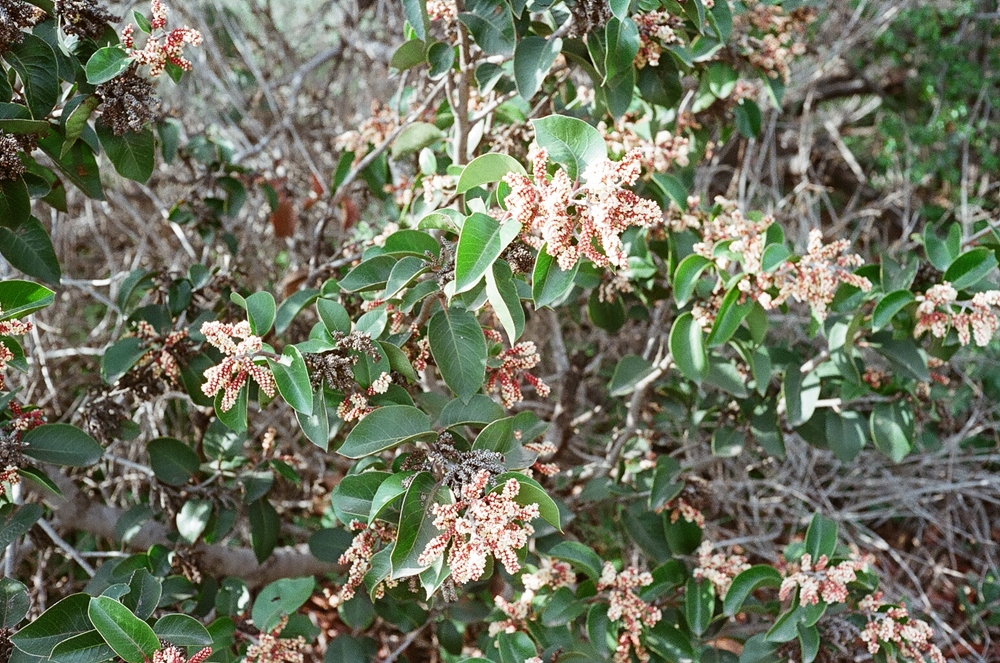
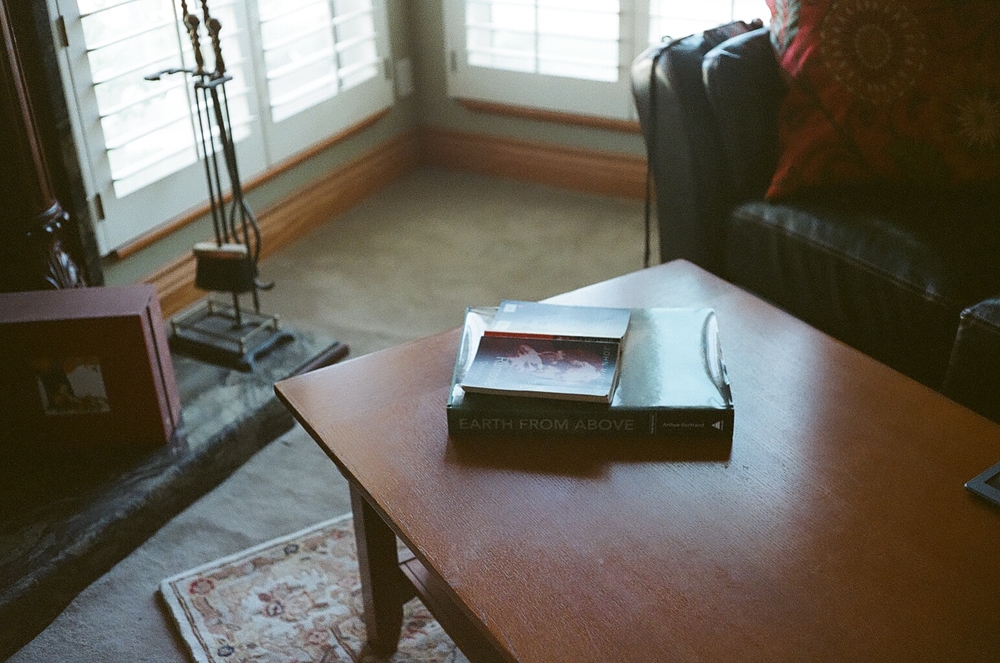
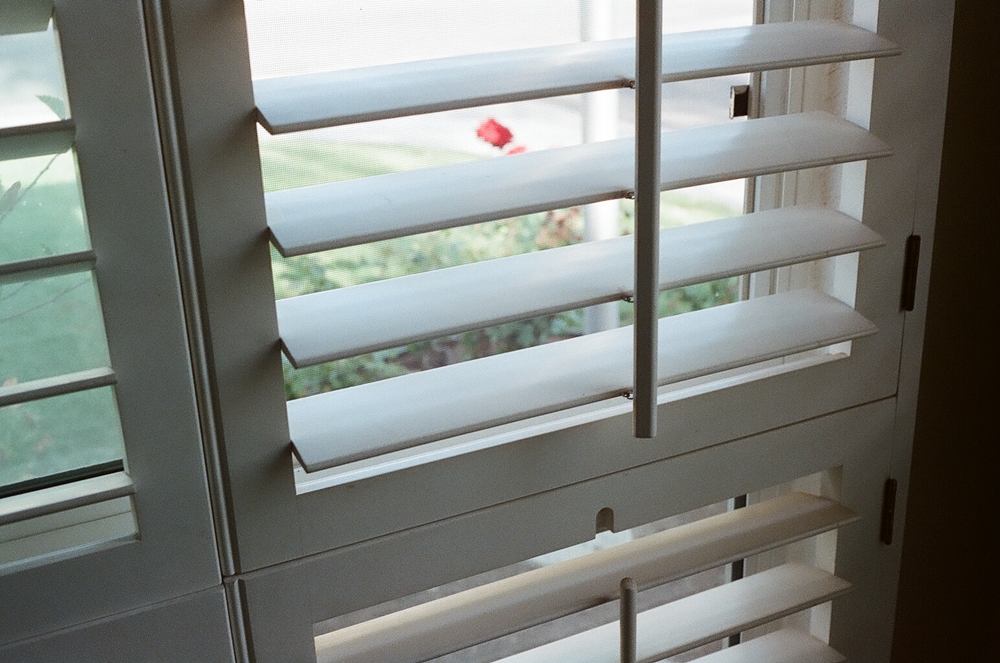
This camera is a small one, and well-rated in general terms of build and quality.  I got it because I can attach any of my Nikon F-mount lenses to it – a definite plus considering my digital camera is a Nikon!  The ones which will not work on it are any of the G lenses, as they interface with digital cameras to focus – there are no focusing rings to use, as there are on the D lenses or earlier.  It can take AI, and AIS, but not the non-AI lenses.  I used a 28mm close-focusing Vivitar lens.  Here are the examples I took, using film from the local drug store, Fuji Superia Xtra 400.

80450009

80450016

80450018

80450022

80450024

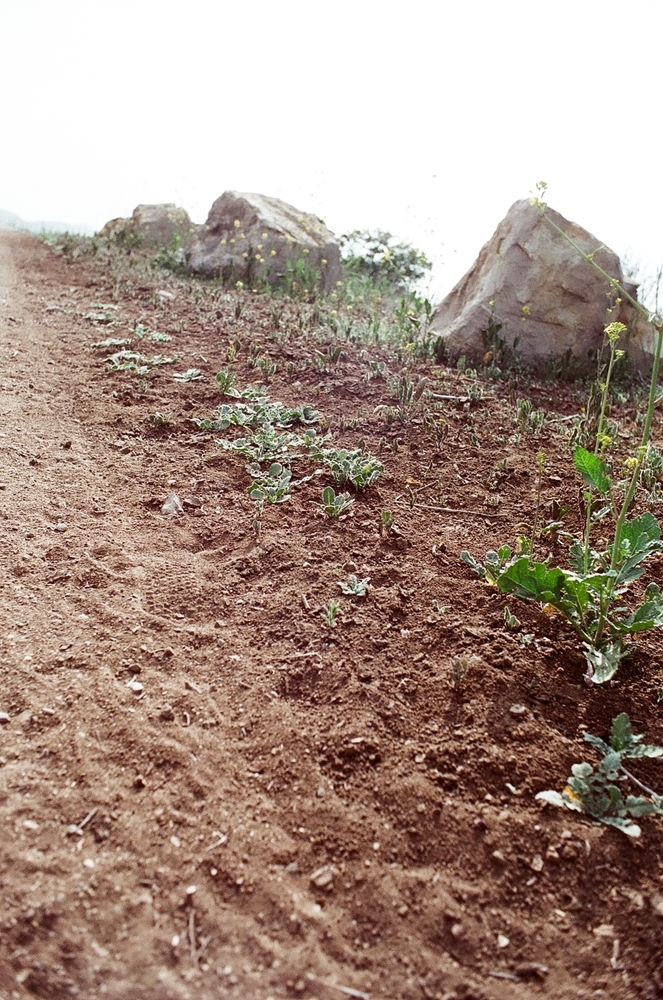
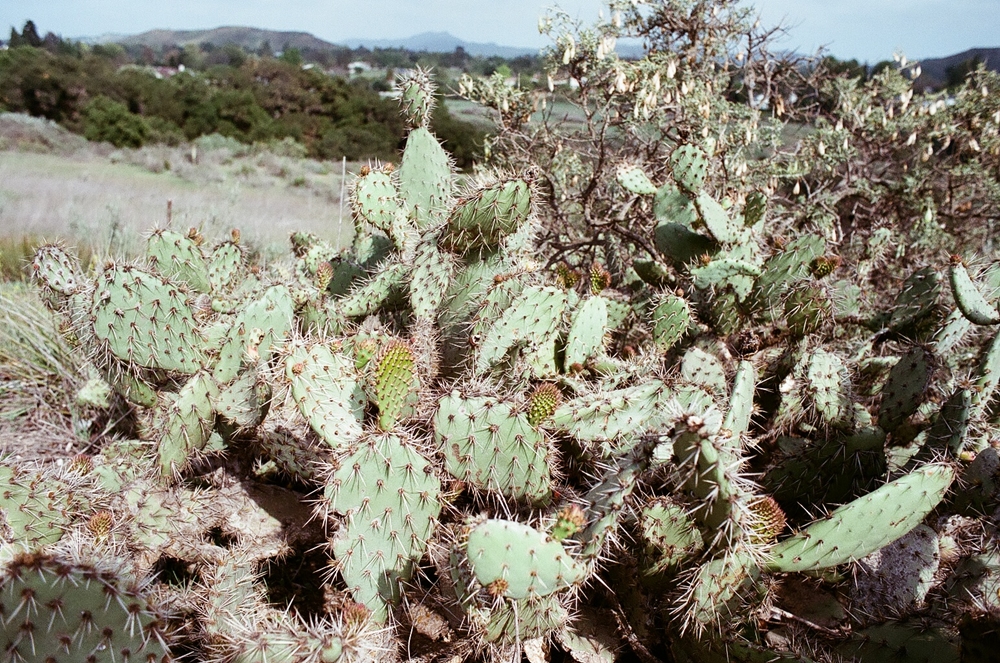
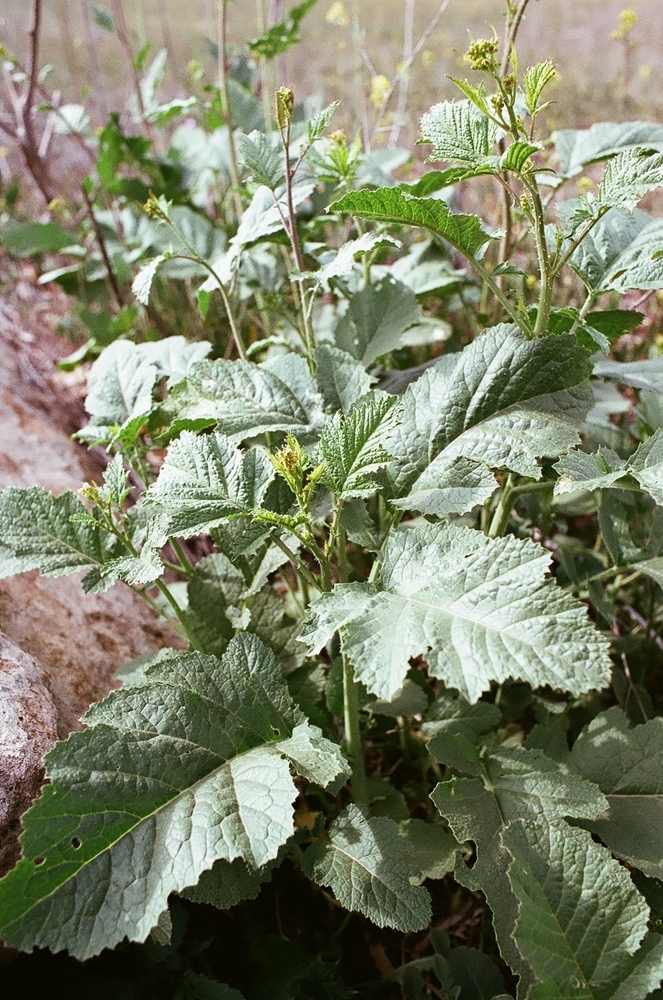
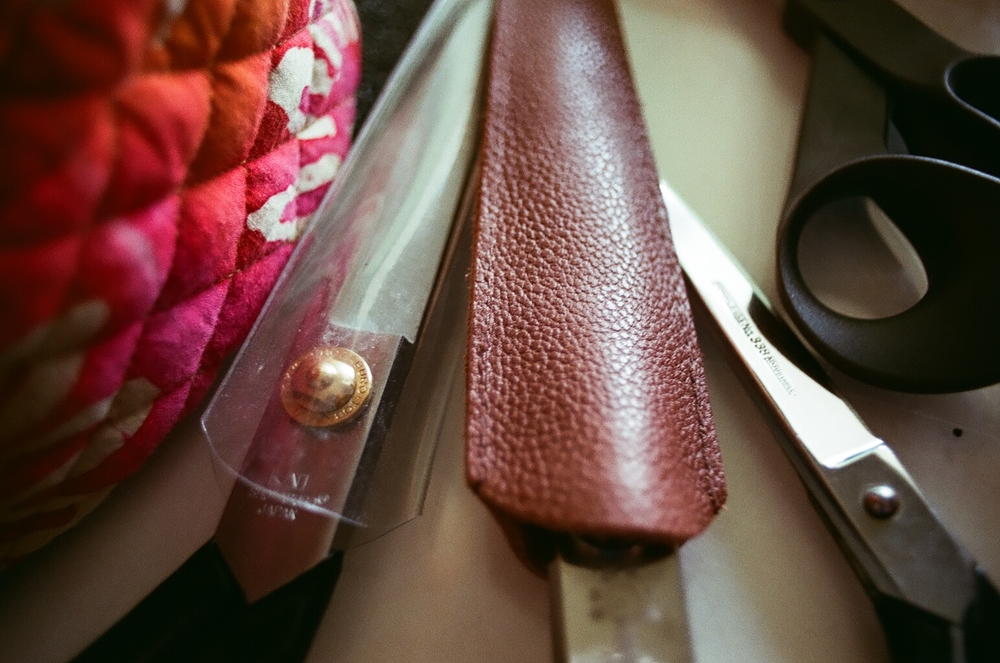
The Fuji film is a bit more punchy, perhaps, than the Kodak. Obviously, no light leaks. The metering system in the camera works, using +, 0, -, and a combinations thereof. It was nice to be able to use a different lens, and do some close-up work as permitted by the lens.

Conclusion

I like both cameras. I am indifferent about the quality of the pictures, and this makes me wonder about the quality of the films, but this might have no bearing on anything. I plan to head out to a place I photograph a lot, just to see what I can put together.

Another issue is the processing. Since my needs were pretty simple – light leak? no light leak? – my demands were not high. However, I am not too pleased with the size of the jpgs I got back from the local fast photo – few over 1 meg. Way too small to edit. However, now I can play with some of my resizing software to see what the results might be, and perhaps I won’t be too disappointed.

Backward in Time

Canon Canonet QL17 G-III

A few years ago I thought I would give film photography with a rangefinder camera a shot. It was a complete failure. The reason is I am not too sure about using this camera, much less if it really works for me. I may be better off with a regular film camera, one which uses the lens itself to focus. Consequently, I bought a used Nikon FM2n on eBay – it should arrive in a few days. However, I do intend to master this rangefinder.

This Canonet is a really cool little camera, but focusing it just drives me crazy. I can use a split-screen focusing ring very easily, but this one is different. There are little squares in the viewfinder that sorta need to line up. On top of that, if you don’t get your fingers out of the way, you might end up with one in the picture that you never saw while making your exposure.

Well, I printed out the manual and will re-read it. Then I will practice focusing it. Finally, I will load up some film and see what happens. I have some Kodak Professional Portra 400 to putz with.

Nearby Treasures

Beach Plants Above El Matador

My work schedule, for now, is all over the place, with some days ending at 9:00 p.m., others at 6:30, and others at 5.  The end result is a sense of no time for me because I am waiting to go to work, and my feeling like I am totally uncreative.  In between all this are the usual chores of running a household.  But this is Spring Break, and I am able to do a bit of what want, despite a stated goal of cleaning out the garage (which so far has included a dumpster dumped and 9 boxes of paper shredded by a mobile shredding service!).

Cliffs Above El Matador State Beach

On the Rocks at El Matador

I am inland from the Pacific by about 35 miles, both east and southeast.  Ways to get to the beach are head through the canyons, or out toward the flat Oxnard plain.  A friend and I both were free, so we decided to head out to El Matador State Beach in Malibu.  It is below a cliff line, and requires a bit of a walk to get there.  The walk is not difficult, but it is a bit precarious as the steps are old, and in between the steps is a narrow section of pathway which is very eroded.  Loaded down with camera gear can make for a rather spooky descent.

In the Cave 2

I brought two lenses with me:  a Tokina 11-16mm, and a Nikon 24-120.  I also brought a tripod.  What I forgot was the ND110 filter for the Tokina, and as a result couldn’t get any long exposures for that soft, spooky water look.  Oh well!

Incoming 2

The entire coastline in California is pretty much public property, with a few exceptions.  There are laws regarding public access, that it cannot be denied nor cut off by someone.  In Malibu, of course, there are wealthy and famous people who have built houses along the coast.  Keeping the beaches accessible can be daunting, but there are public pathways, some hidden and unknown, others blocked off by zealous homeowners.  I know that if people trashed my yard walking to get to the beach, I wouldn’t be happy, and it is these cretins who spoil it for a lot of us.  Then, of course, paparazzi don’t help, either.

Mussels Signed 1000

El Matador is a lovely little beach, with fantastic rock formations, and tidal pools with urchins.  It behooves the photographer to know the times for tides, but even if the tide is in, splashing on the cliffs, great pictures can be had, as can ones on the sand and in the rock of caves.  An overcast day has its own challenges as does the sunset or sunrise.  Forgetting certain pieces of equipment change the game plan.  It was a great break from chores, and I plan to go back on a sunnier day to do the sunset, and bring my ND filter for those long exposures.

Grey Skies Above El Matador


On a Winter Day

Allium

The past few weekends have made me feel so cramped and crazy, mostly because the puppies are growing, and needing a lot of attention.  Sometimes it makes me wonder if I was nuts to get two, but when they are all cute and cuddly, the answer is always a loud “Yes!”  Luckily, the other half is superlative at caring for them, but he abandoned me for the Super Bowl.  As the puppies are crate trained, I made good my escape for a couple of hours to the local botanical garden.

Where I live, endless blue skies are endlessly blue and cloudless.  We are in the middle of a drought.  The state does not plan to release reservoirs, and I don’t blame them.  Weather is weird, extremes showing up which seem abnormal.  Global warming?  I think so, but this is not a political / ecological foray, so we will leave it at that.  Back to the skies:  we had rain clouds!  And some light rain!  I went out to shoot landscapes with a long lens, 70-300mm, but could not produce any I liked – I expect my view-point was wrong.

Sage

Instead, tripod in hand, I also focused on flowers.  Always, flowers.  Leaves, rocks, trees, branches.  I love the shapes of nature, and ultimately these seem to be the ones I love the most.  Long lenses are great for blurring the background, and with flowers it is no exception.  On this trip, I took my time, crawled around, and looked through the camera to frame my shot.  At times, I used live view because I was down so low (luckily, no mud), and my battery was draining faster than normal.

Small patches of bright color are always welcome on a dreary day.  The smell of sage and earth and decaying leaves are wonderful.  I took my time to enjoy the garden, and even though it started to rain – and my camera gear was sadly unprotected – it was such a pleasure to be outdoors (sans puppies pulling on a leash) to enjoy the beauties of nature.

Allysum

The Nikon V1 and 32mm f1.2 Lens for Botanical Photography

Multiple reasons routed me to the Nikon 1 system.  A DSLR with a big lens is heavy, so when the Nikon 1 system first came out, I looked, but did not like the initial prices, nor the lack of lenses.  Also, I wasn’t too sure if it would be successful enough to invest in.

Time passed.  When the V1 dropped significantly in price, I looked again.  Seeing images shot by Steve, by Craig Litton, Joe Marquez, Sue Wotton and others at Steve Huff Photo pushed me to look at it.  Finally I bought it.  Since then, I’ve added lenses to the bag, but when the 32mm f1.2 was announced, I was seriously interested, and bought one when I could catch it in stock.

There is no one area of photography I prefer, but flowers have always given me a great deal of pleasure, especially wildflowers.  As it is late in the summer, nearly all our wildflowers are gone in the heat of Southern California, but locally we have some rather lovely gardens with flowers in bloom.  When I finally had some time to test out the 32mm lens, at f1.2 to f1.6, I shot a series of flowers and leaves, using both the auto and manual focus.

The beauty of the lens is the ability to isolate a flower from either background or foreground.  Bokeh varies with what lies in front and behind of the subject, and with the 32mm f1.2, it varies in quality.  It can be rather nervous when leaves in the background are small and fine.   Other times, distance or background blur beautiful, creating an element of serenity.  Color, contrast, and detail are well rendered.  The three pictures below show how the manual focus allows for choosing one’s focal area, and show how the foreground, middle ground, and distance can be chosen.  Click on them to see full detail.

_DSC4480

_DSC4481

_DSC4482

Altogether, I am very pleased with the ability of the Nikon V1 and the 32mm for taking pictures of flowers and other plants.  Some post-processing can add to the beauty of an image, but even just out of the camera, most images are pleasing and need little work.

Dahlia

Fallen-1500Fern-1500Hollyhock-2PurpleSaber-Lily-1500