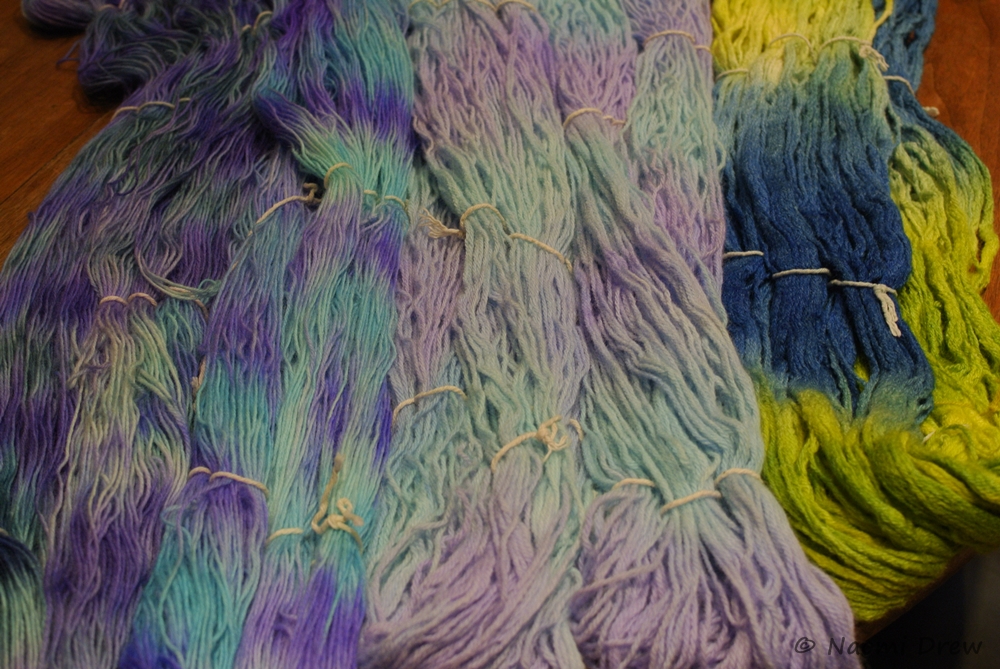
This weekend was a very busy one as we cleaned out things, such as old computers (taken to an e-waste recycling place), sold a bunch of books, and finally hit the stash of yarn and spinning fleece in the garage. From 45 boxes, I am down to 22 with yarn and fleece. Some things were thrown out – such as a bag with a big, black spider, most likely a black widow. Other things were boxed up so my MIL could come and take what she wanted. The rest is going to be delivered to a local senior center where they use donated yarn for charity work, or they can just take yarn home for fun – not everyone has a big income, and yarn can be a luxury.
Oddly enough, going through everything didn’t take that long. I think I spent about 6 hours at the most. It was easy to choose, too. Nearly anything that was unfinished was cut off the ball of yarn, discarded, and the yarn ball put into the “to be donated” bin(s). Tacky or sticky or scratchy fleece was discarded as not worthwhile. All balls of handspun yarn were saved, regardless as to length, unless they didn’t feel good to touch.
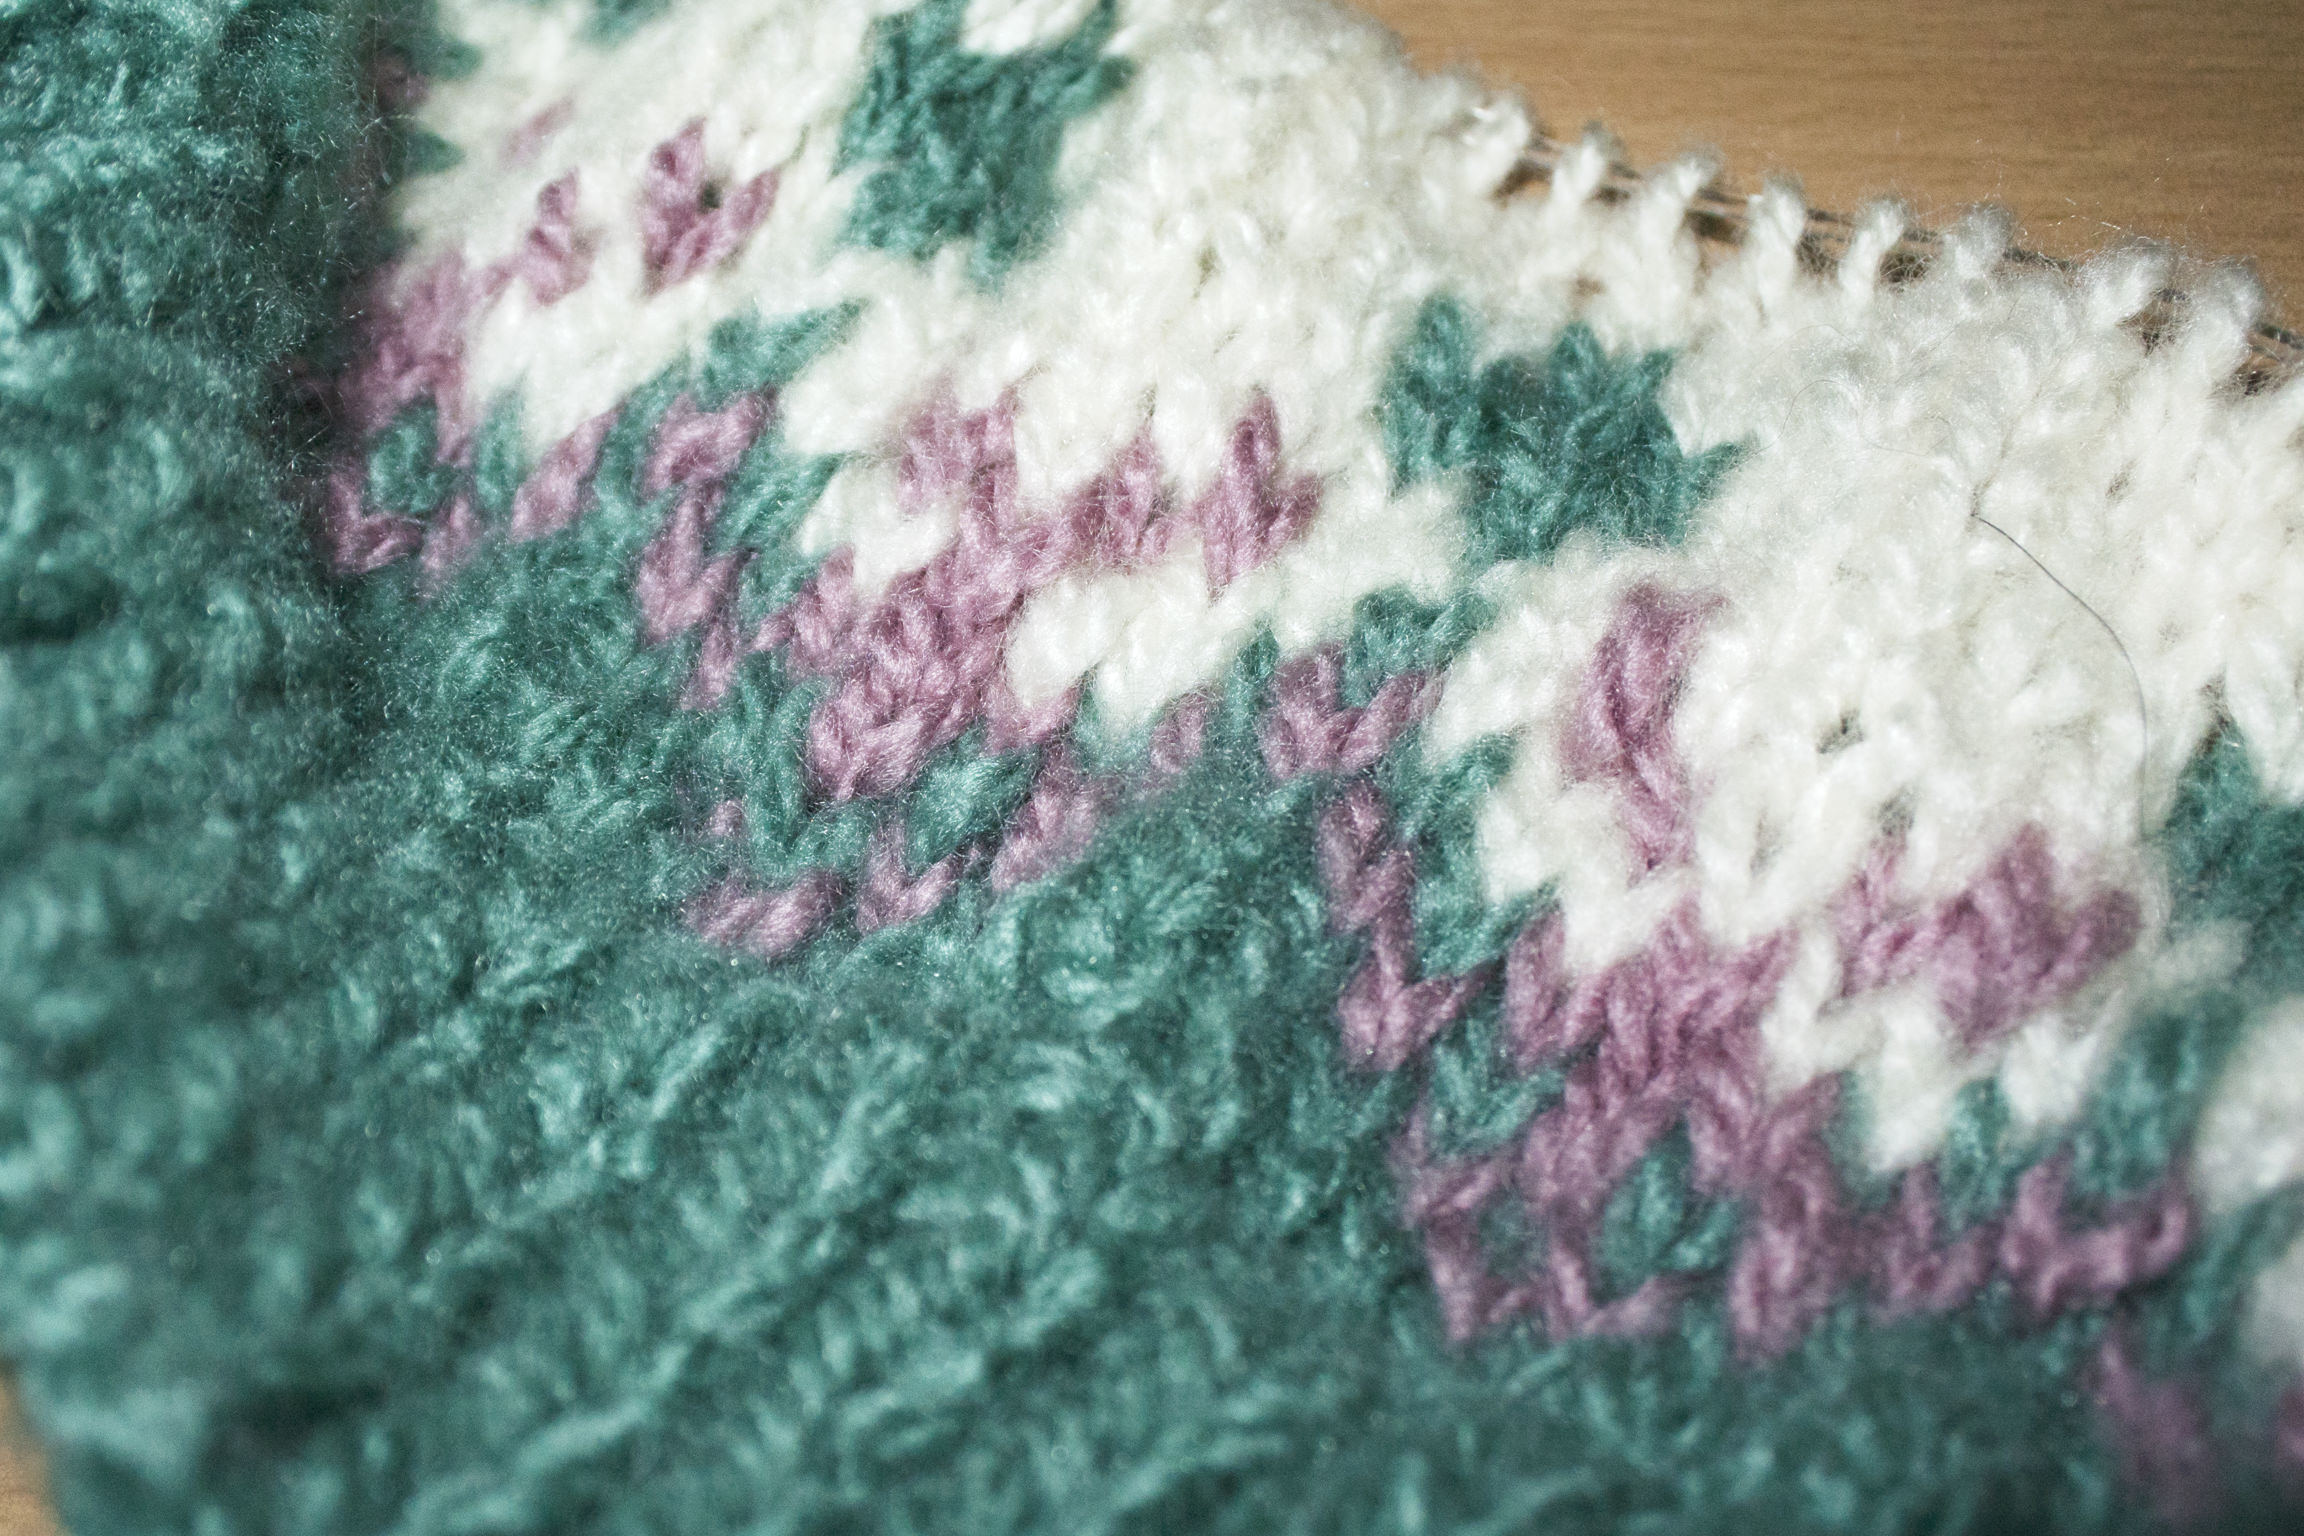
And in the middle of this, I have a sweater that has been sitting in the knitting pile for some time. It is a cardigan, but I decided to try steeking with it. Well, that fell by the wayside. I ripped out the entire sweater, re-balled the yarn, and started over. Much happier, even though purling is not my favorite knitting stitch.
I restarted the sweater, an Icelandic pattern, and have done a few inches. I think this will be my night knitting, when we are watching TV. The lower edge, as with most Icelandic sweaters, is a patterned border, but the main body a plain color. Instead of using Icelandic wool roving, which pills and is too itchy for me, I am using an acrylic yarn with a bit of halo. Yeah, not the most sophisticated of yarn choices in a “natural” world, but for me, right now, it is perfect. I need a cardigan – and one with as little sewing as possible! I hate sewing things together, and never finish anything that requires too much of it.
It feels good to have a knitting project on hand again.