Putzing around with a lot of my images, taken over the years, and all in color, I am looking for ones that I think might look work in black and white. I am looking, analyzing texture and lighting, and then making a conversion to black and white. Mostly I fail.
What I am trying to do is to train my eyes to be able to visualize a picture in black and white before I take it. Given our world is filled with color, I find this especially hard to do. Awhile ago someone told me that people who are color blind in one area or another make great black and white photographers because they do not have the ability to see all the normal range. While I don’t know if this is true or not, I do know that “seeing” in black and white is very difficult for me!
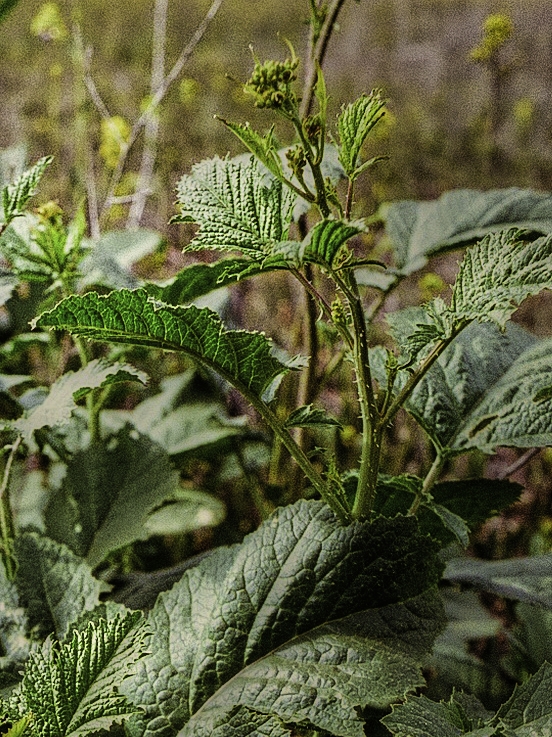
When I first looked at this color picture, it immediately stood out. The original exposure was very dark – underexposed to the point that only the bright white light of the flower stood out. I increased its exposure in LR and saw that it had potential because of the contrast in light and dark. Leaf textures and fine hairs on stems and buds also caught my eye.

I popped it into Silver Efex, and scanned through it. Finally I chose the preset I liked best, and went to work a bit. I increase fine texture, used control points, and then returned to LR for final vignetting and detail enhancement. Last steps were in CS6 for some spot removal and a signature. The end result is not too bad, in my opinion.